September 17, 2026 · Austin Mann
iPhone 18 Pro Camera Review: Dunton, Colorado
Film by Taylor McKay
- Location
- Dunton River Camp, Colorado
- Coordinates
- 37°46′N 108°06′W
- Captured
- Sept 2026
- Camera
- iPhone 18 Pro
The iPhone 18 Pro camera tested for a week at Dunton River Camp in southwest Colorado — manual focus, manual shutter, the all-new variable aperture, Focus Tracking, Apple Reference Image, 4K time-lapse and more.
Greetings from Dunton River Camp!
I'm here at the beautiful Dunton River Camp in southwest Colorado, where I've spent the last week testing the new camera and features on the iPhone 18 Pro.
Beyond the variable aperture and Pro Controls, Apple also built in a bunch of other new features like Photographic Styles 3 with film texture and grain control, 4K Time-lapse and Focus Tracking. As always, when I start a field test I’m asking one question:
HOW WILL THIS NEW TECH MAKE OUR PICTURES AND VIDEOS BETTER?
Dunton River Camp has been our base and it’s been perfect. We’ve been completely immersed in nature, with light and beauty everywhere we look. Thanks to everyone at Dunton for inviting us into this extraordinary place with such warm hospitality.
Huge thanks to Taylor McKay for the film and for all the support, testing and insights.
Let’s jump in.
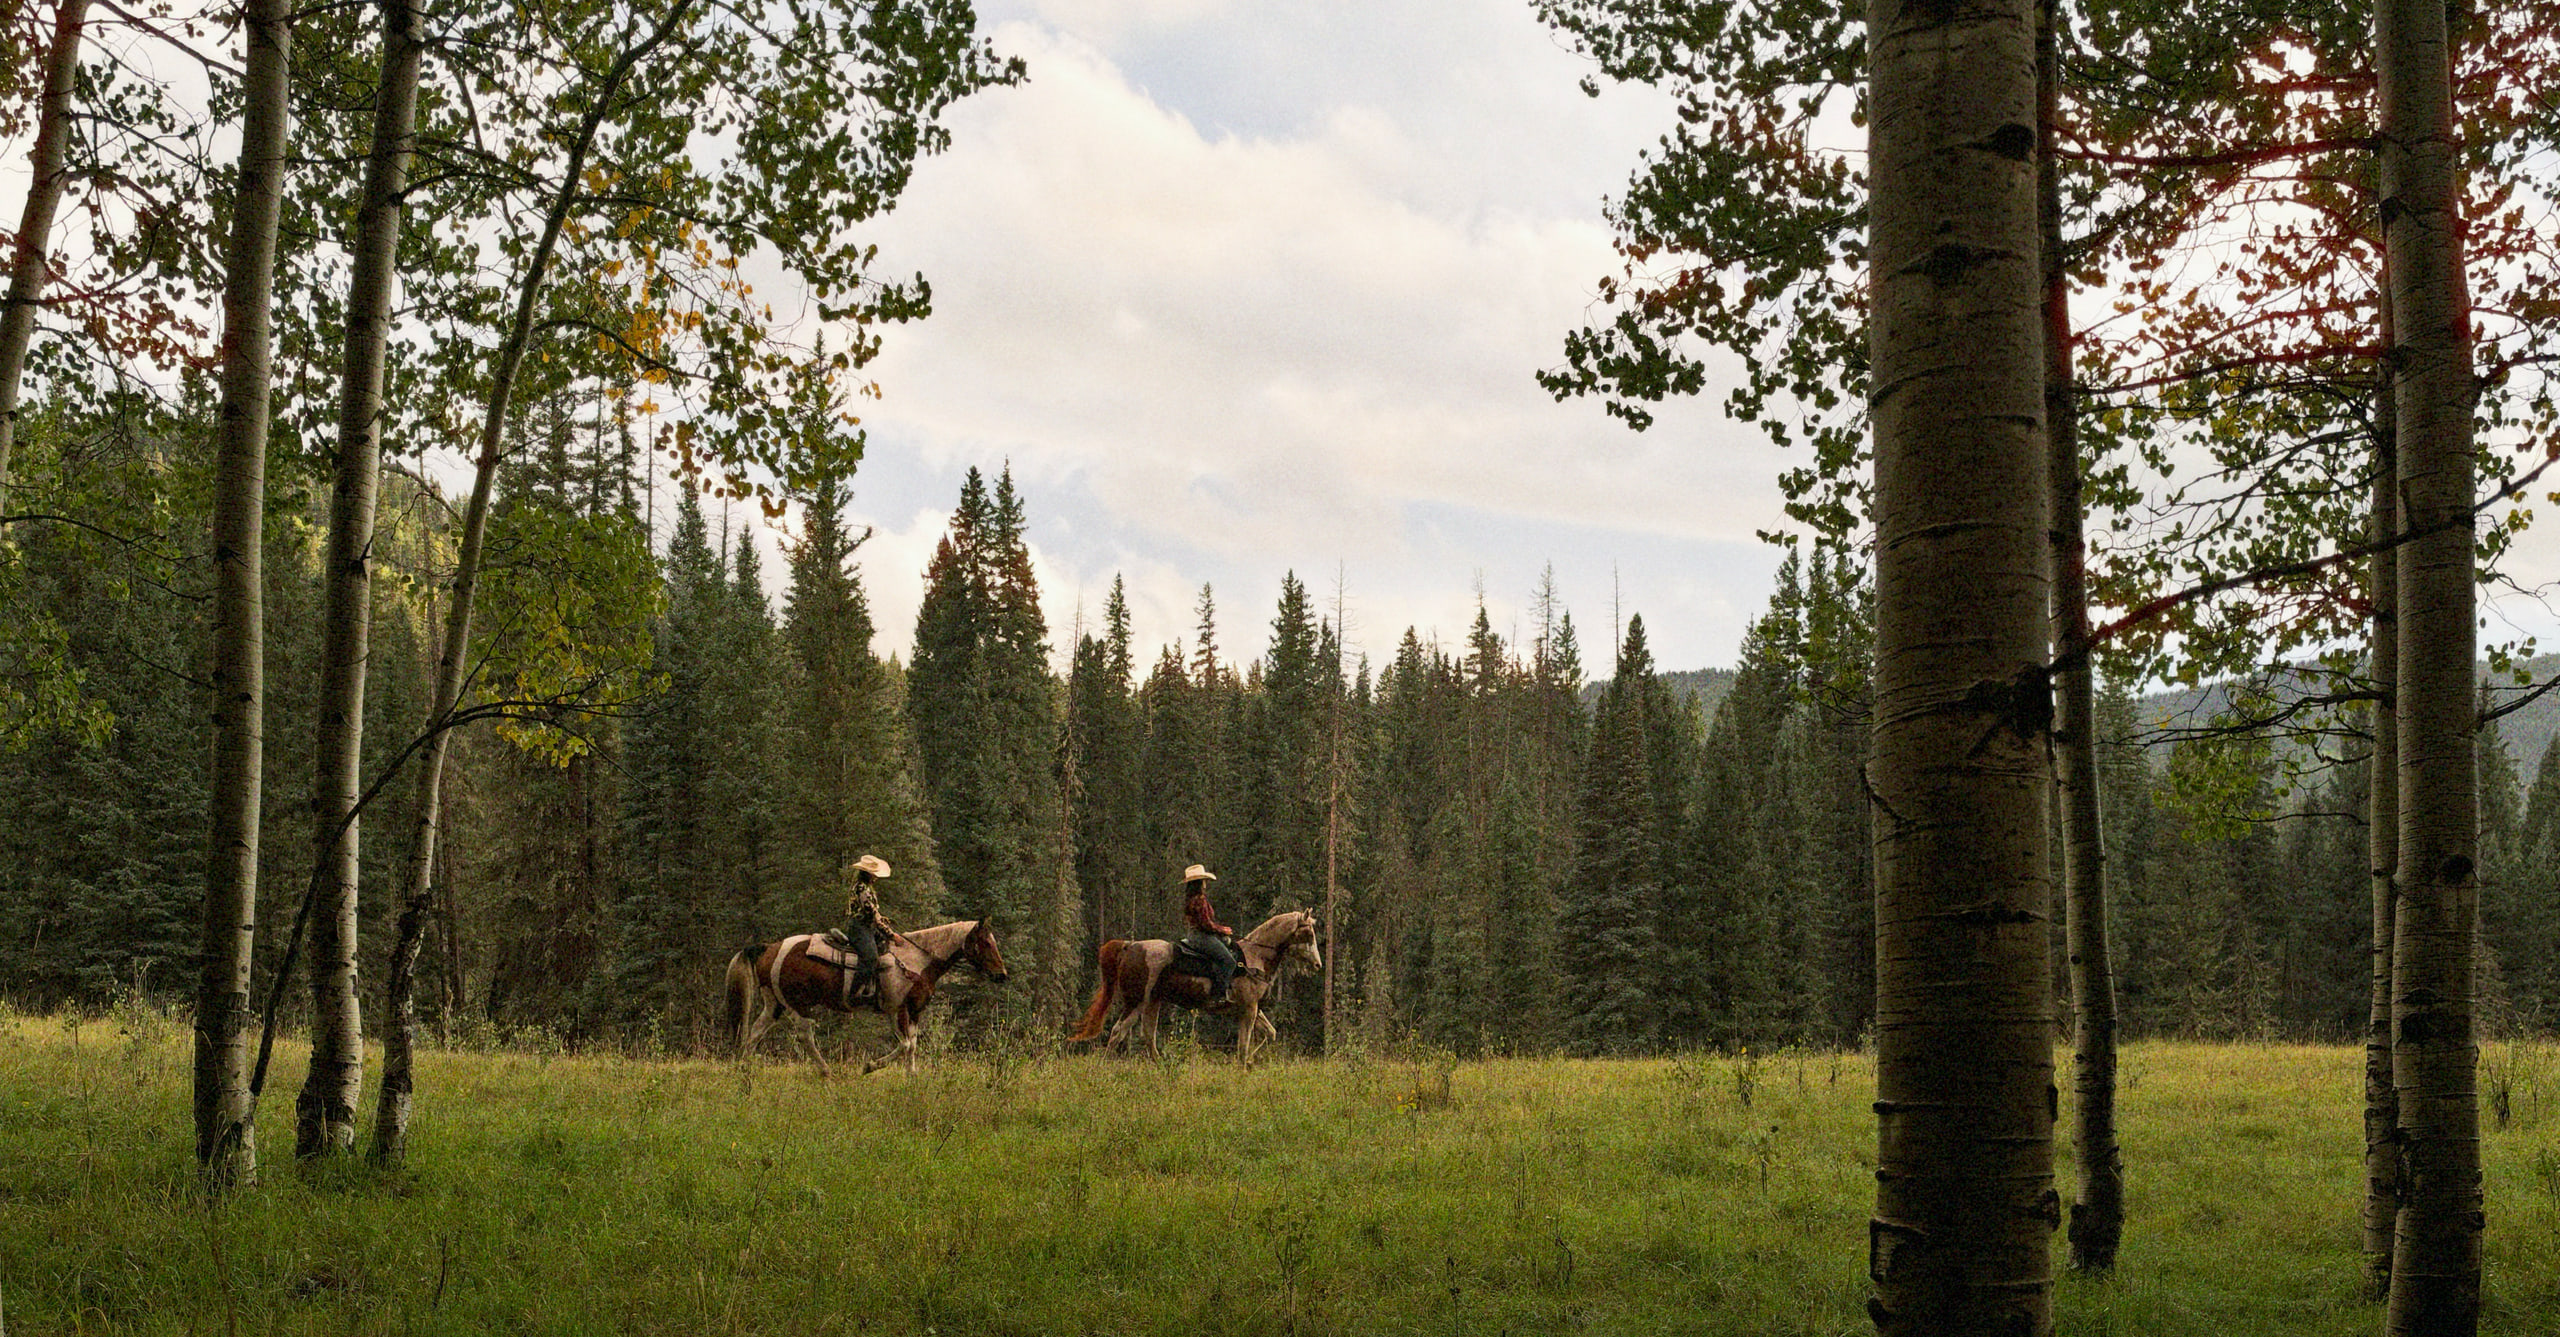
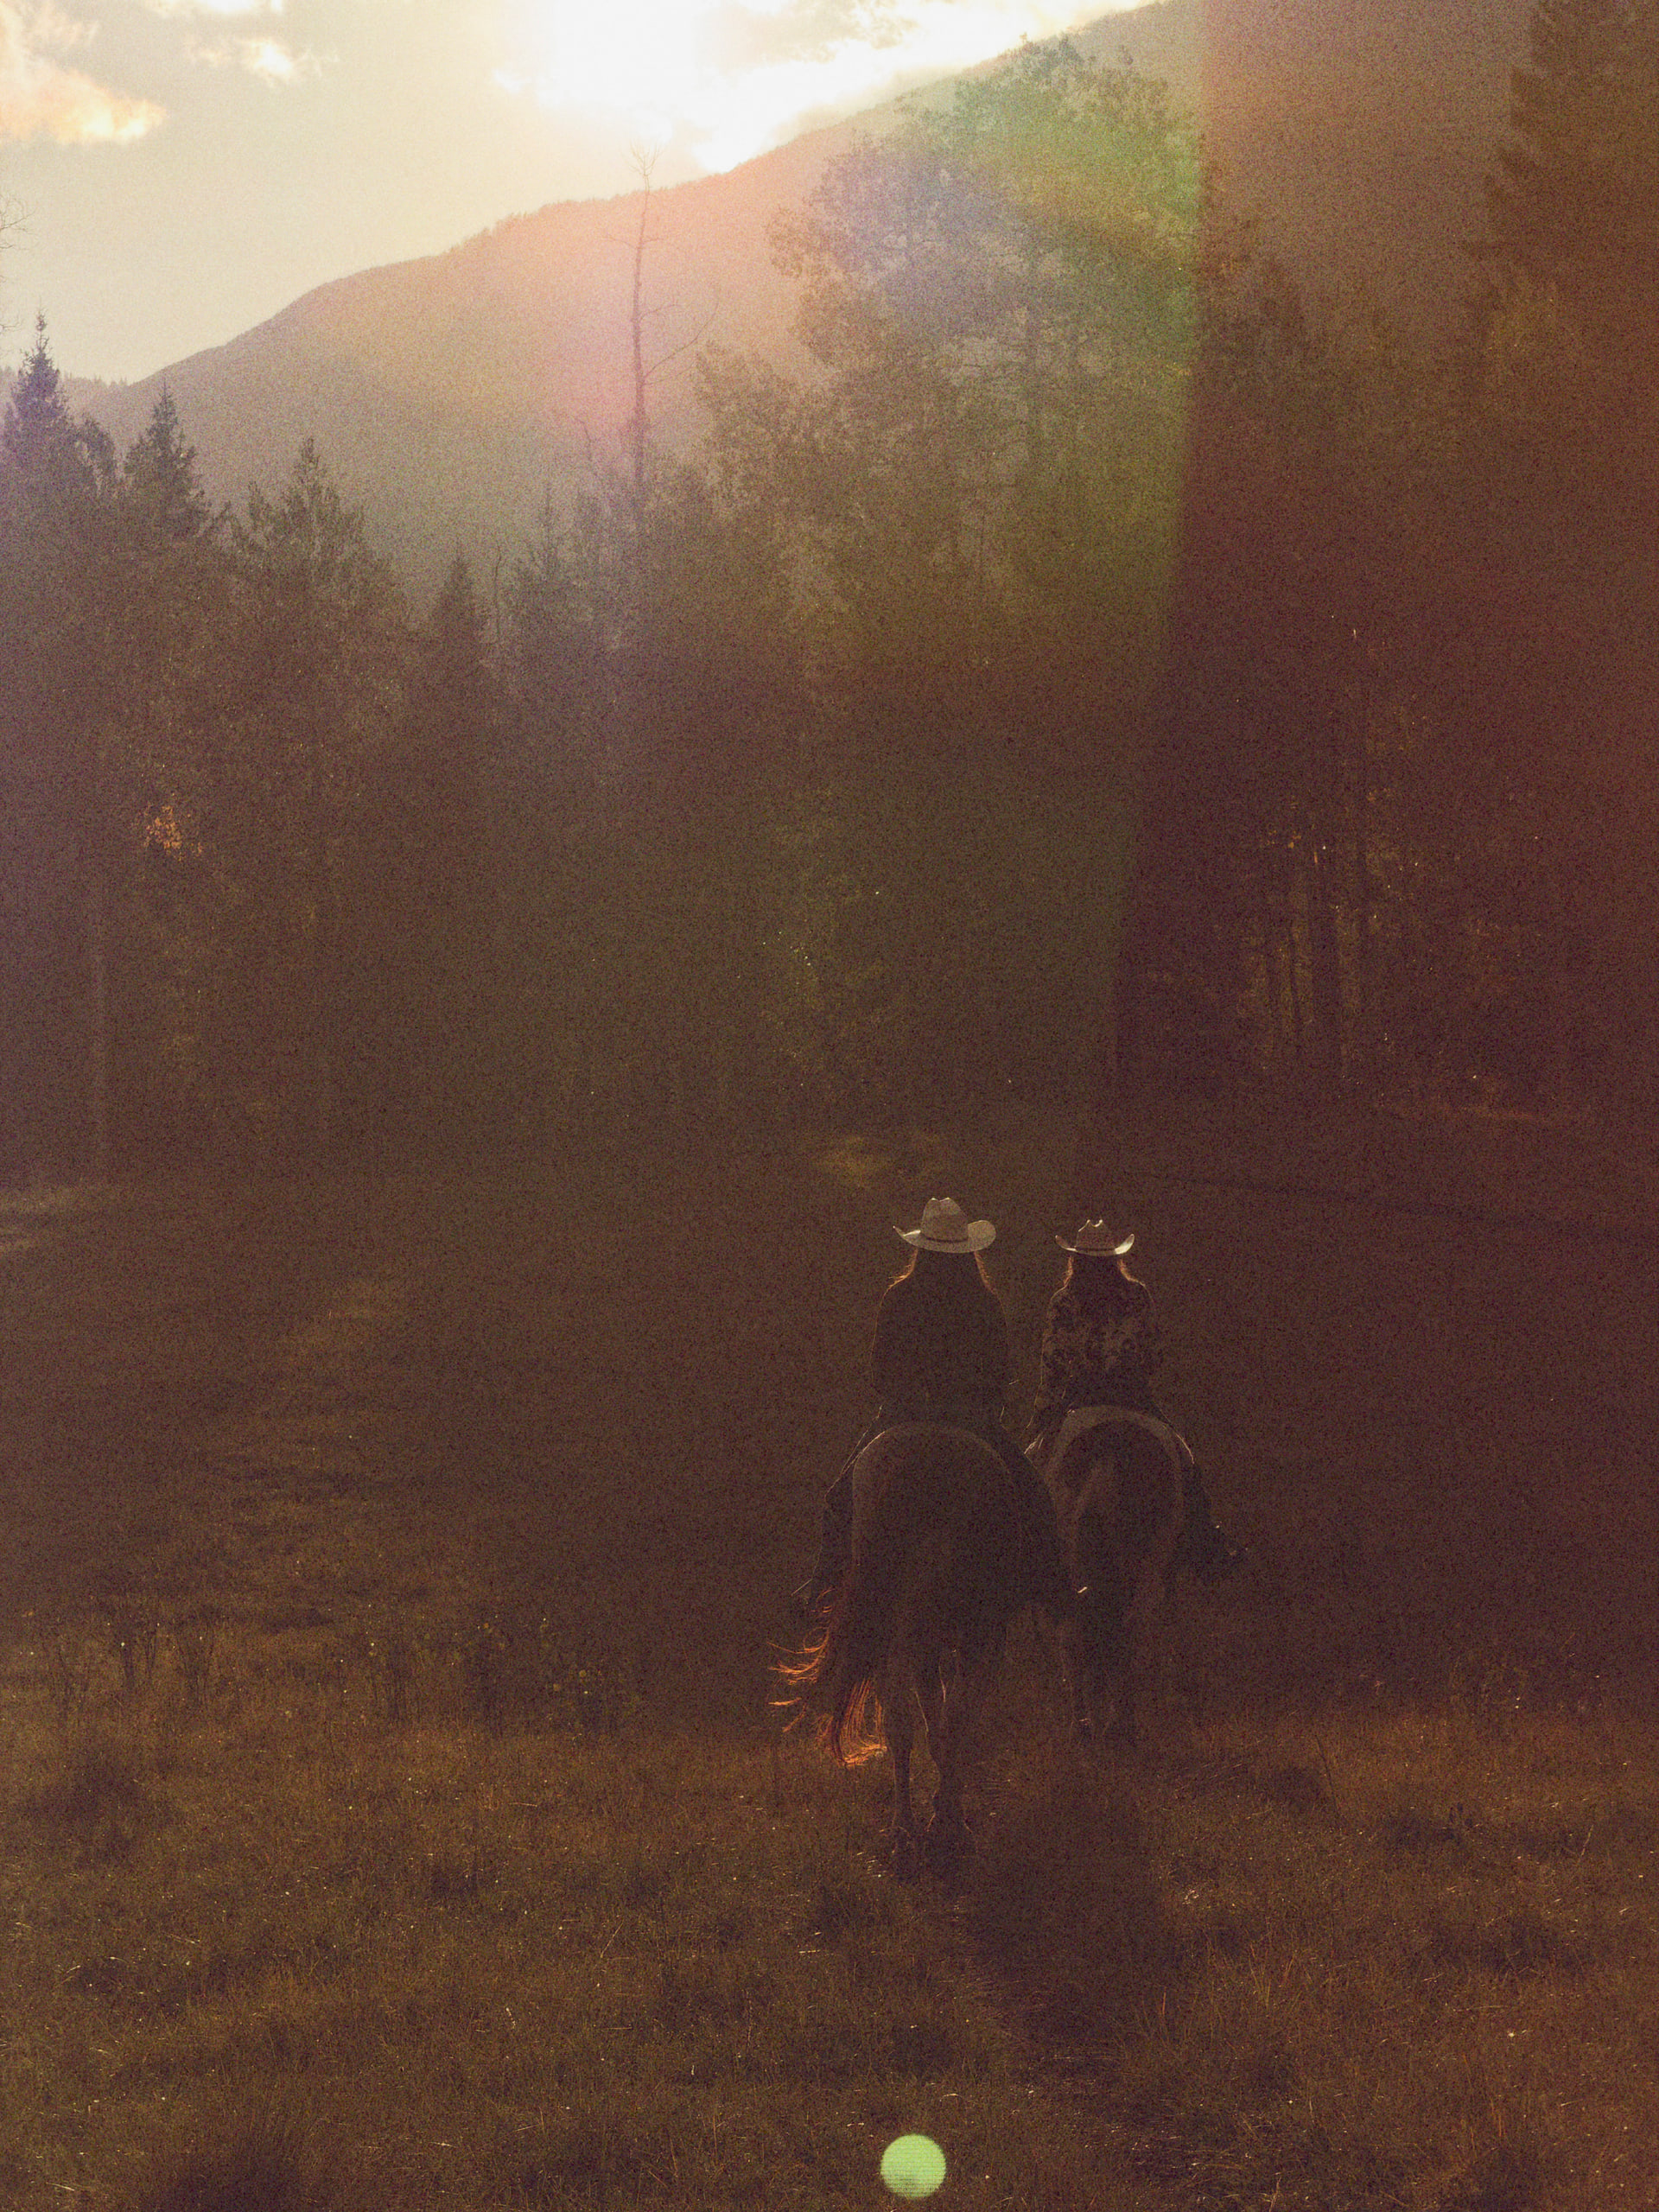
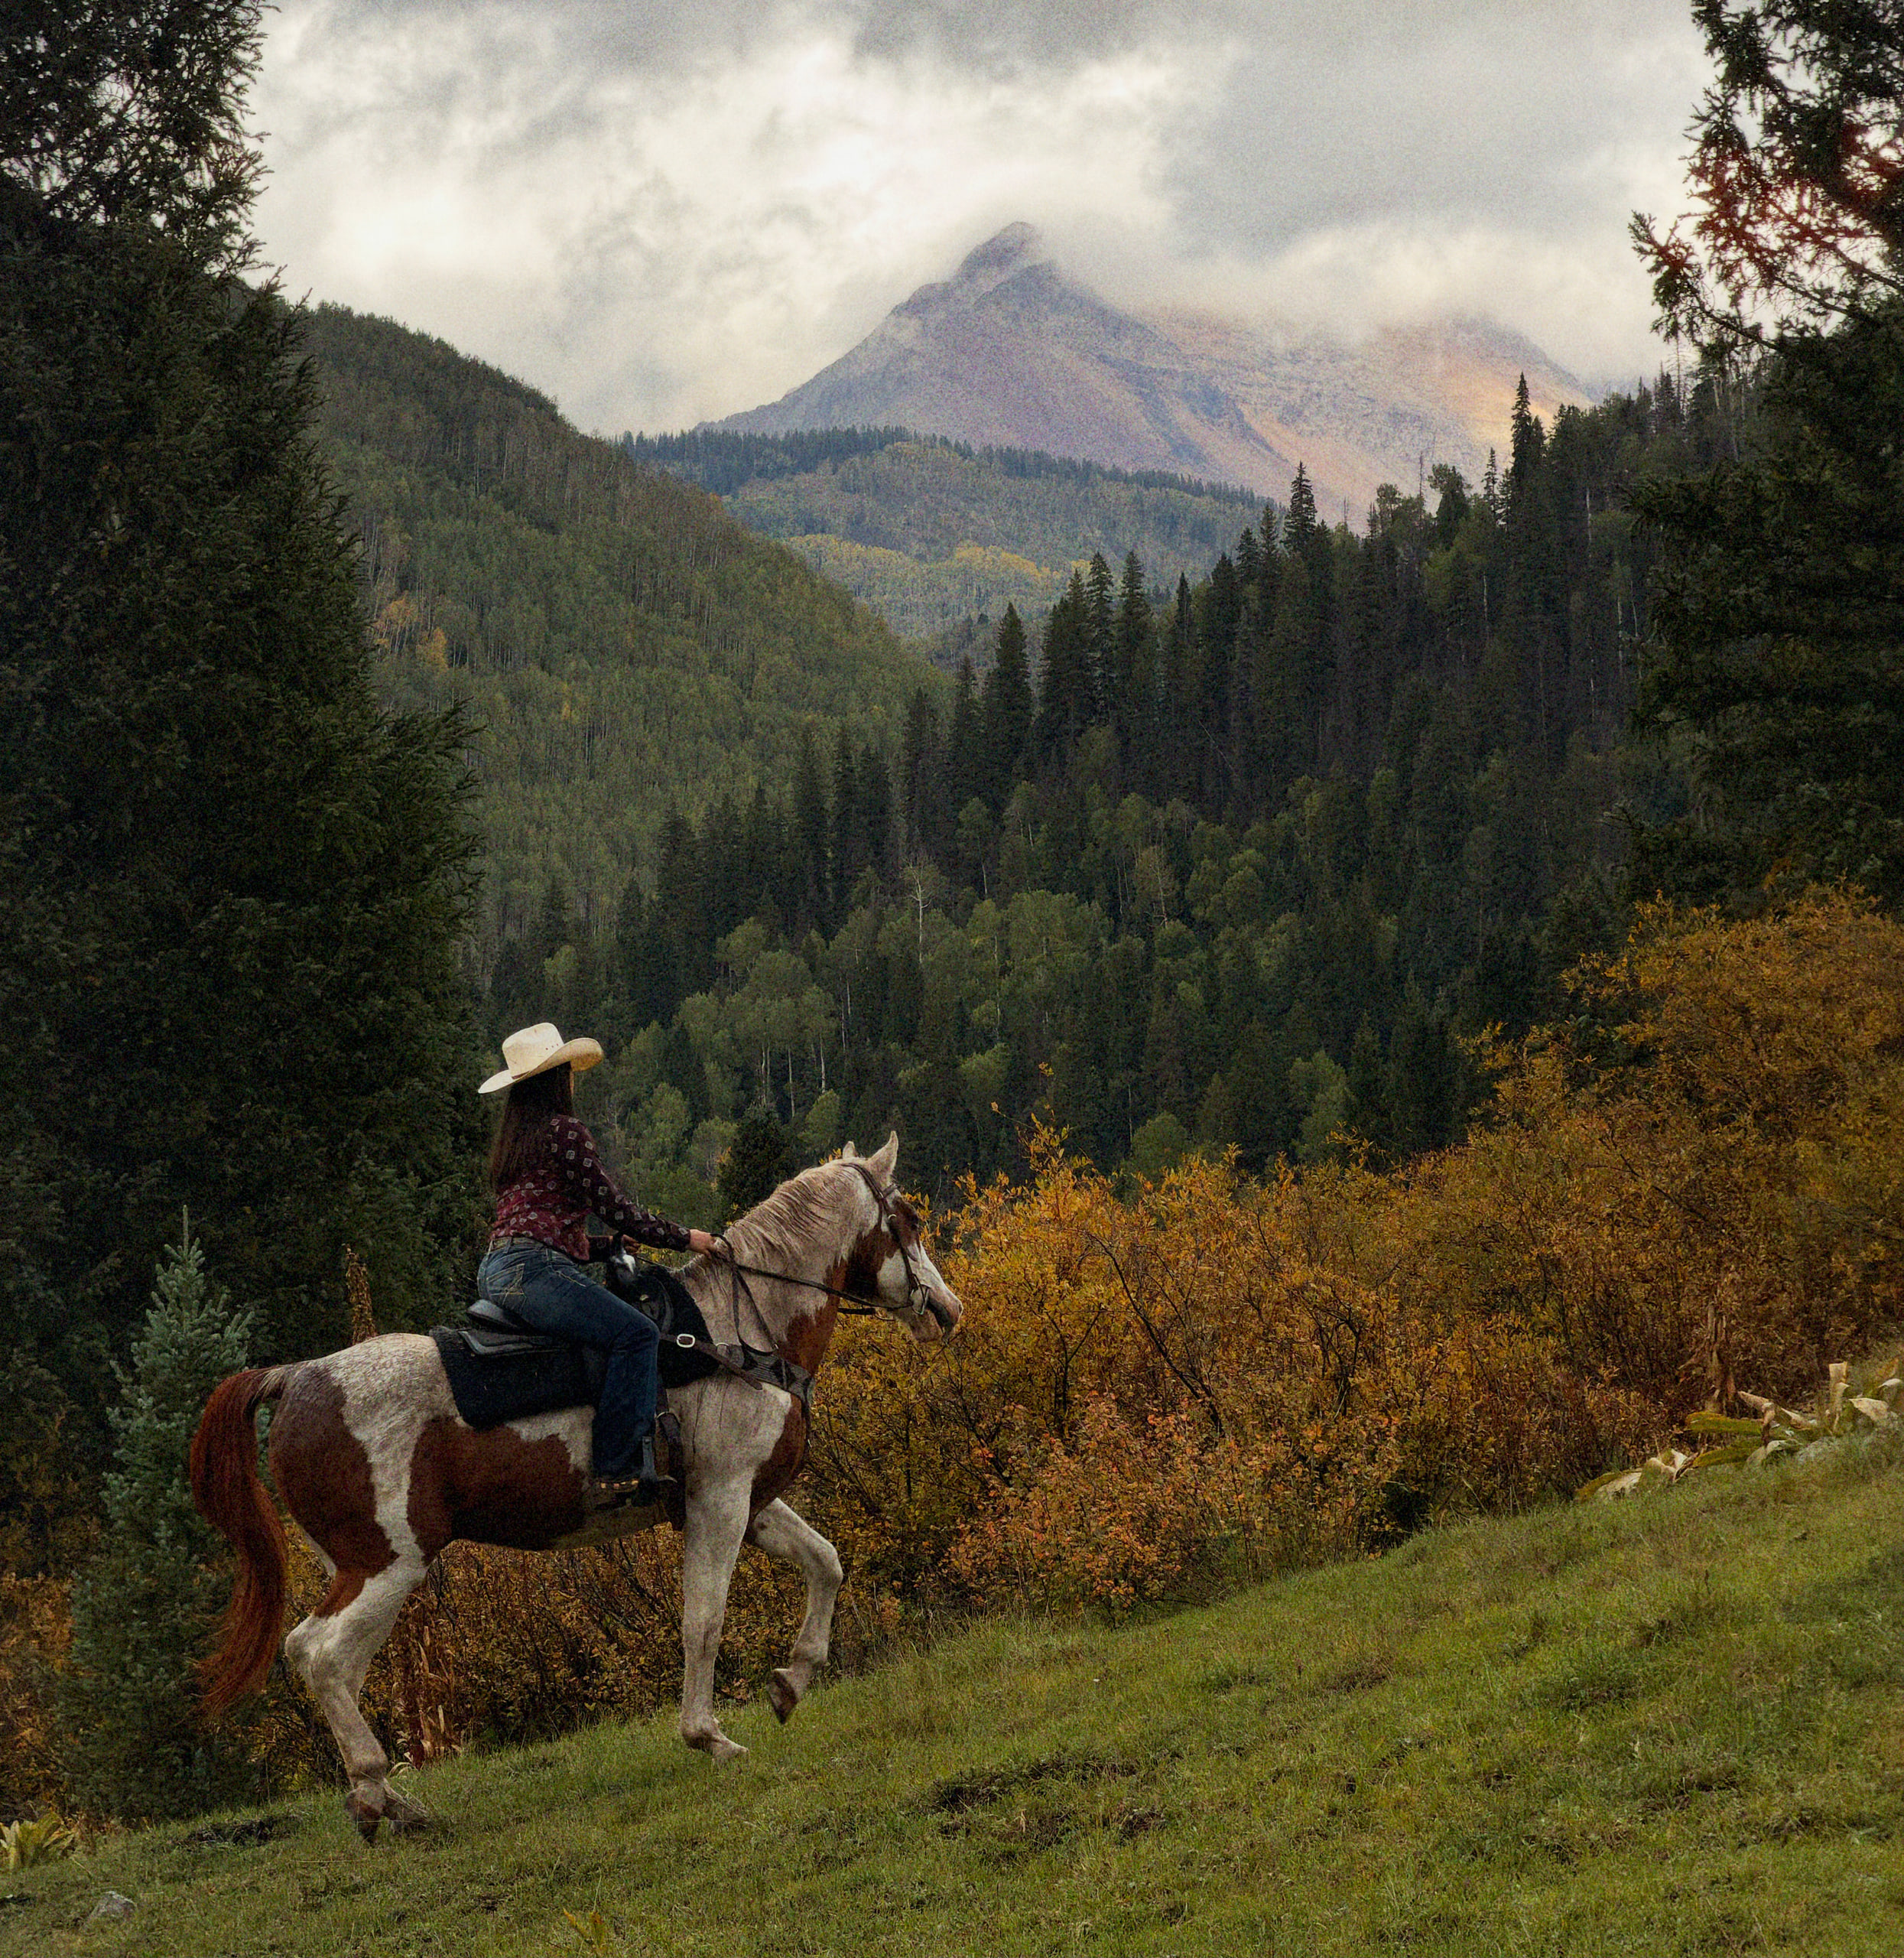
Horseback riding in the high Rockies through Dunton propertyiPhone 18 Pro24mm1xƒ/1.481/2865ISO 64Photographic Style: Gold + Film with Grain
More light, more depth
The all-new variable aperture gives us natural, shallow depth of field when we want it, deep depth of field when we don't, and 50% better light-gathering ability in low light.
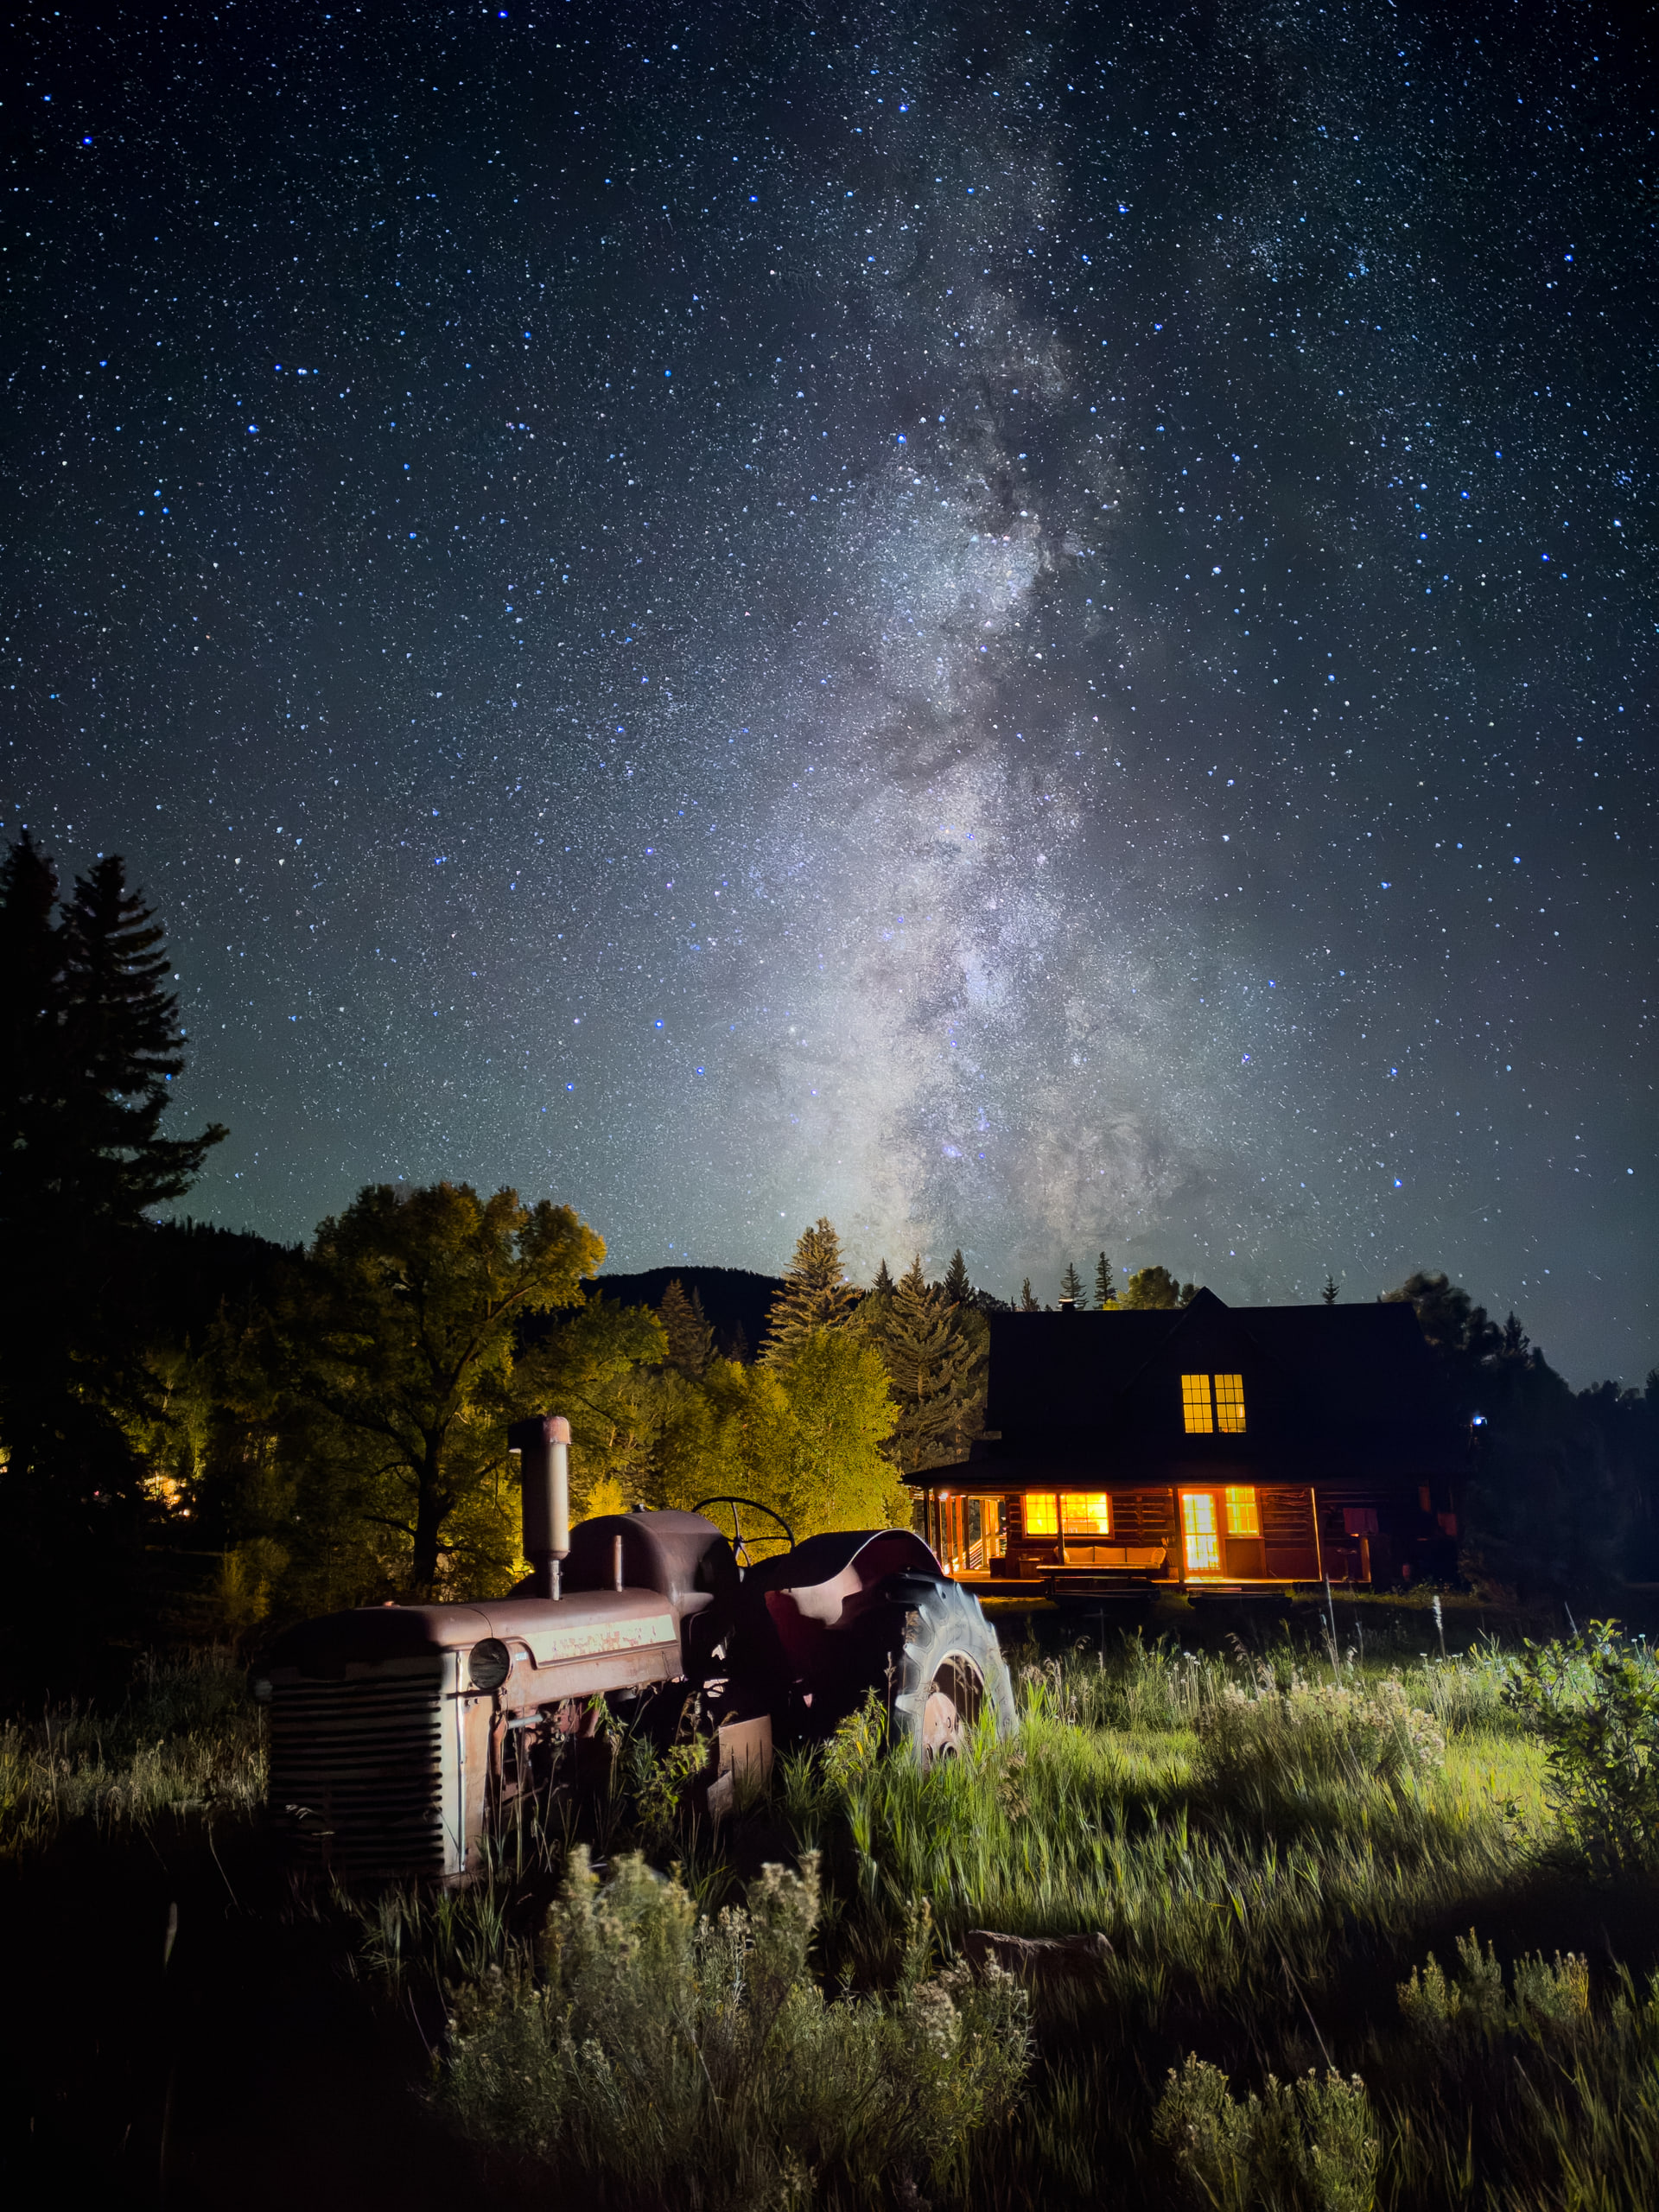
The night skies at Dunton are absolutely incredible so when I learned of the new wider f/1.48 aperture on the iPhone 18 Pro camera, the first thing I did was check the moon phase. Luckily, the night we arrived was a new moon, which meant an extra-dark sky to work with all night.
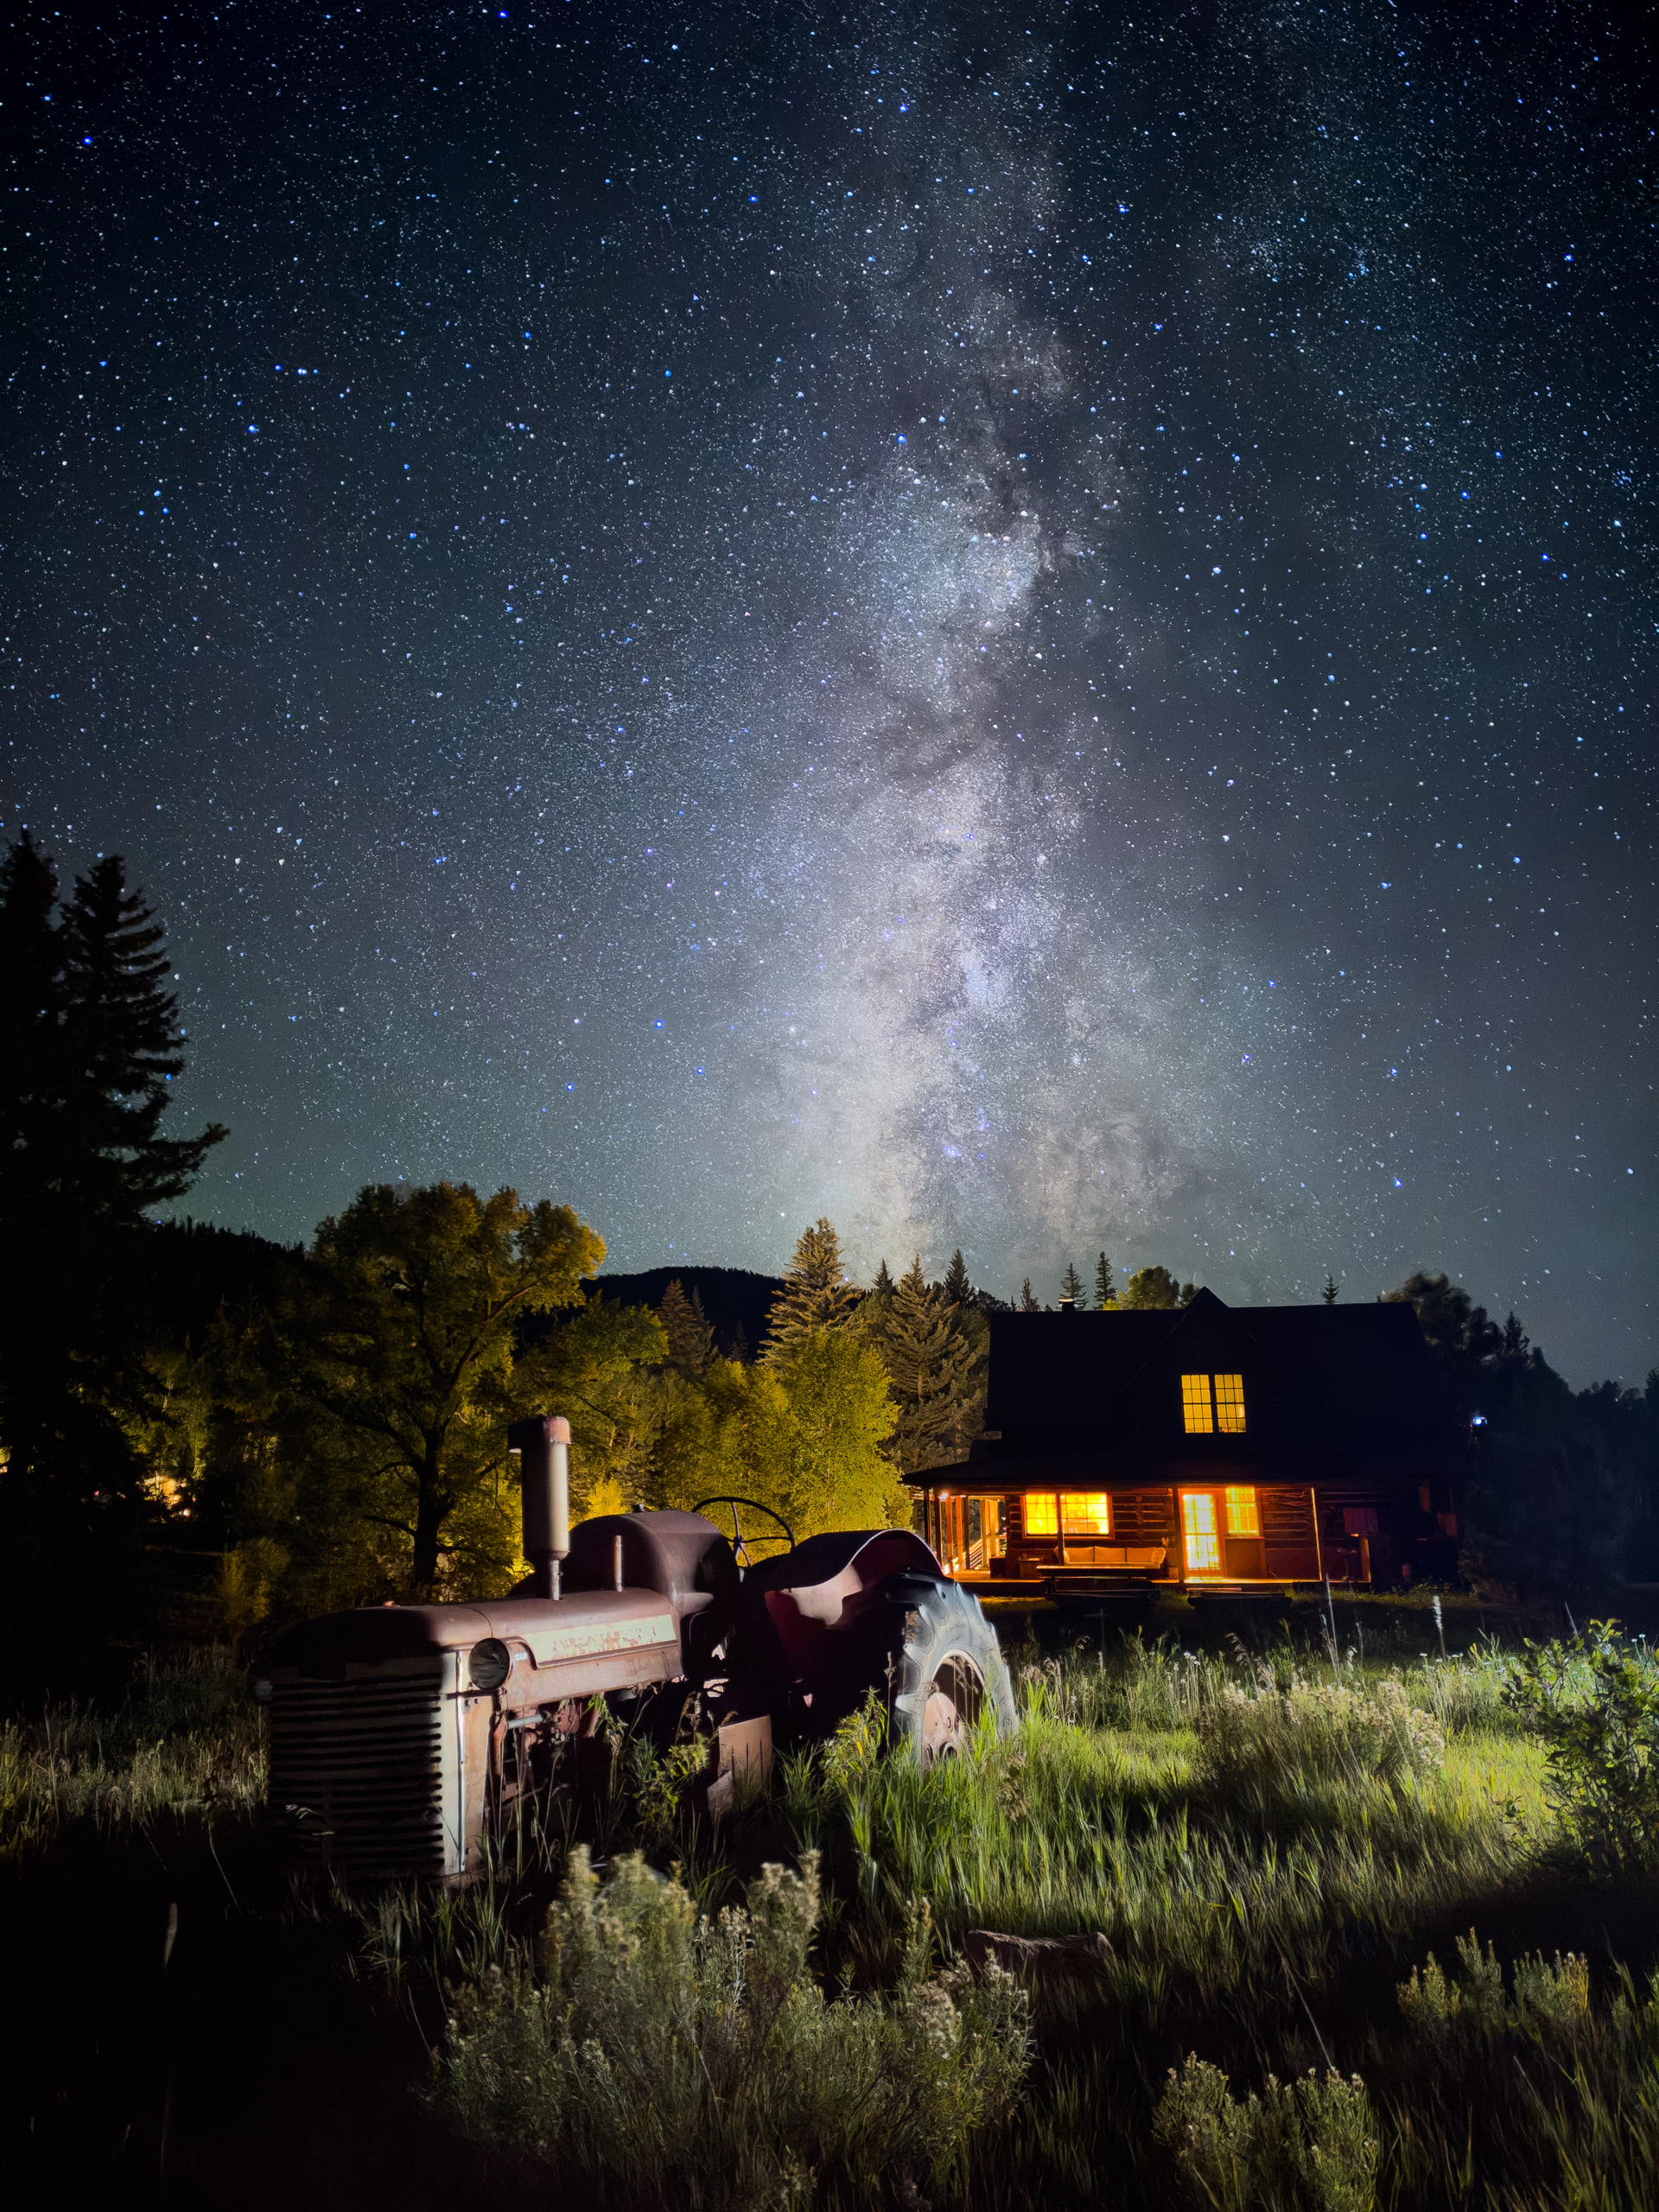
Milky Way captured in the dark night sky over Dunton River CampiPhone 18 Pro24mm1x12MPƒ/1.510sISO 1600ProRAWEdited in Lightroom
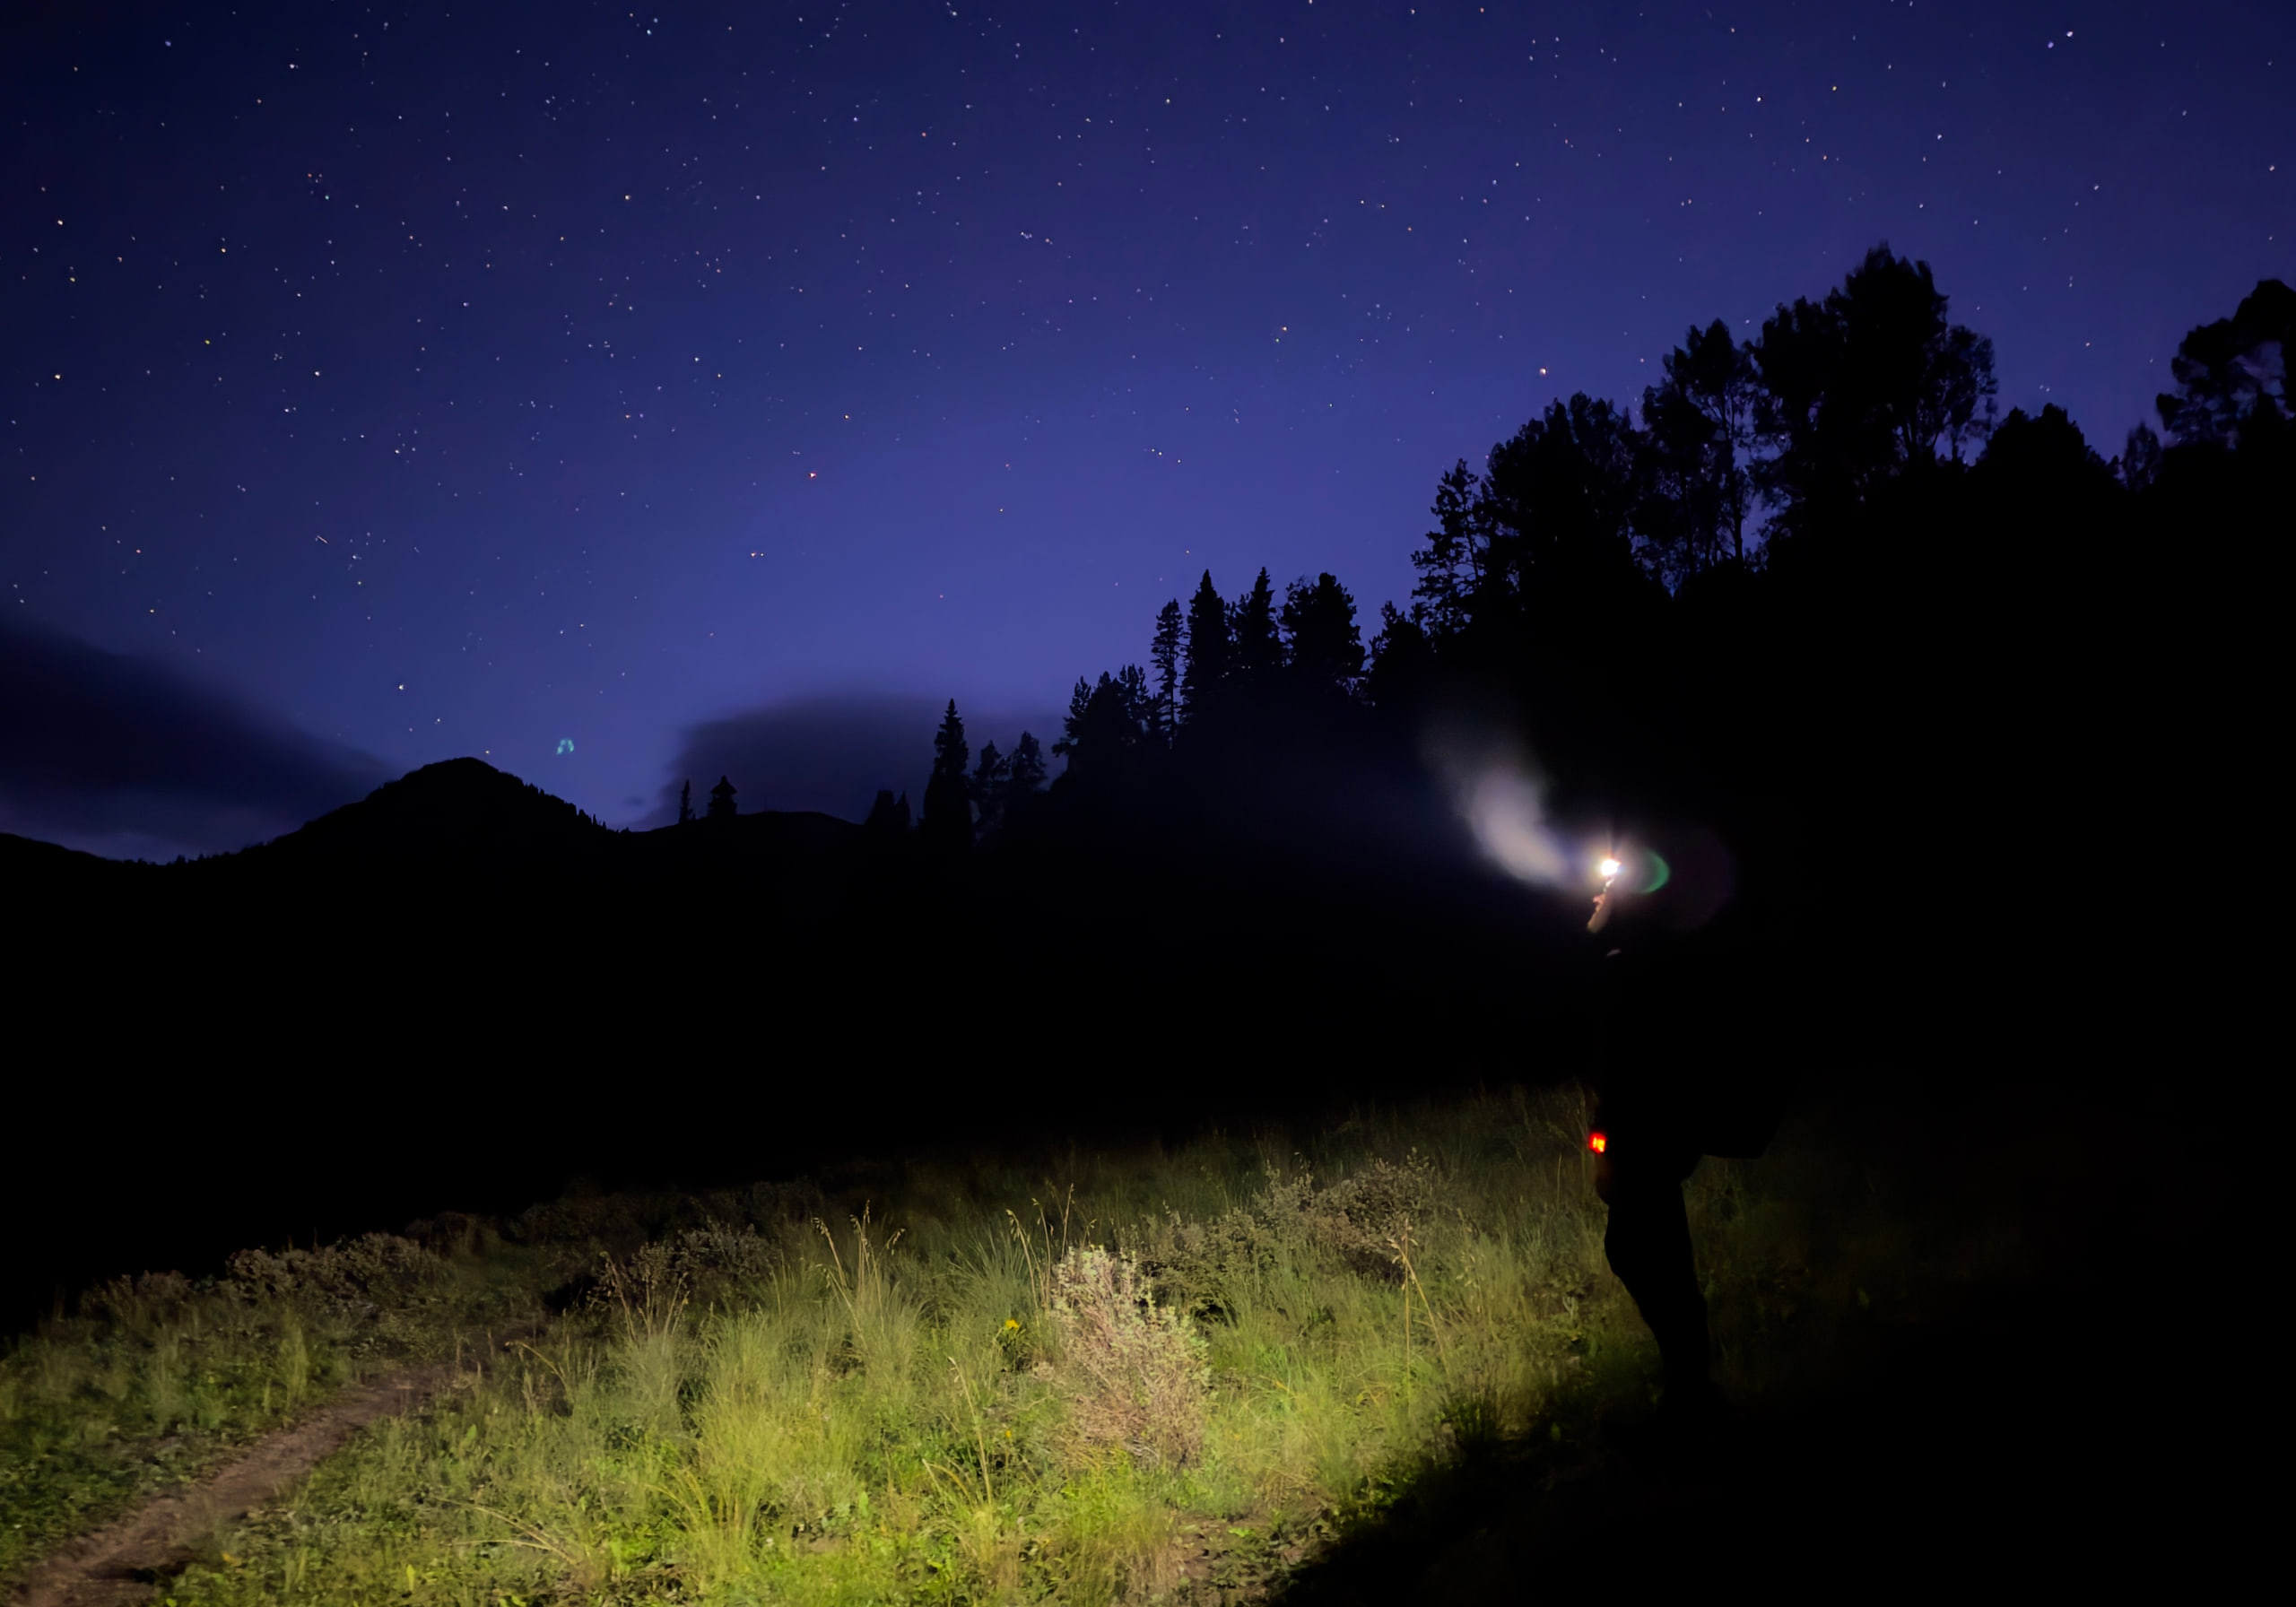
Pre-sunrise hike up to Navajo LakeiPhone 18 Pro24mm1xƒ/1.482sISO 8000ProRAWEdited in Lightroom
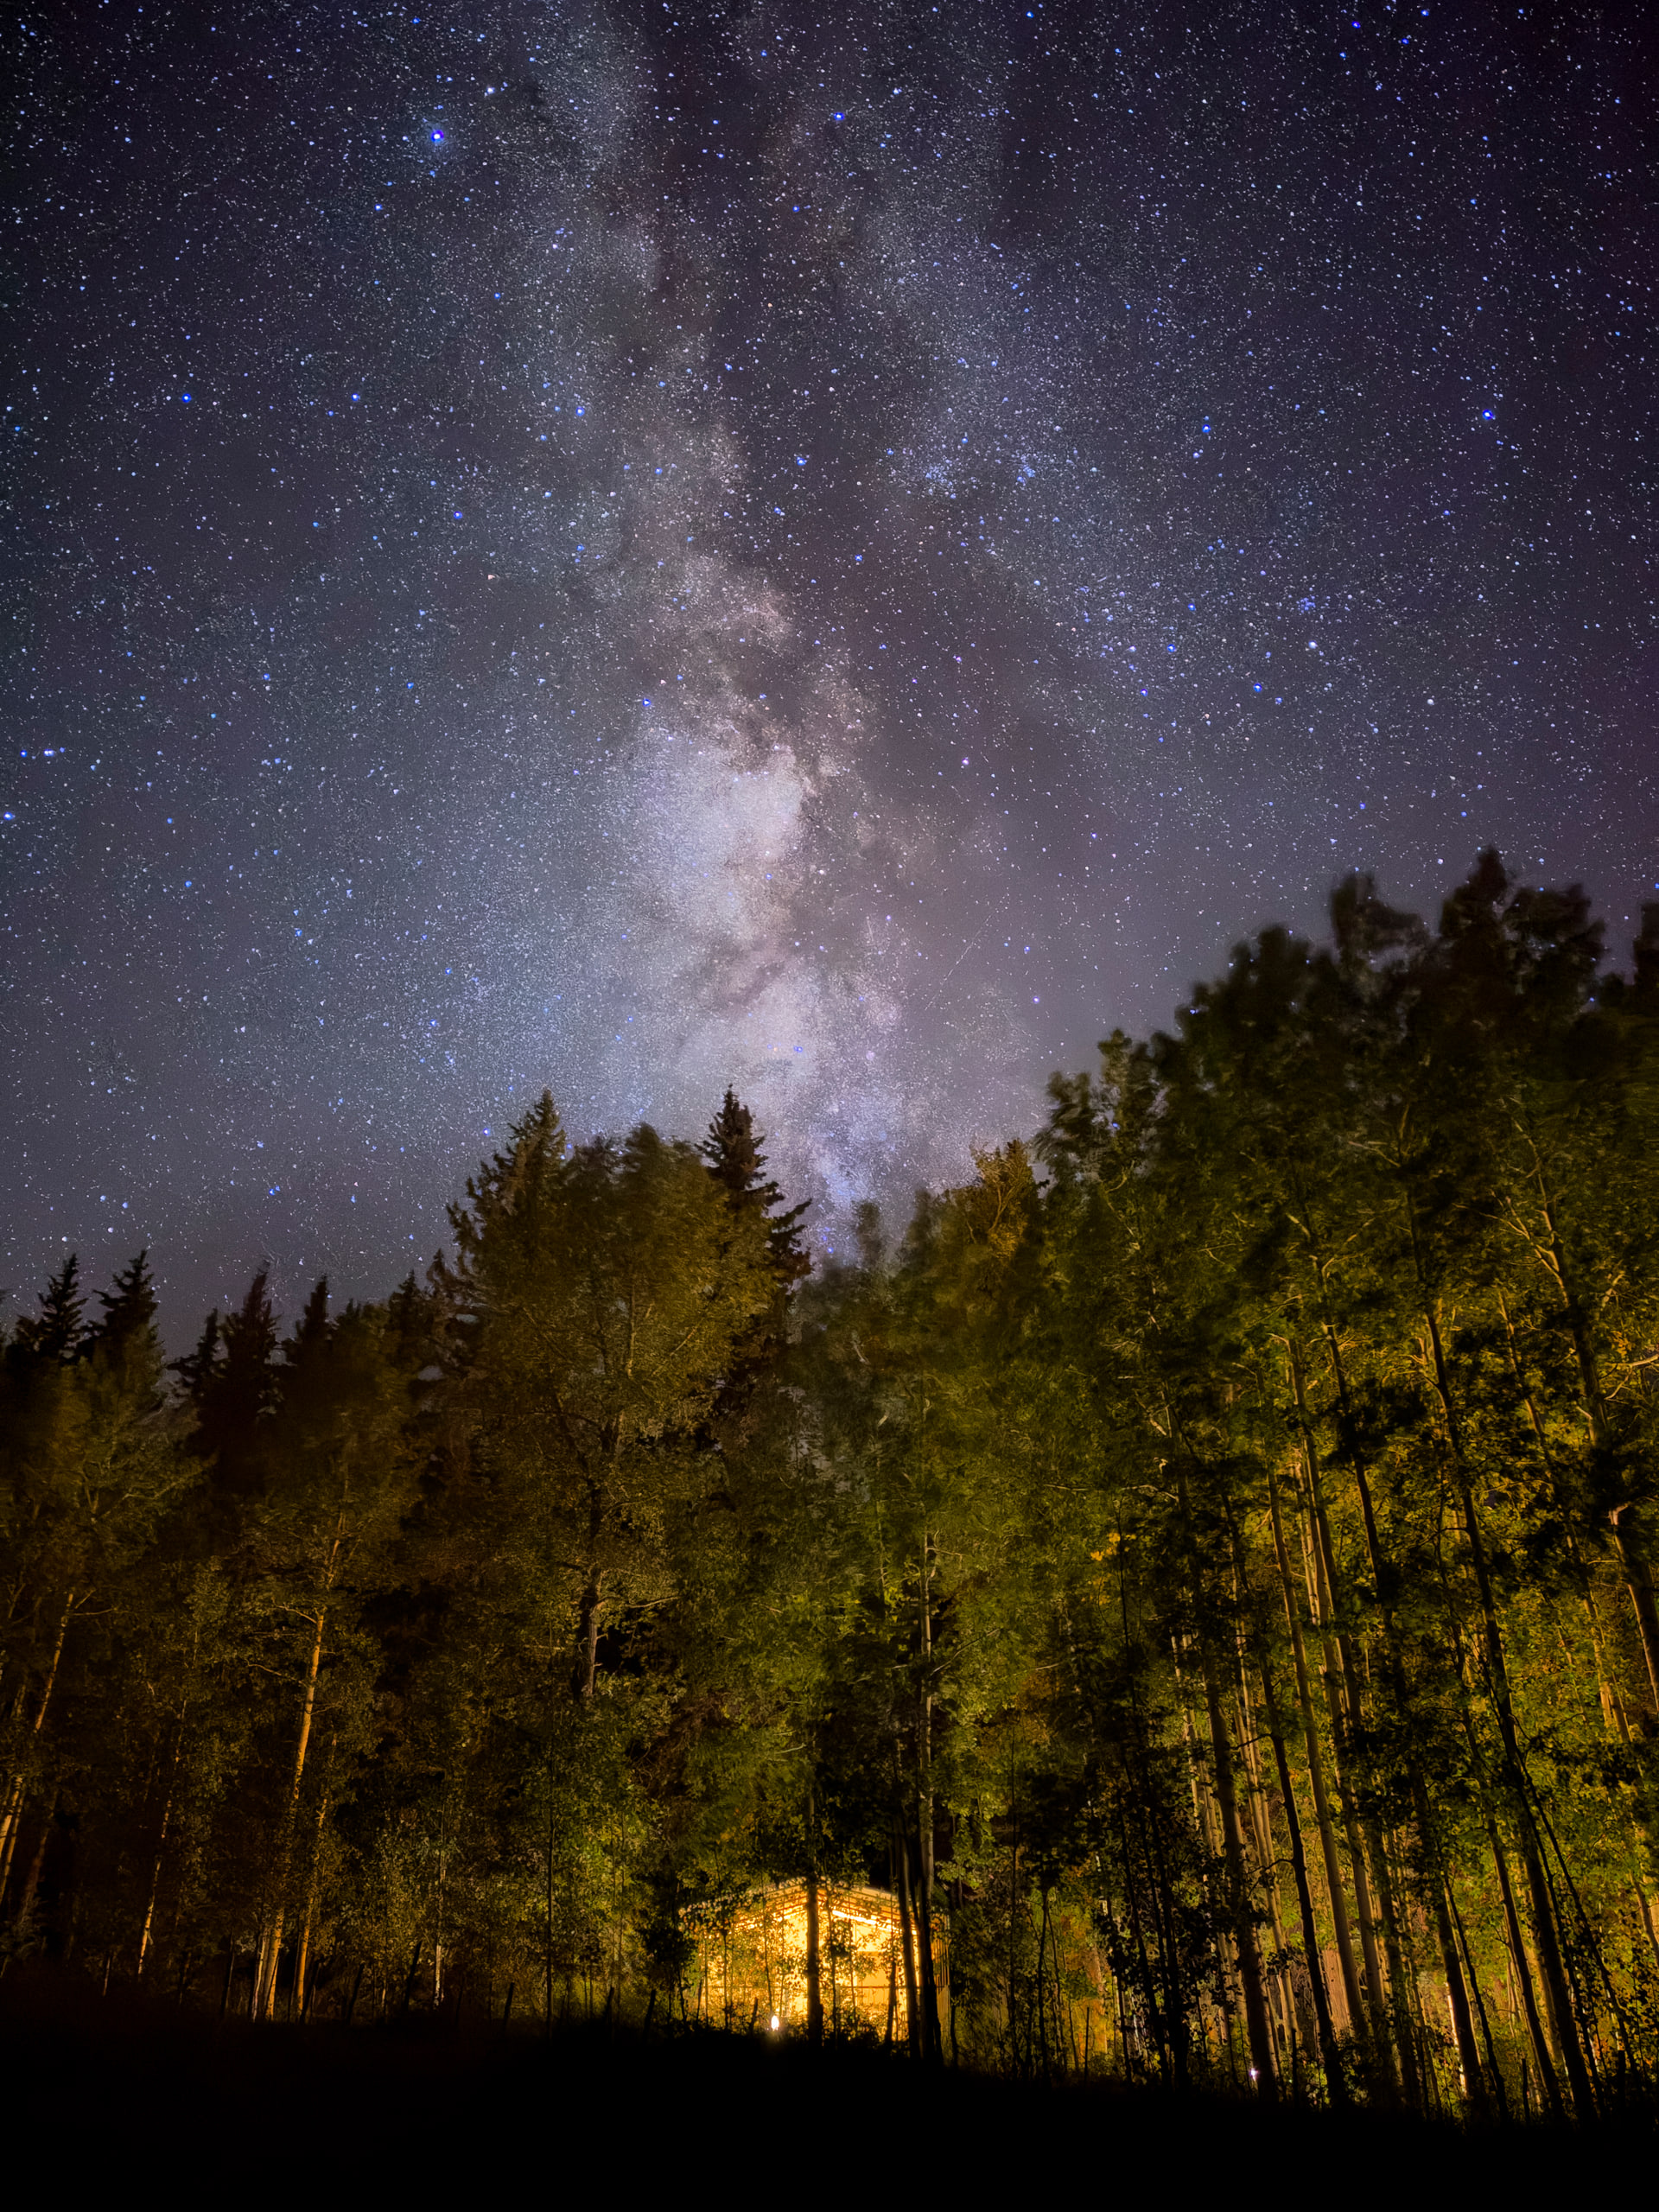
Milky Way over Dunton River Camp tentiPhone 18 Pro24mm1x12MPƒ/1.510sISO 4000ProRAWEdited in Lightroom
Starburst with the variable aperture
I tested the variable aperture starburst quite a bit and I tend to actually like f/1.8 the best. It feels balanced, classic and works great with the sun.
I’ve heard some comments about this effect and want to make sure everyone knows — this starburst is a natural effect, not a simulated one. It's the physics of the variable aperture lens.
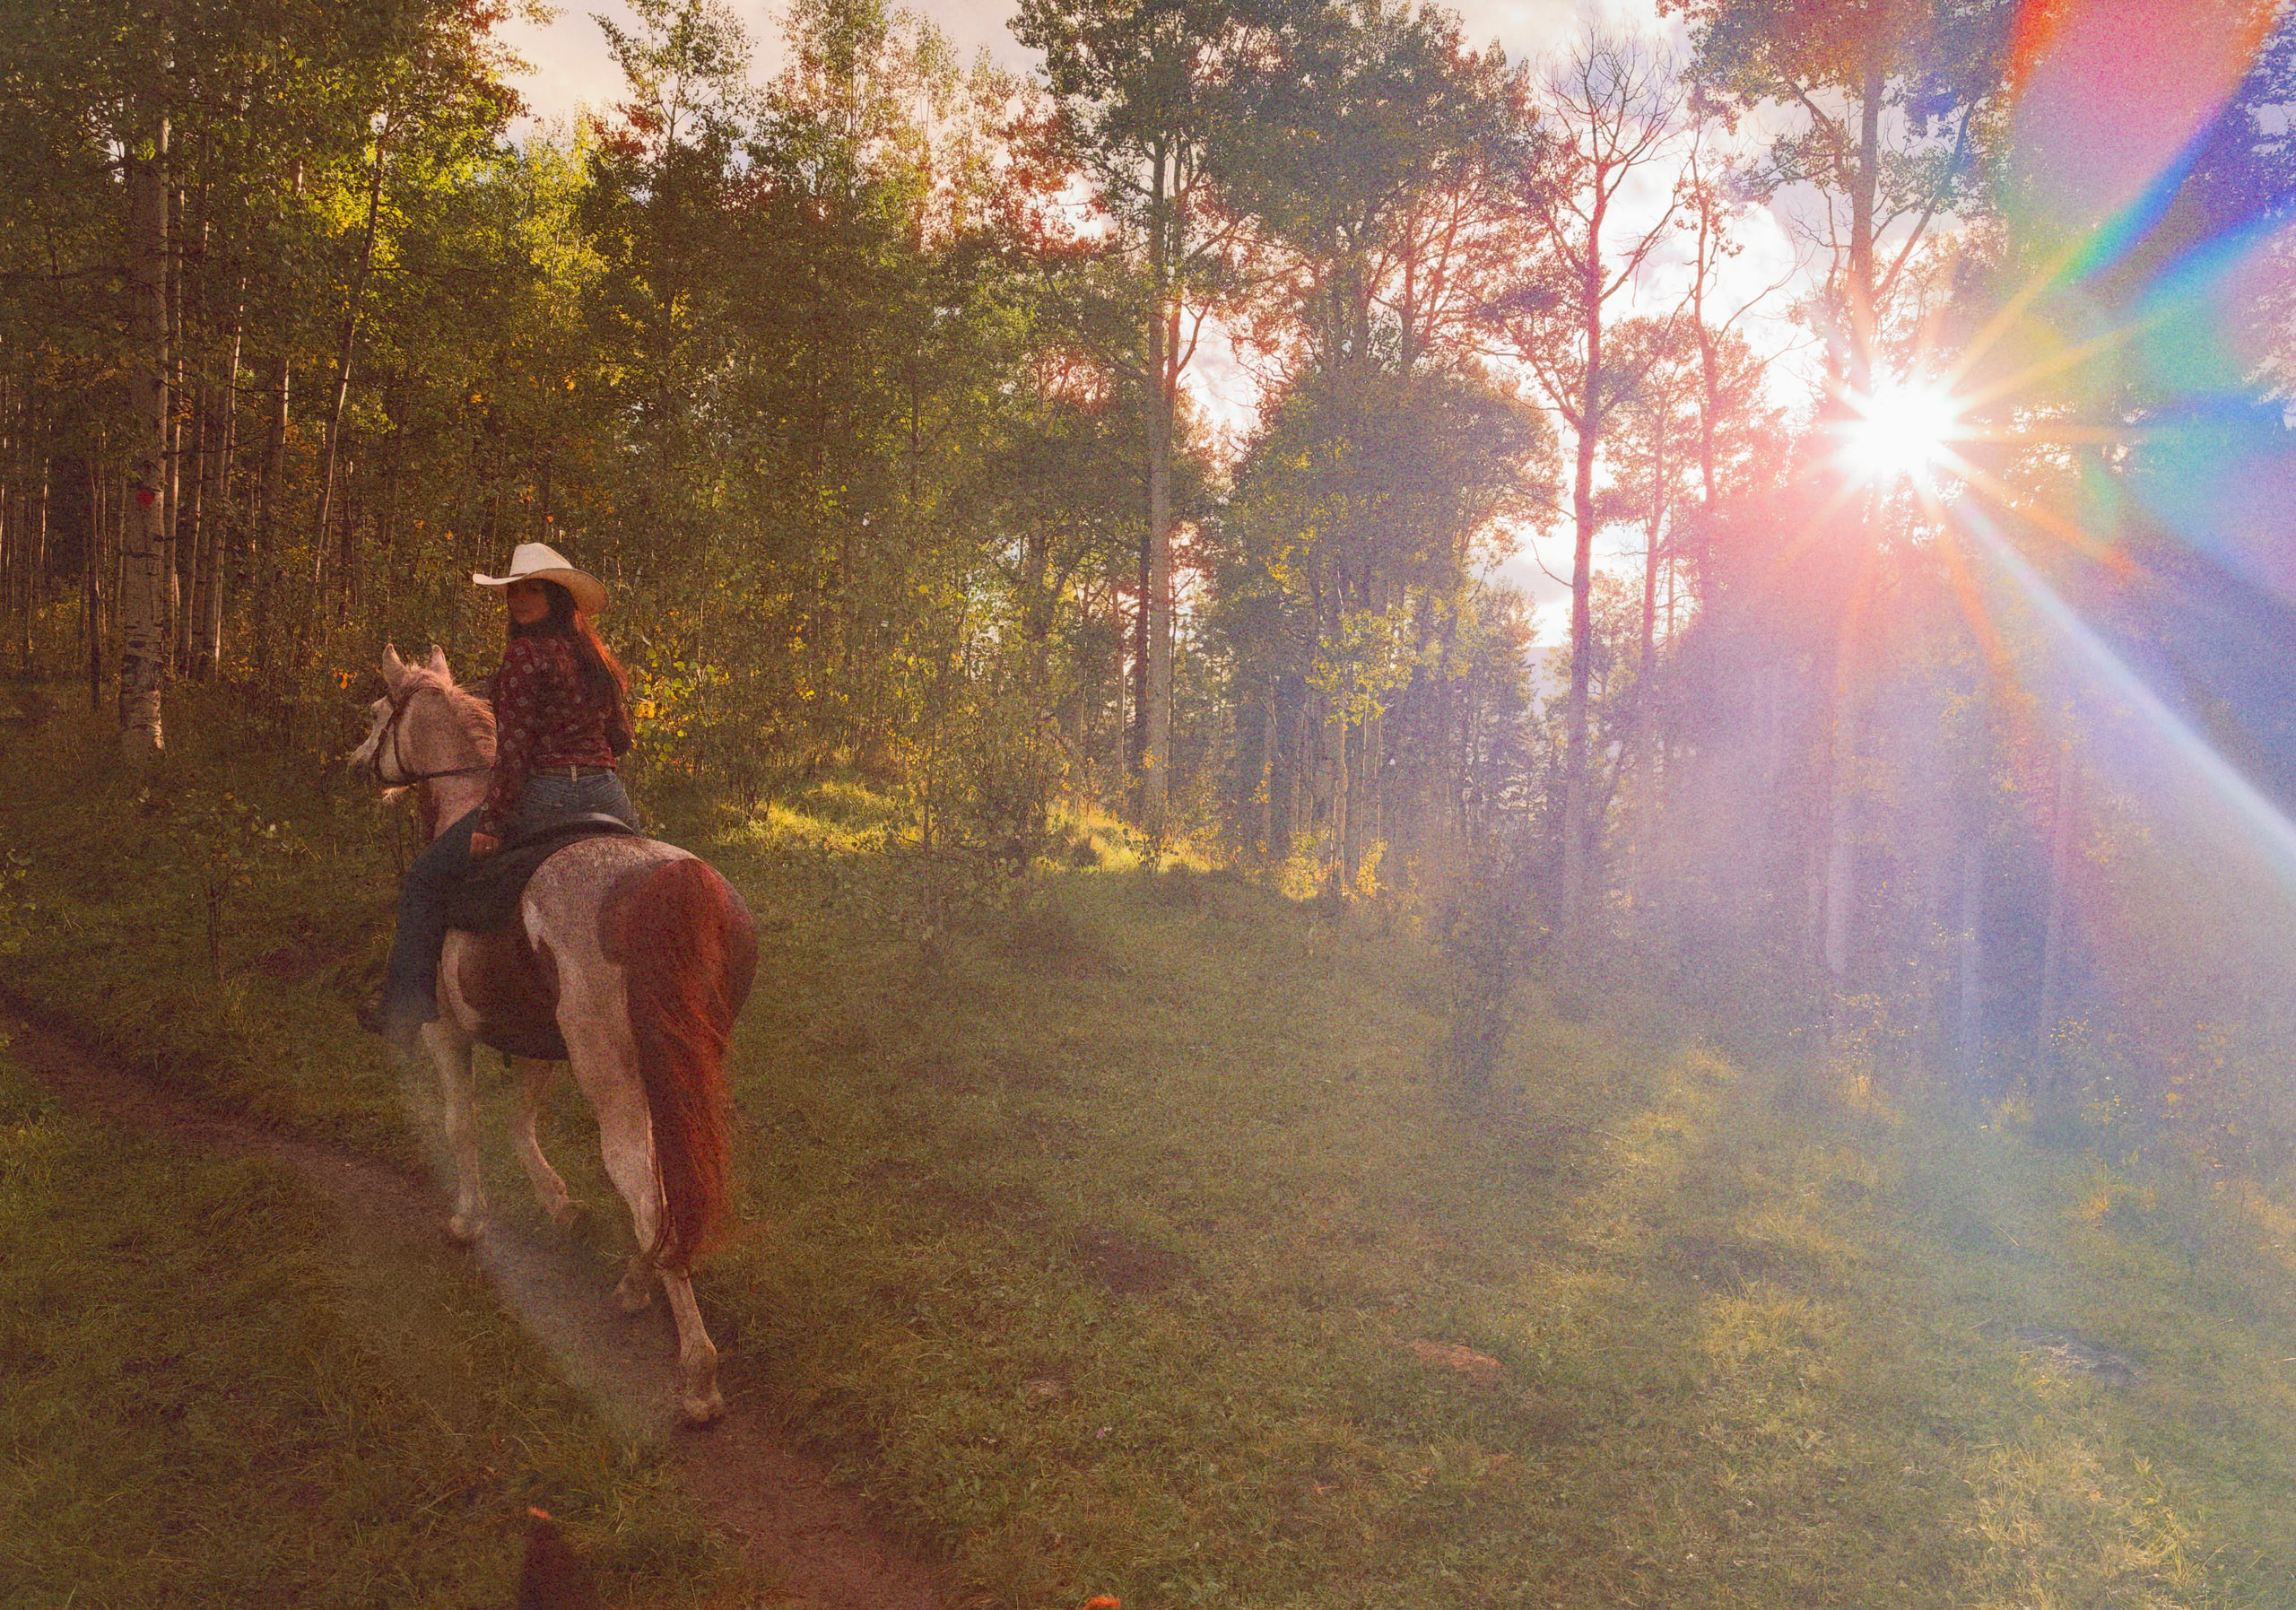
Sophia and Firefly leading the way to the meadowiPhone 18 Pro24mm1x48MPƒ/1.81/1456ISO 64Photographic Style: Quiet + Film with Grain
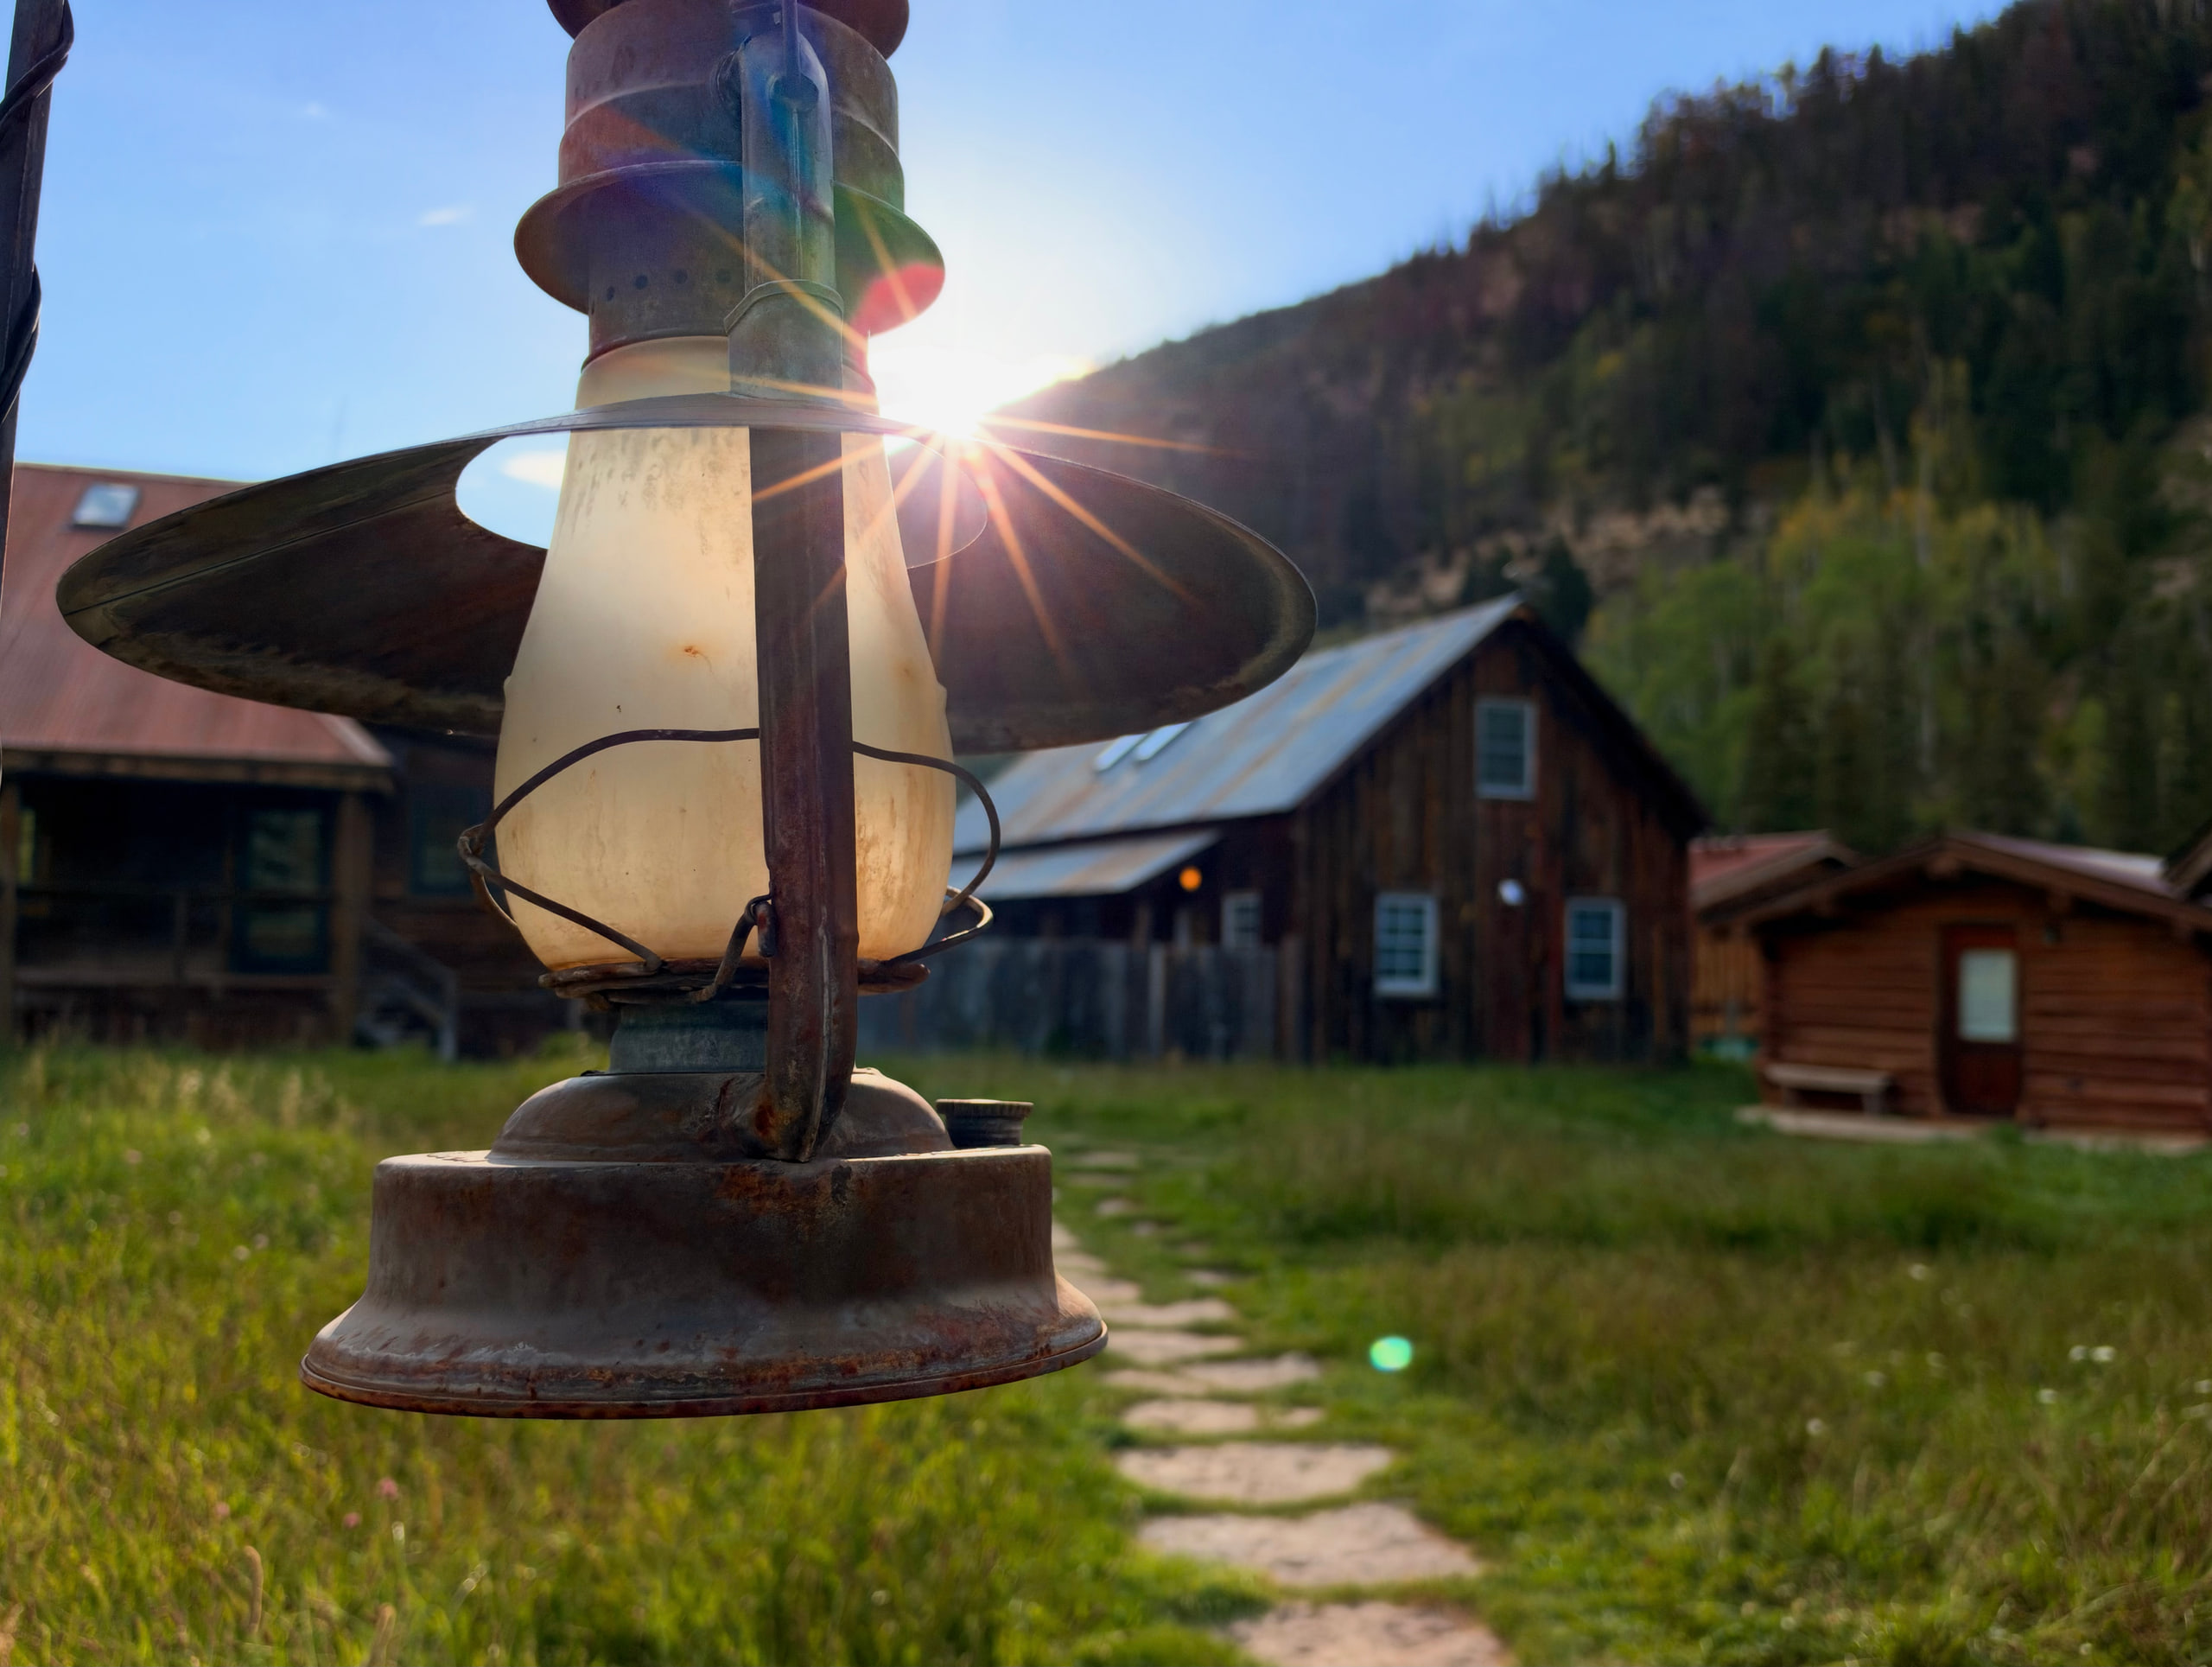
Natural starburst at Dunton Hot SpringsiPhone 18 Pro24mm1xƒ/1.81/2208ISO 80
Have a look at the four images below, shot with each of the four available aperture on the 1x lens… notice how the starburst changes between settings.
Note: I recommend leaving your aperture in Auto. The camera is very, very good at picking the best aperture for the scene, and it's usually better at it than me. Inside at dinner? f/1.48, auto-selected. Outside with plenty of light and depth? It picks a higher f-stop to keep everything in focus.
I only switch out of Auto for a specific artistic purpose: shallow depth of field, motion blur, or a starburst.
It's easy to get excited about that new artistic latitude, but let's not miss the point:
variable aperture just means better photos for everyone across the board.
Pro Controls are finally here!
There was lots of talk at the keynote about the variable aperture, so I was excited to play with it. But I was surprised to open the Camera app and find Manual Focus, which I hadn’t heard mentioned at all.
One of the most-asked-for features by photographers has been the ability to separate exposure and focus, and now we can! All you do is set your focus manually (with focus peaking that works quite well!) and then tap where you want to expose.
This individual control of focus and exposure is genuinely a big deal and a major reason many photographers use third-party camera apps.
Have a look at the depth of field from shallow to deep in the images below:
Here’s a shot where manual focus really came in handy. The auto-focus was trying to focus on the window itself but what I wanted was to focus on the reflection of the mountains — I used manual focus for this and had no problem capturing it.
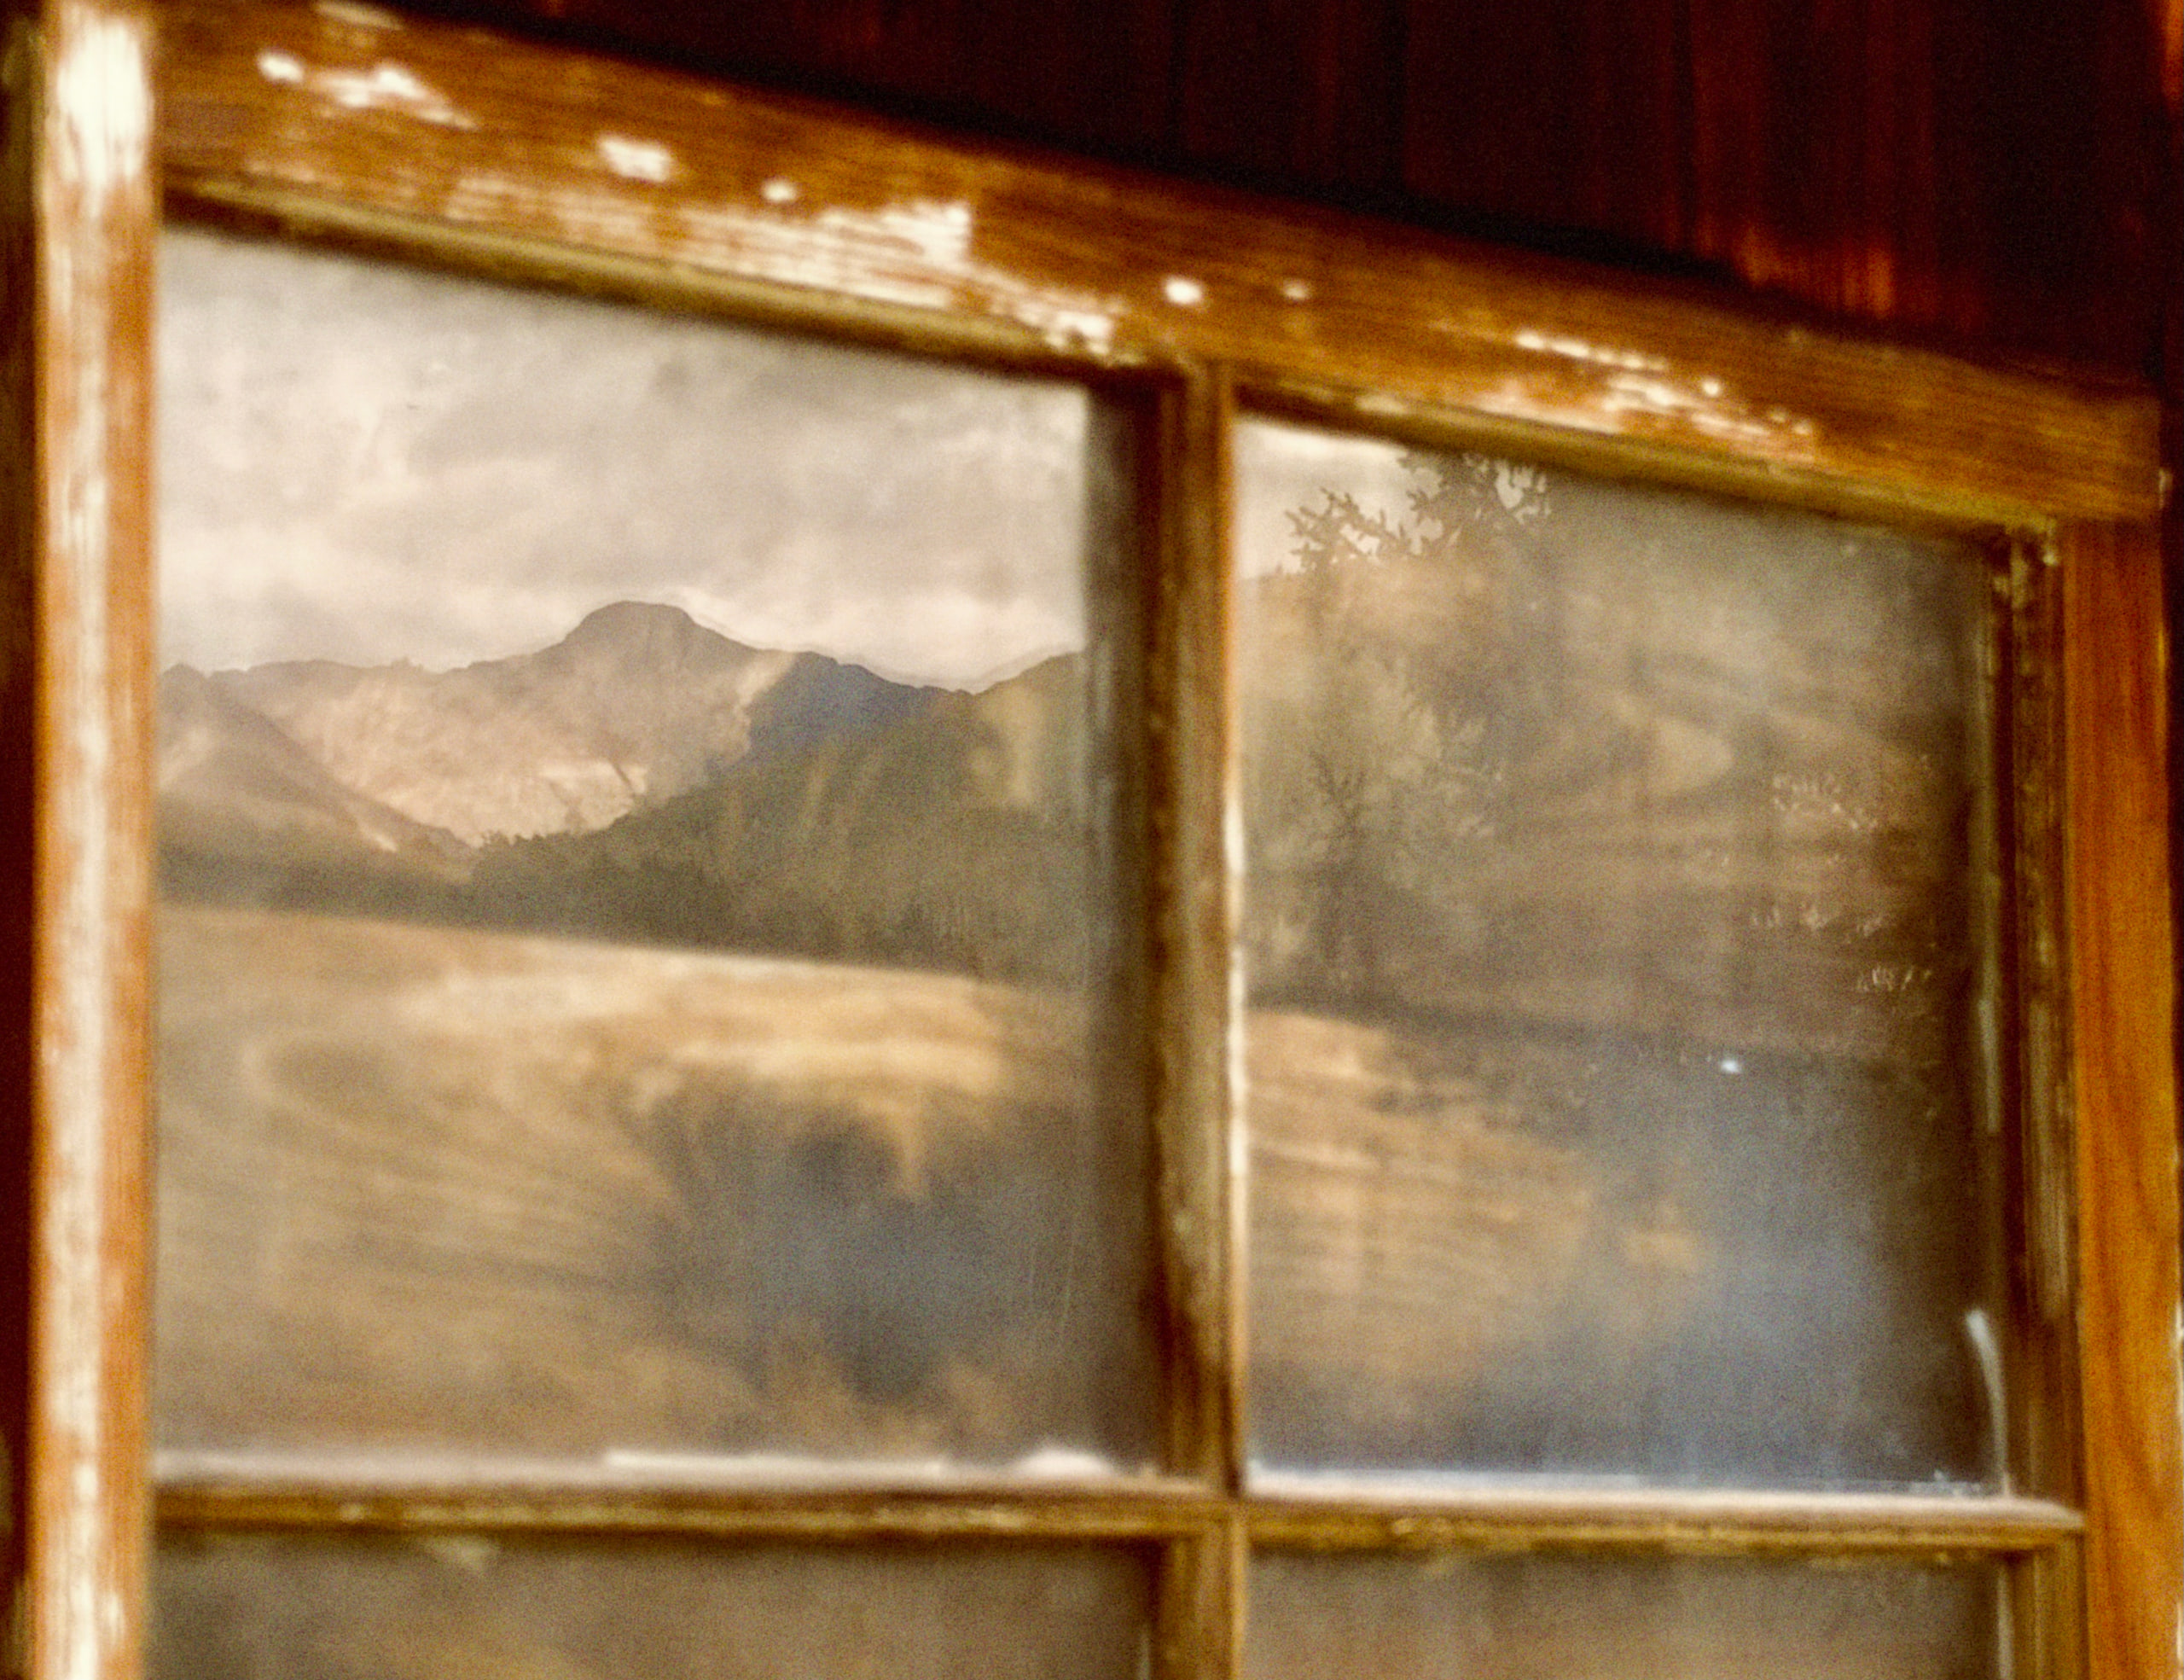
El Diente and the Wilson Range in the reflection of Dunton StoreiPhone 18 Pro101mm4xƒ/1.481/728ISO 64Photographic Style: Quiet + Film with Grain
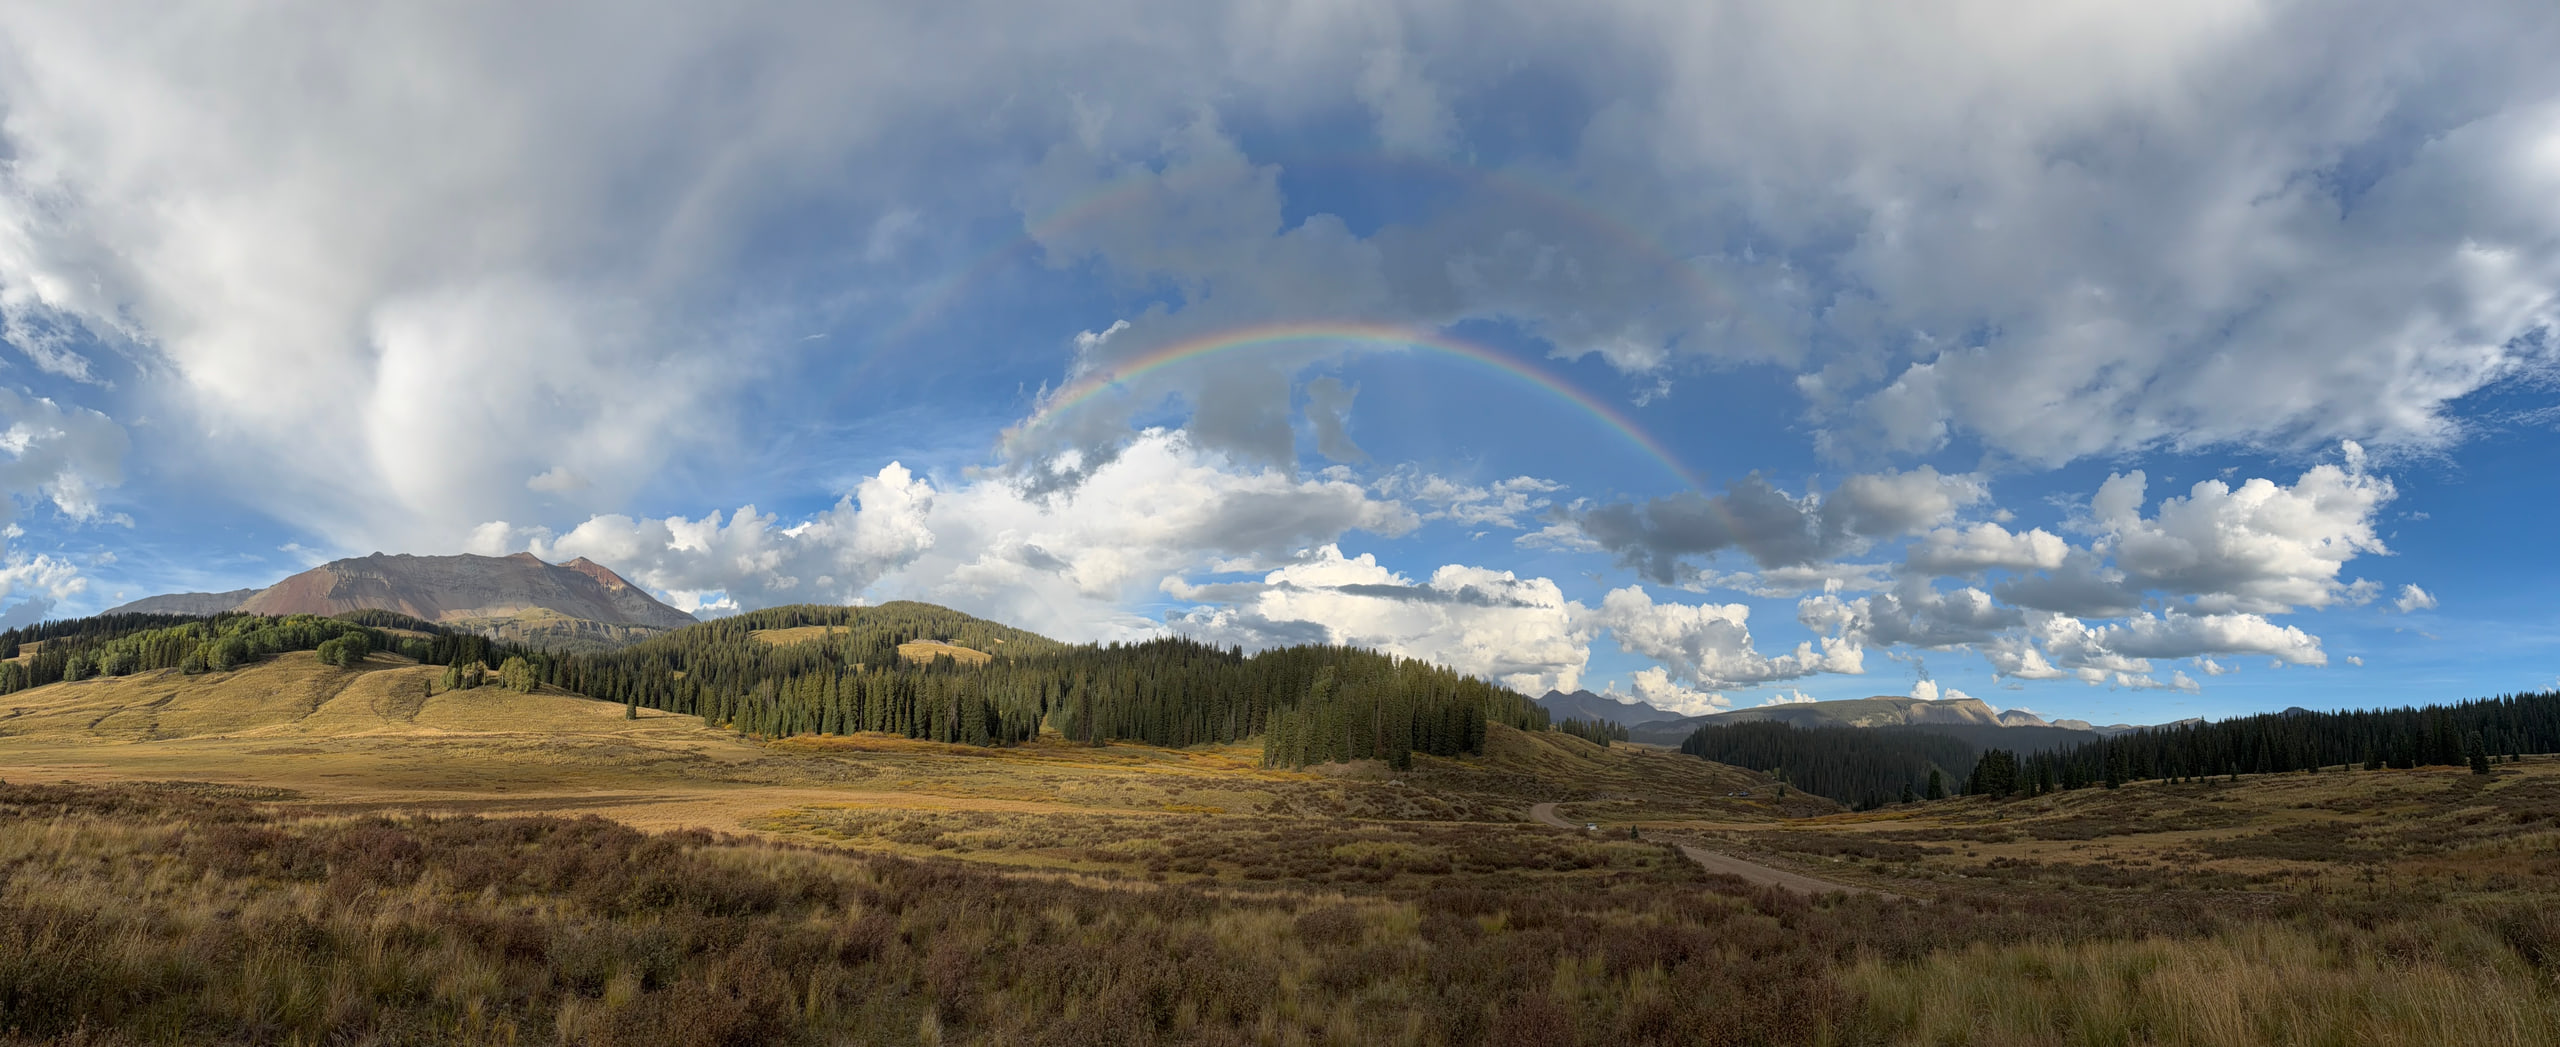
Double-rainbow at sunset over El DienteiPhone 18 Pro24mm1xƒ/1.81/4975ISO 80Edited in Lightroom
Freezing and blurring motion
Professional photographers have long manipulated shutter speed for different effects in camera… motion blur (longer shutter) and freezing motion (shorter shutter).
Freezing motion on iPhone has never been hard, because the default shutter speed is extremely fast. But that same default makes motion blur a struggle, and it’s one of the main reasons I reach for my favorite third-party camera app, Halide.
The shutter doesn’t need to be very long at all to create a blur if the subject is moving quickly. I closed the aperture down to f/4 and dragged the shutter out to 1/15th of a second while holding the camera extremely still to make the image below.
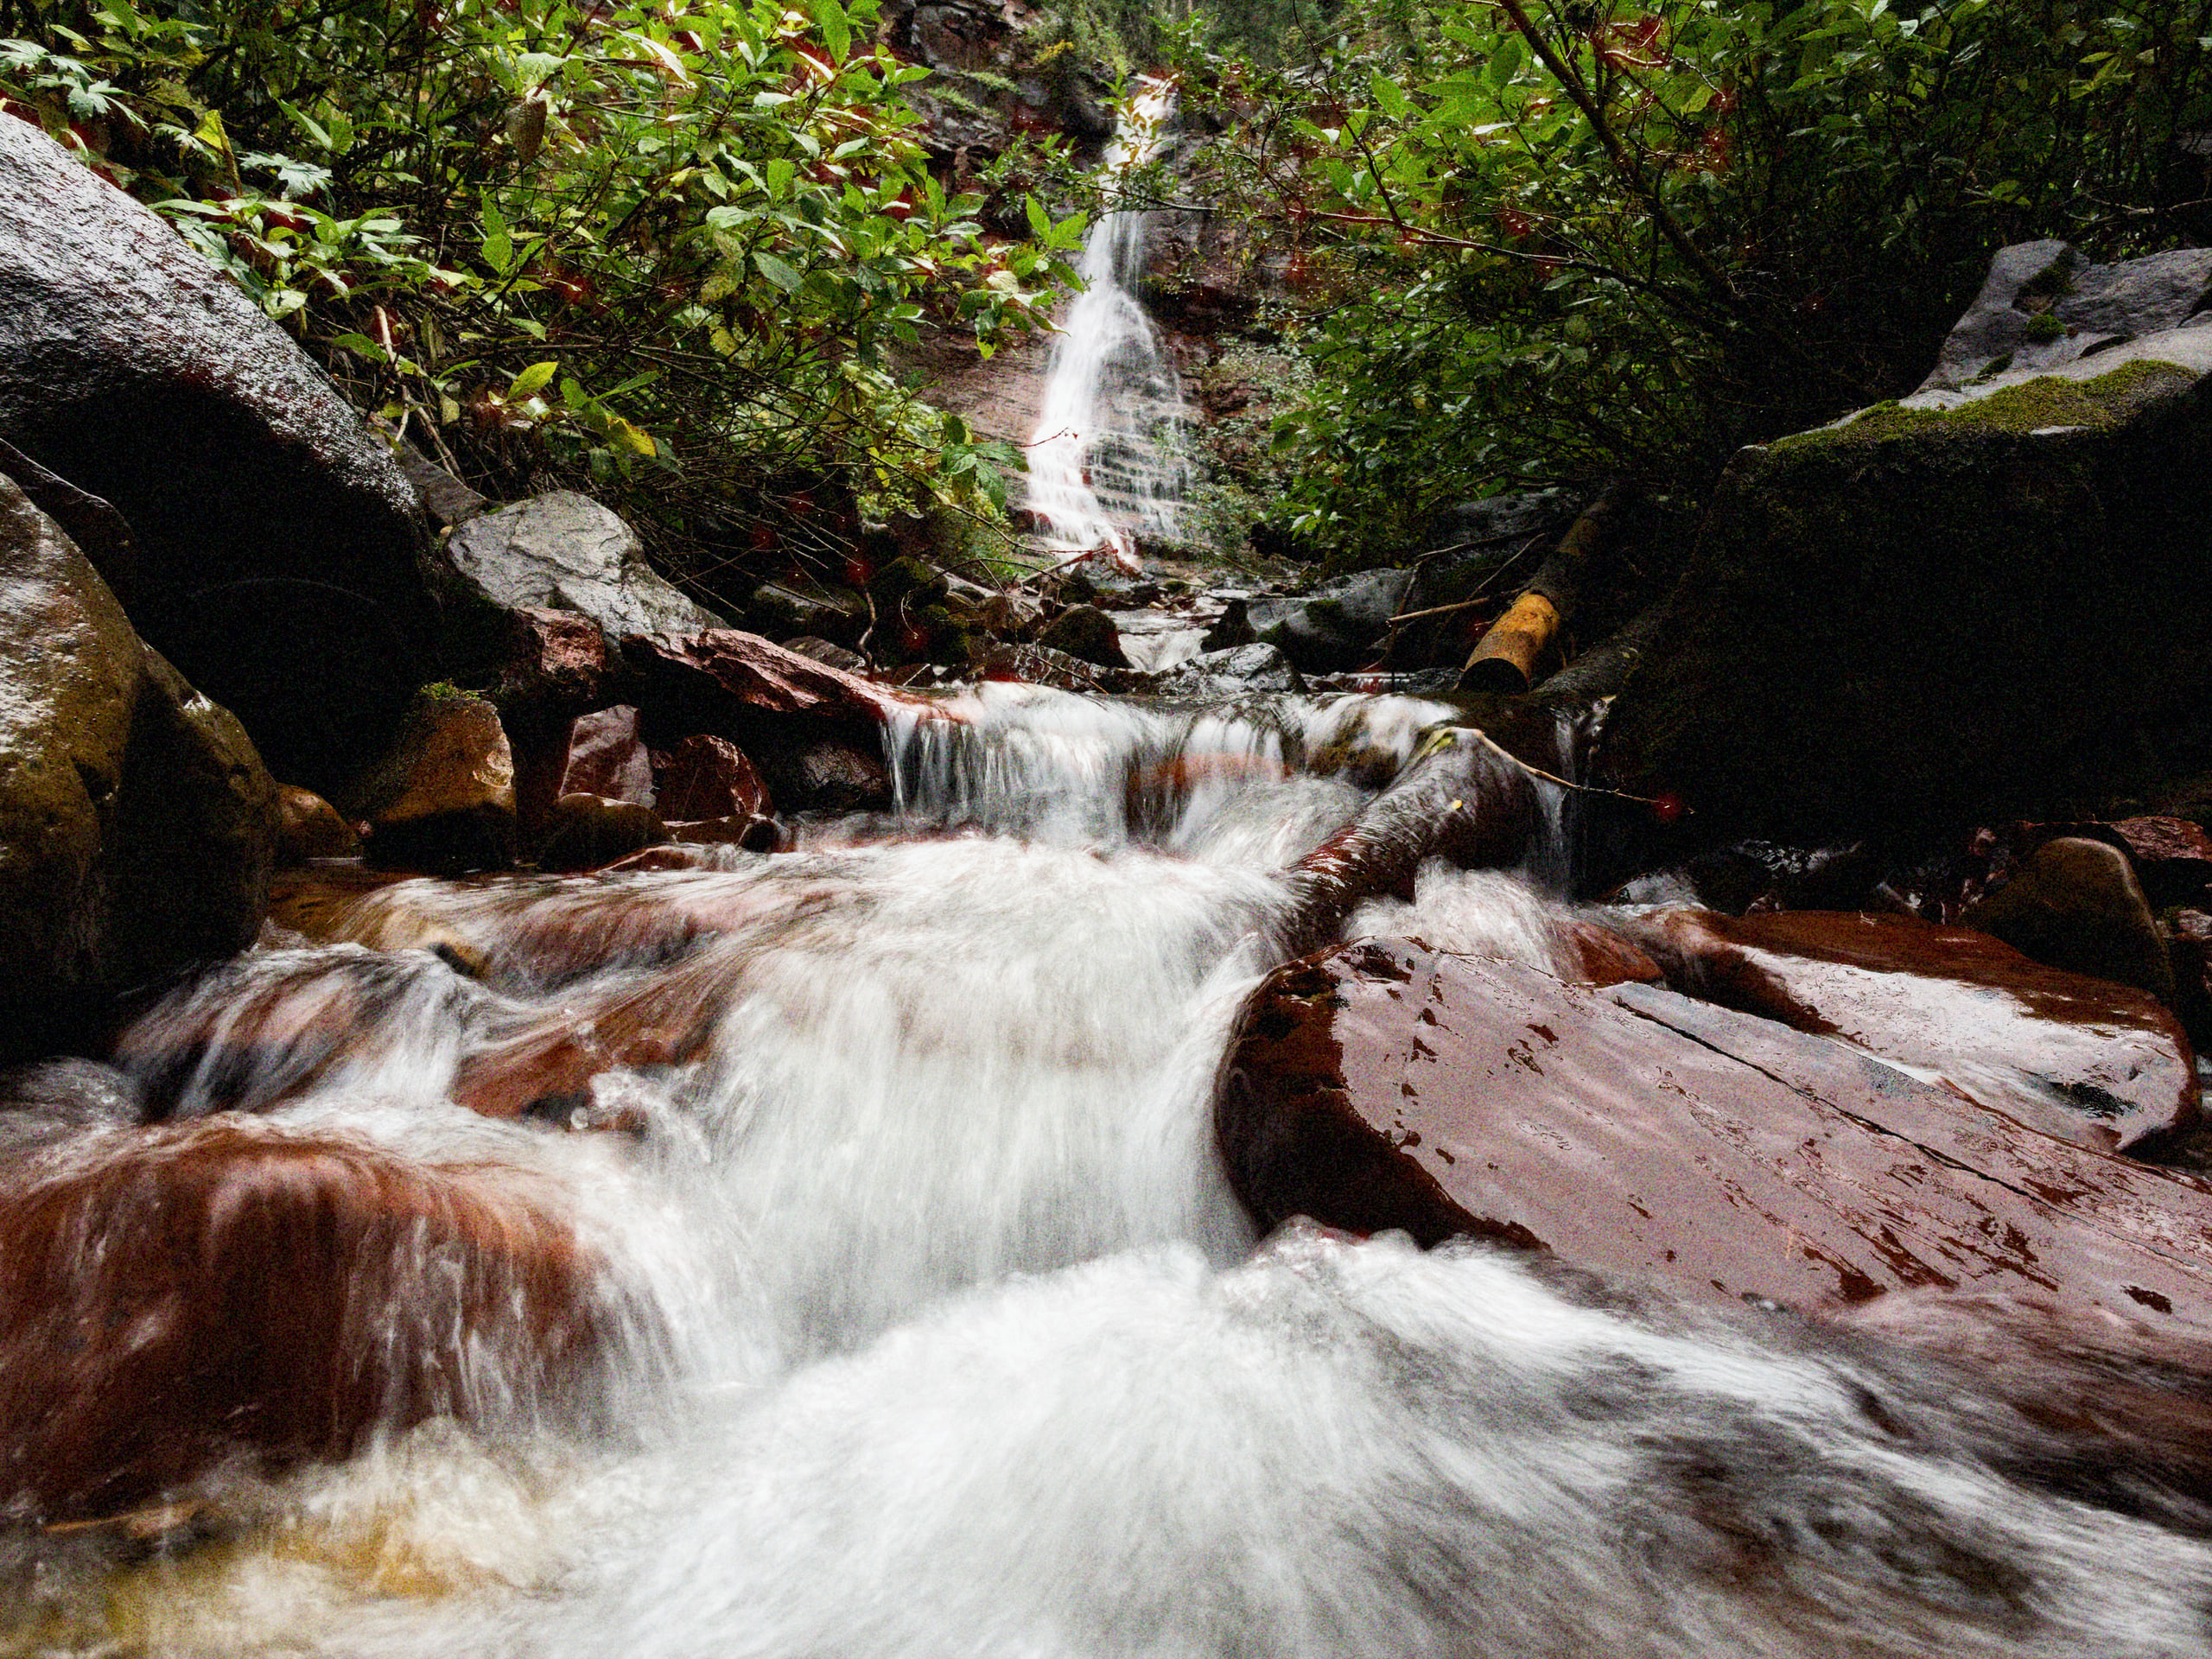
Motion blur waterfall at Dunton Hot SpringsiPhone 18 Pro24mm1x48MPƒ/41/15ISO 50Photographic Style: Natural + Film with Grain
Here’s another example of motion blur, where instead of keeping the camera super still, I panned the camera along with the riders, which really adds a lot of energy and dynamism to the photograph.
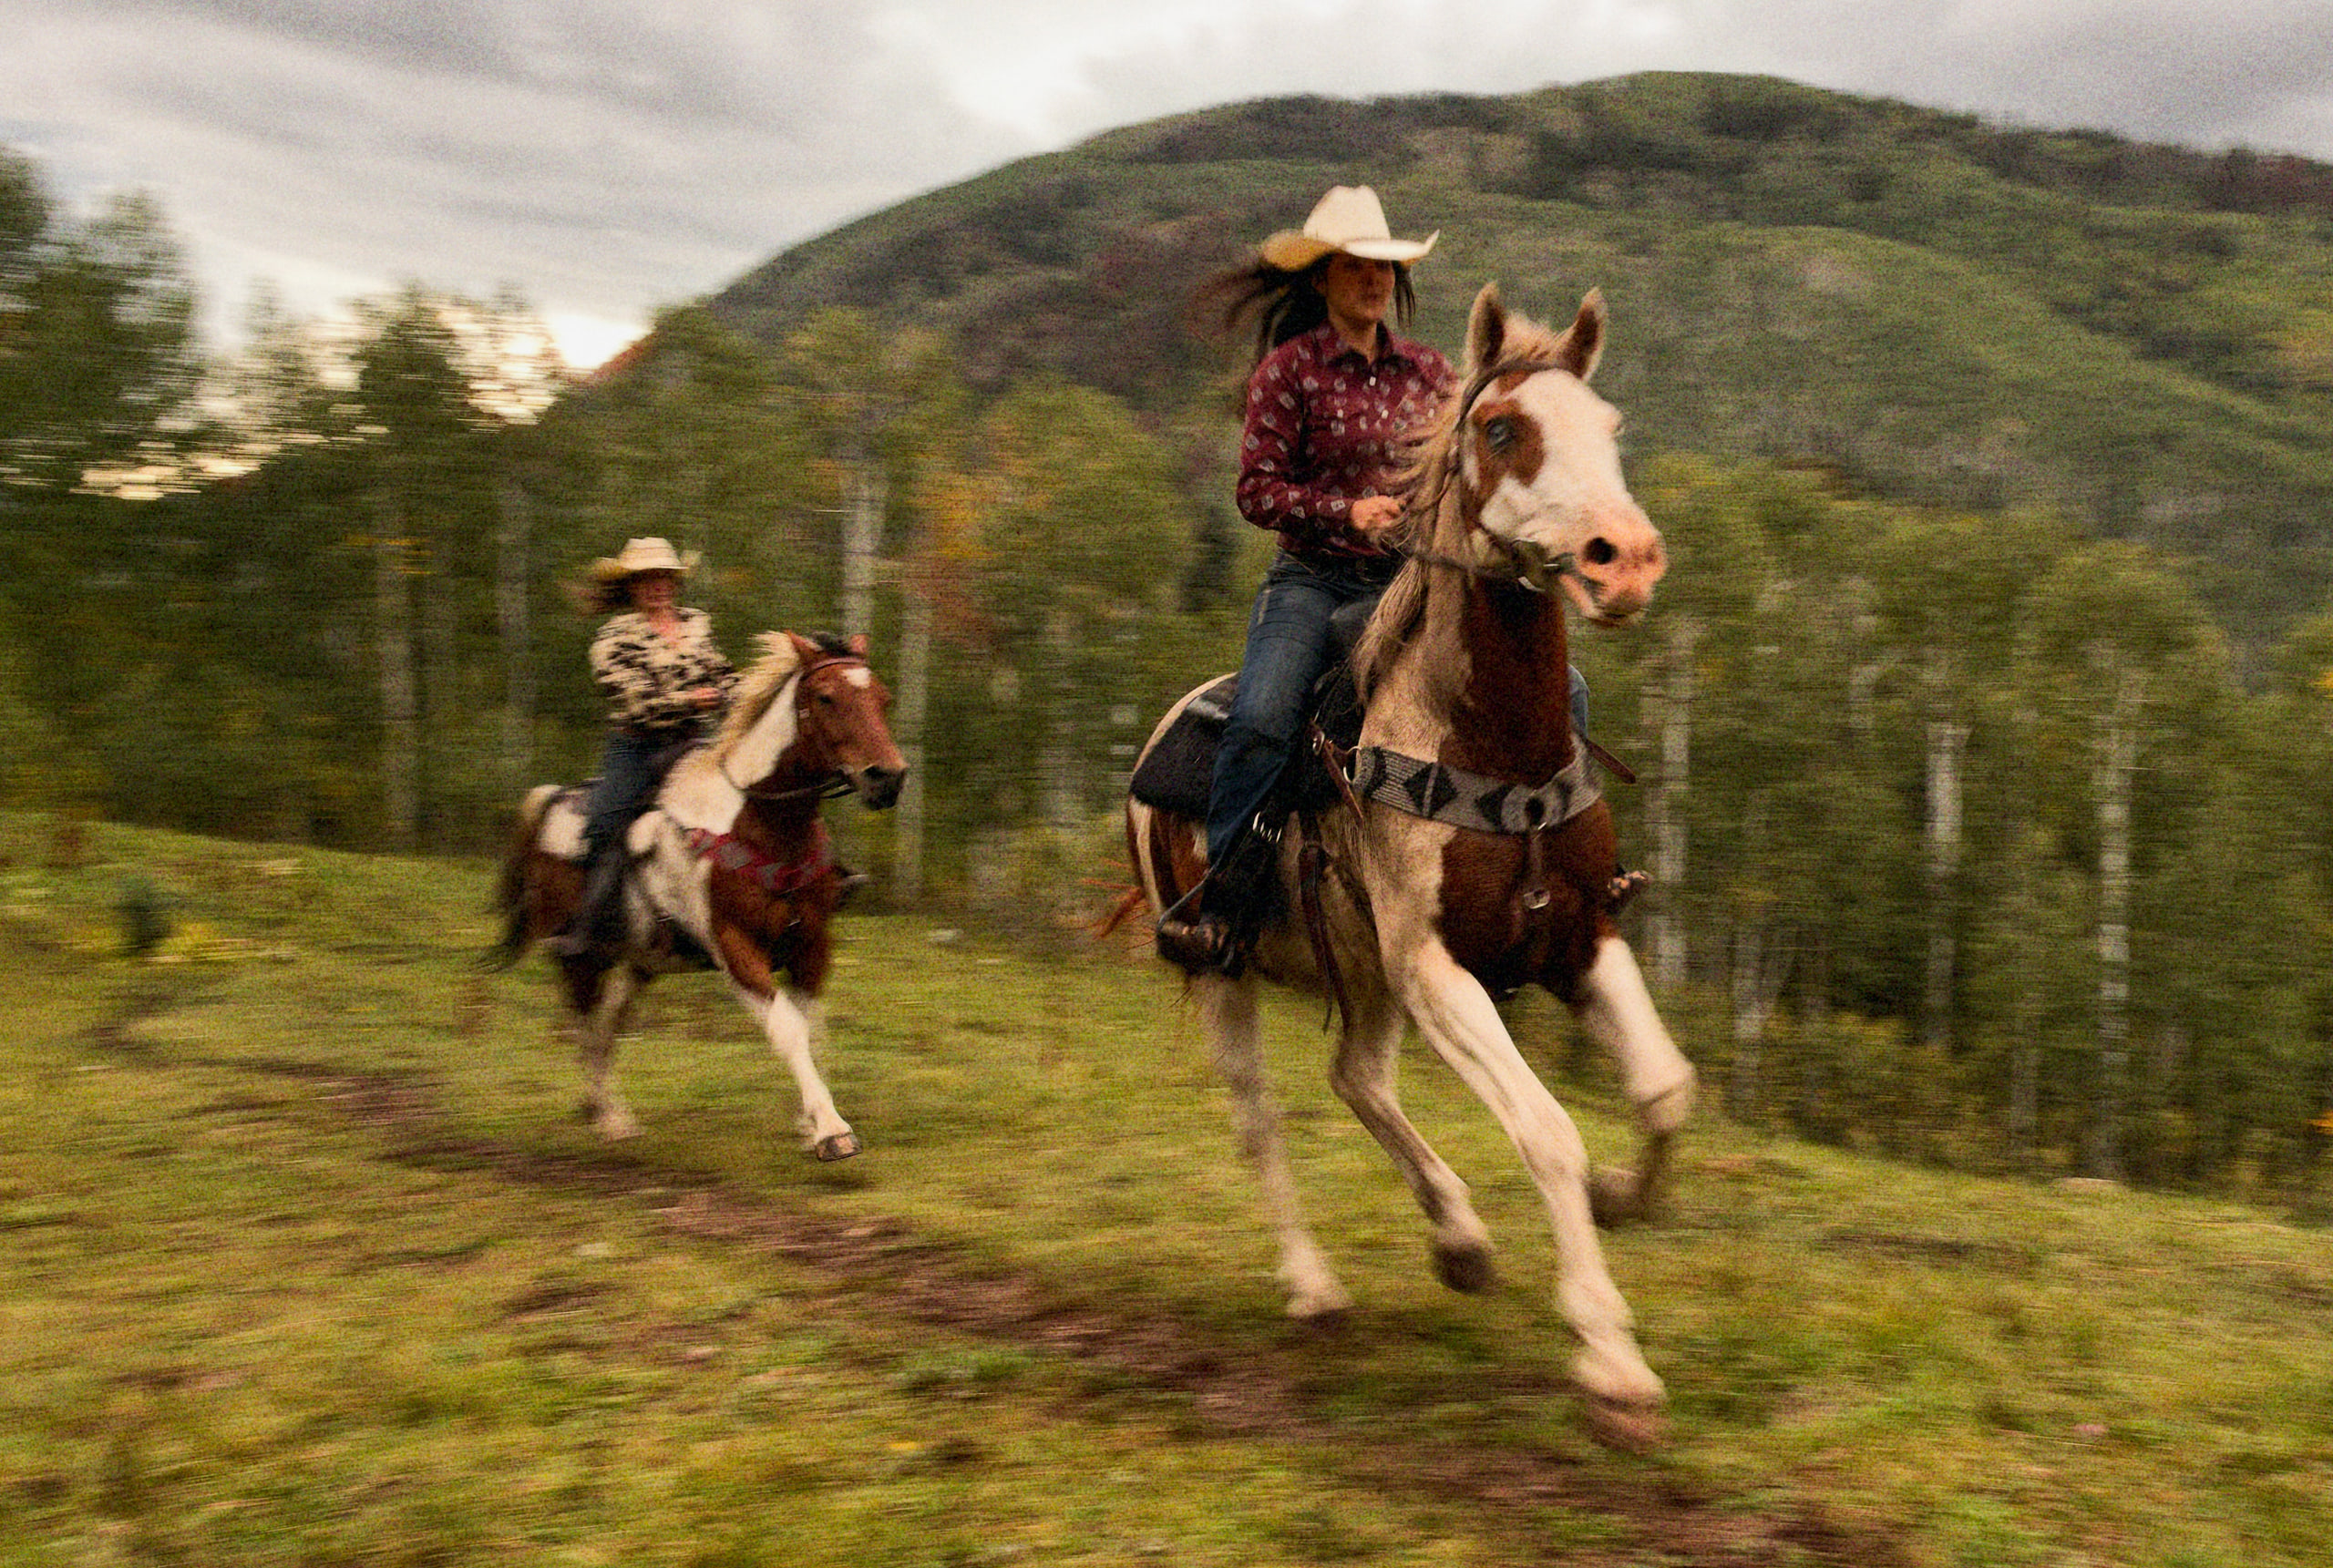
Sophia and Brooklynn on horseback on the Dunton propertyiPhone 18 Pro24mm1x24MPƒ/41/60ISO 50Photographic Style: Amber + Film with Grain
Focus Tracking
I wasn’t initially too excited about Focus Tracking, because I don’t usually have trouble keeping things in focus on my iPhone. But at f/1.48 the depth of field is shallow, and I quickly realized the right focus tools matter.
Where I found it really helped was macro and close-focus work. Usually when I’m trying to take a picture of something like a flower super close, it can be really difficult to keep it in focus because the depth of field is so shallow. It's tough to keep the camera completely static, and the flower itself blows in the wind and comes in and out of focus even if the camera is on a tripod. Now with the new Focus Tracking feature, it's really not a problem. Just double-tap to lock focus, and whether the camera moves or the flower moves, it stays locked on.
Focus Tracking is SUPER helpful and works better than I expected.
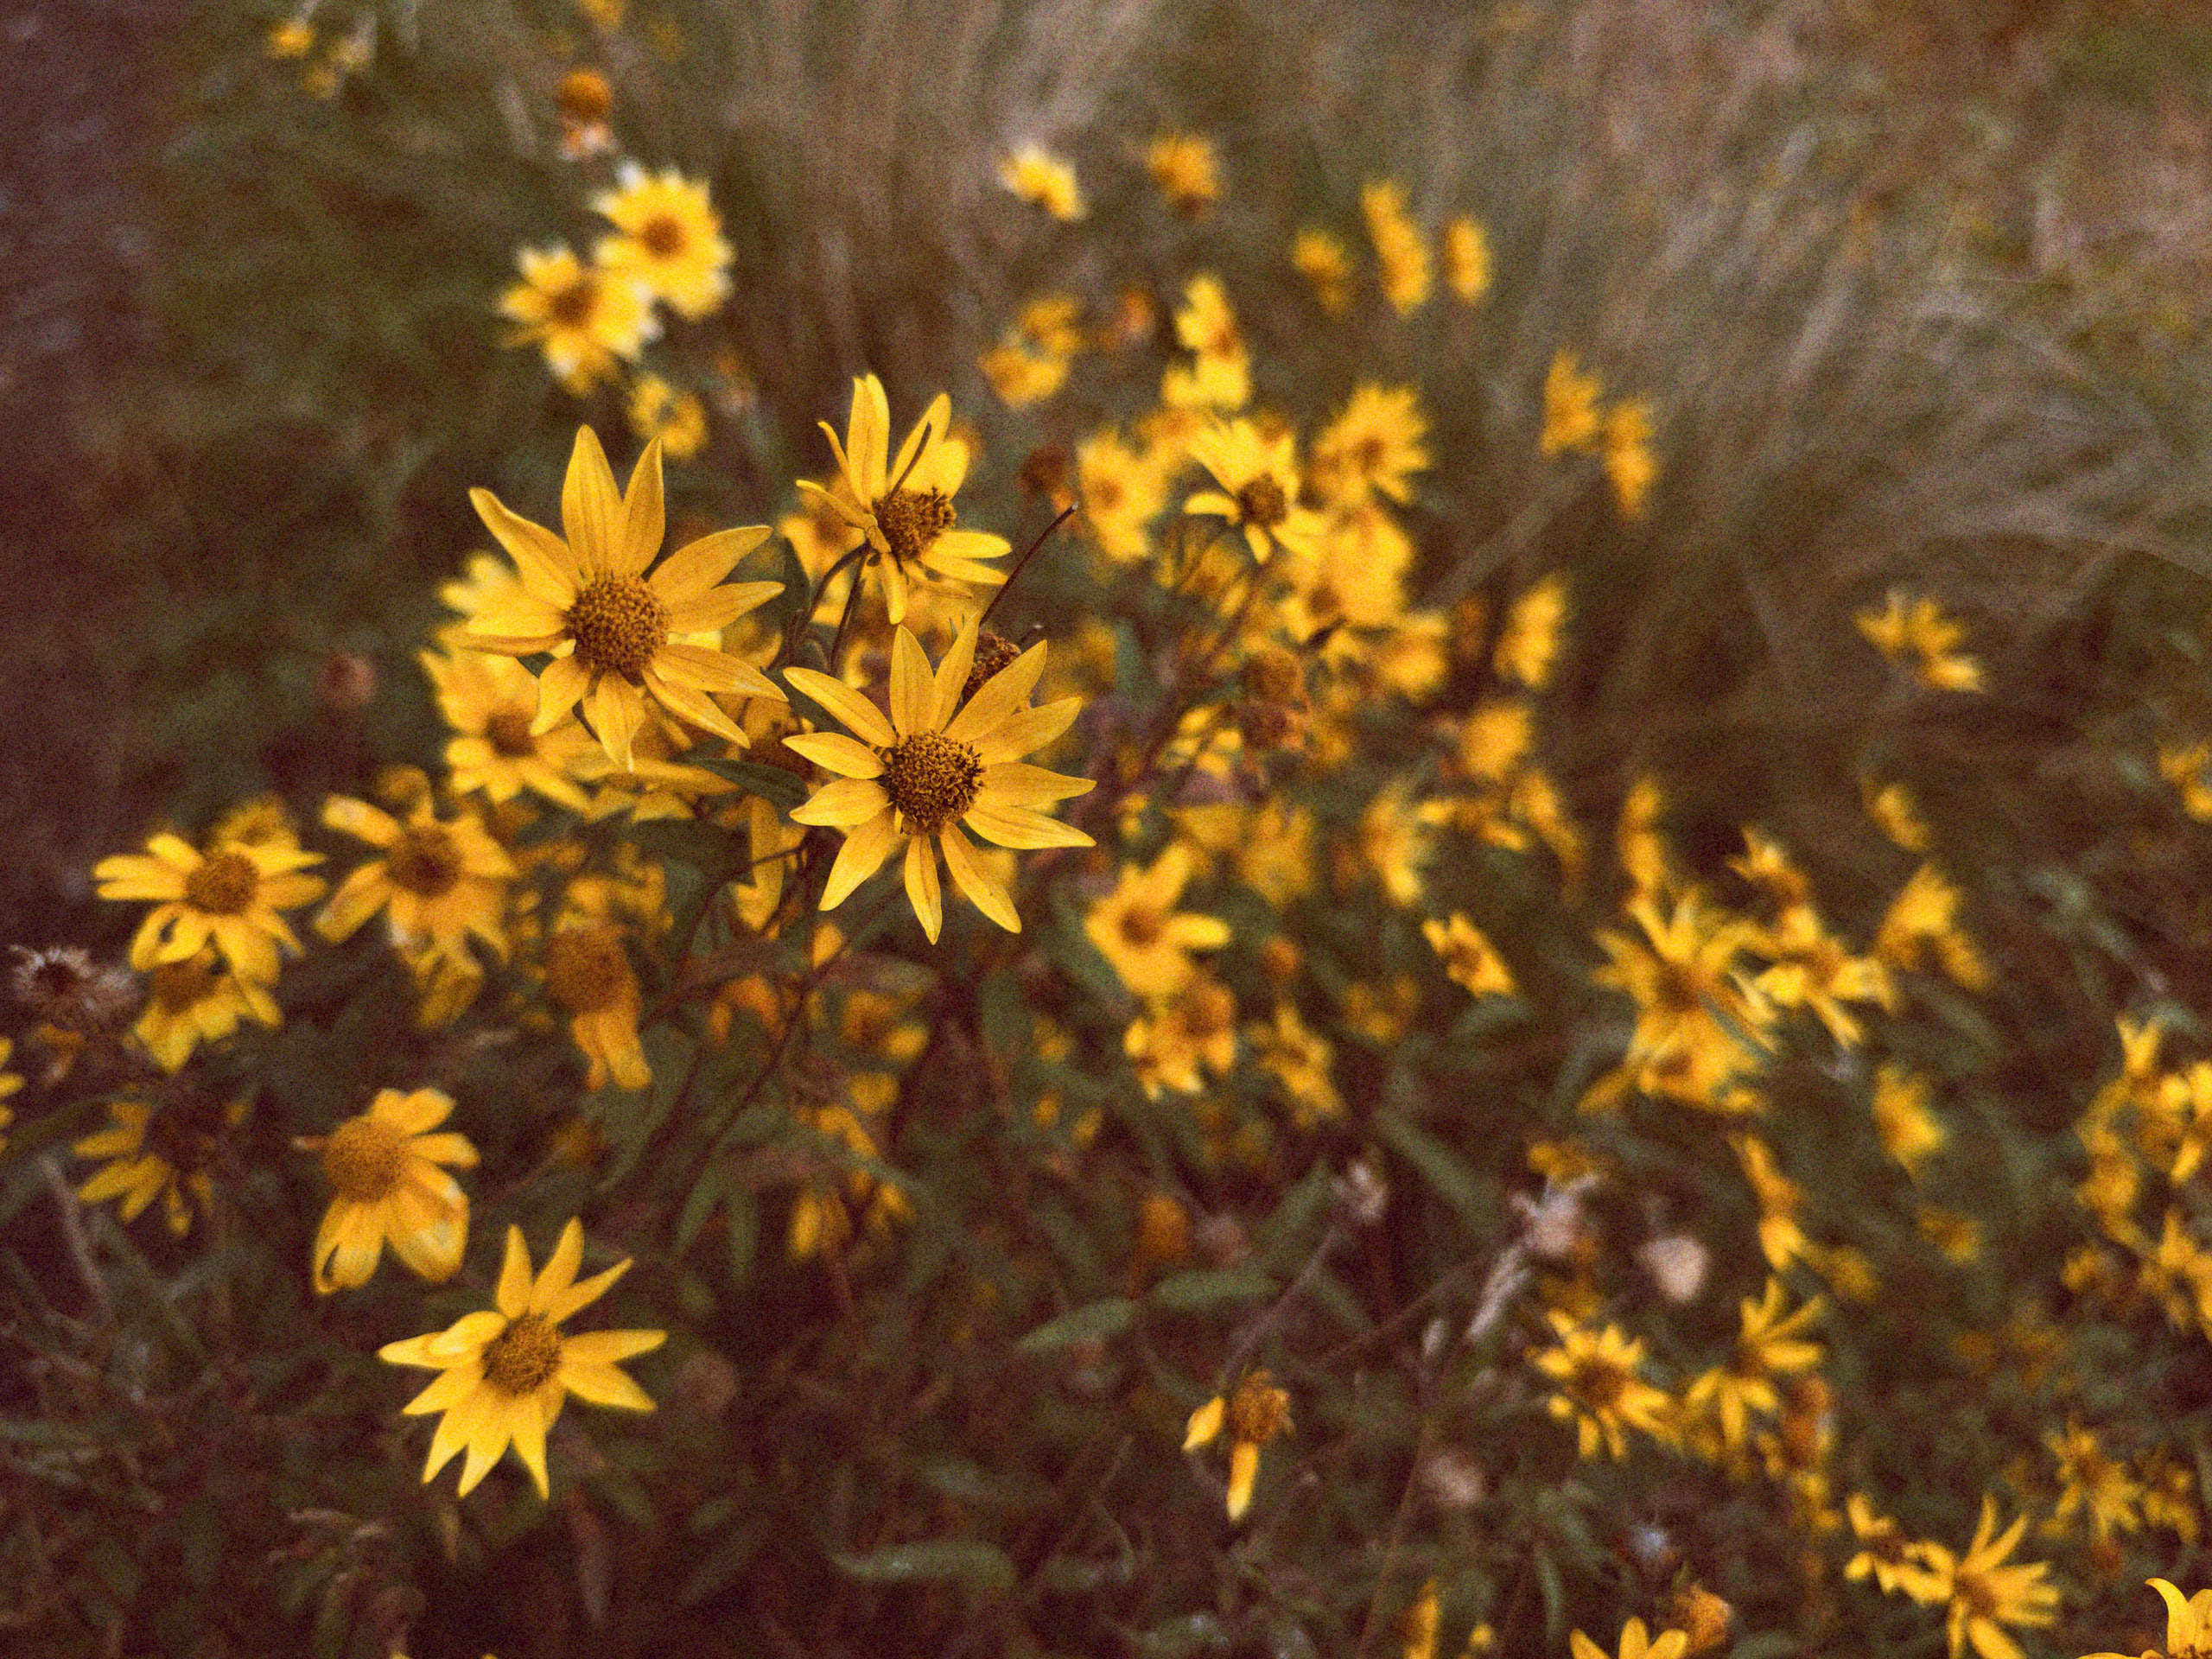
Showy goldeneye sunflowers near Navajo Lake, locked with Focus TrackingiPhone 18 Pro24mm1x48MPƒ/1.481/513ISO 64Photographic Style: Quiet + Film with Grain
Check out this demo exploring how Focus Tracking works:
Focus Tracking is also really useful for focusing on a distant subject through foreground objects and works surprisingly well. Just double-tap on whatever you want to keep in focus and then move the camera freely.
Here’s a quick demo:
New Photographic Styles with Texture and Grain control
Photographic Styles are so powerful yet I feel many people don’t really give them a try. They are extremely sophisticated and offer advanced adjustments that are difficult to pull off even in Photoshop… and this year they got even better! I’ve really enjoyed the new film texture and grain controls, which let me quickly and easily change how my photographs feel. Dunton harkens back to another era and having the tools to capture and adjust photographs so they feel less digital and more analog has been a lot of fun.
One thing I’ve noticed is that, true to film, the grain is chunkier in the shadows than the mids and highlights.
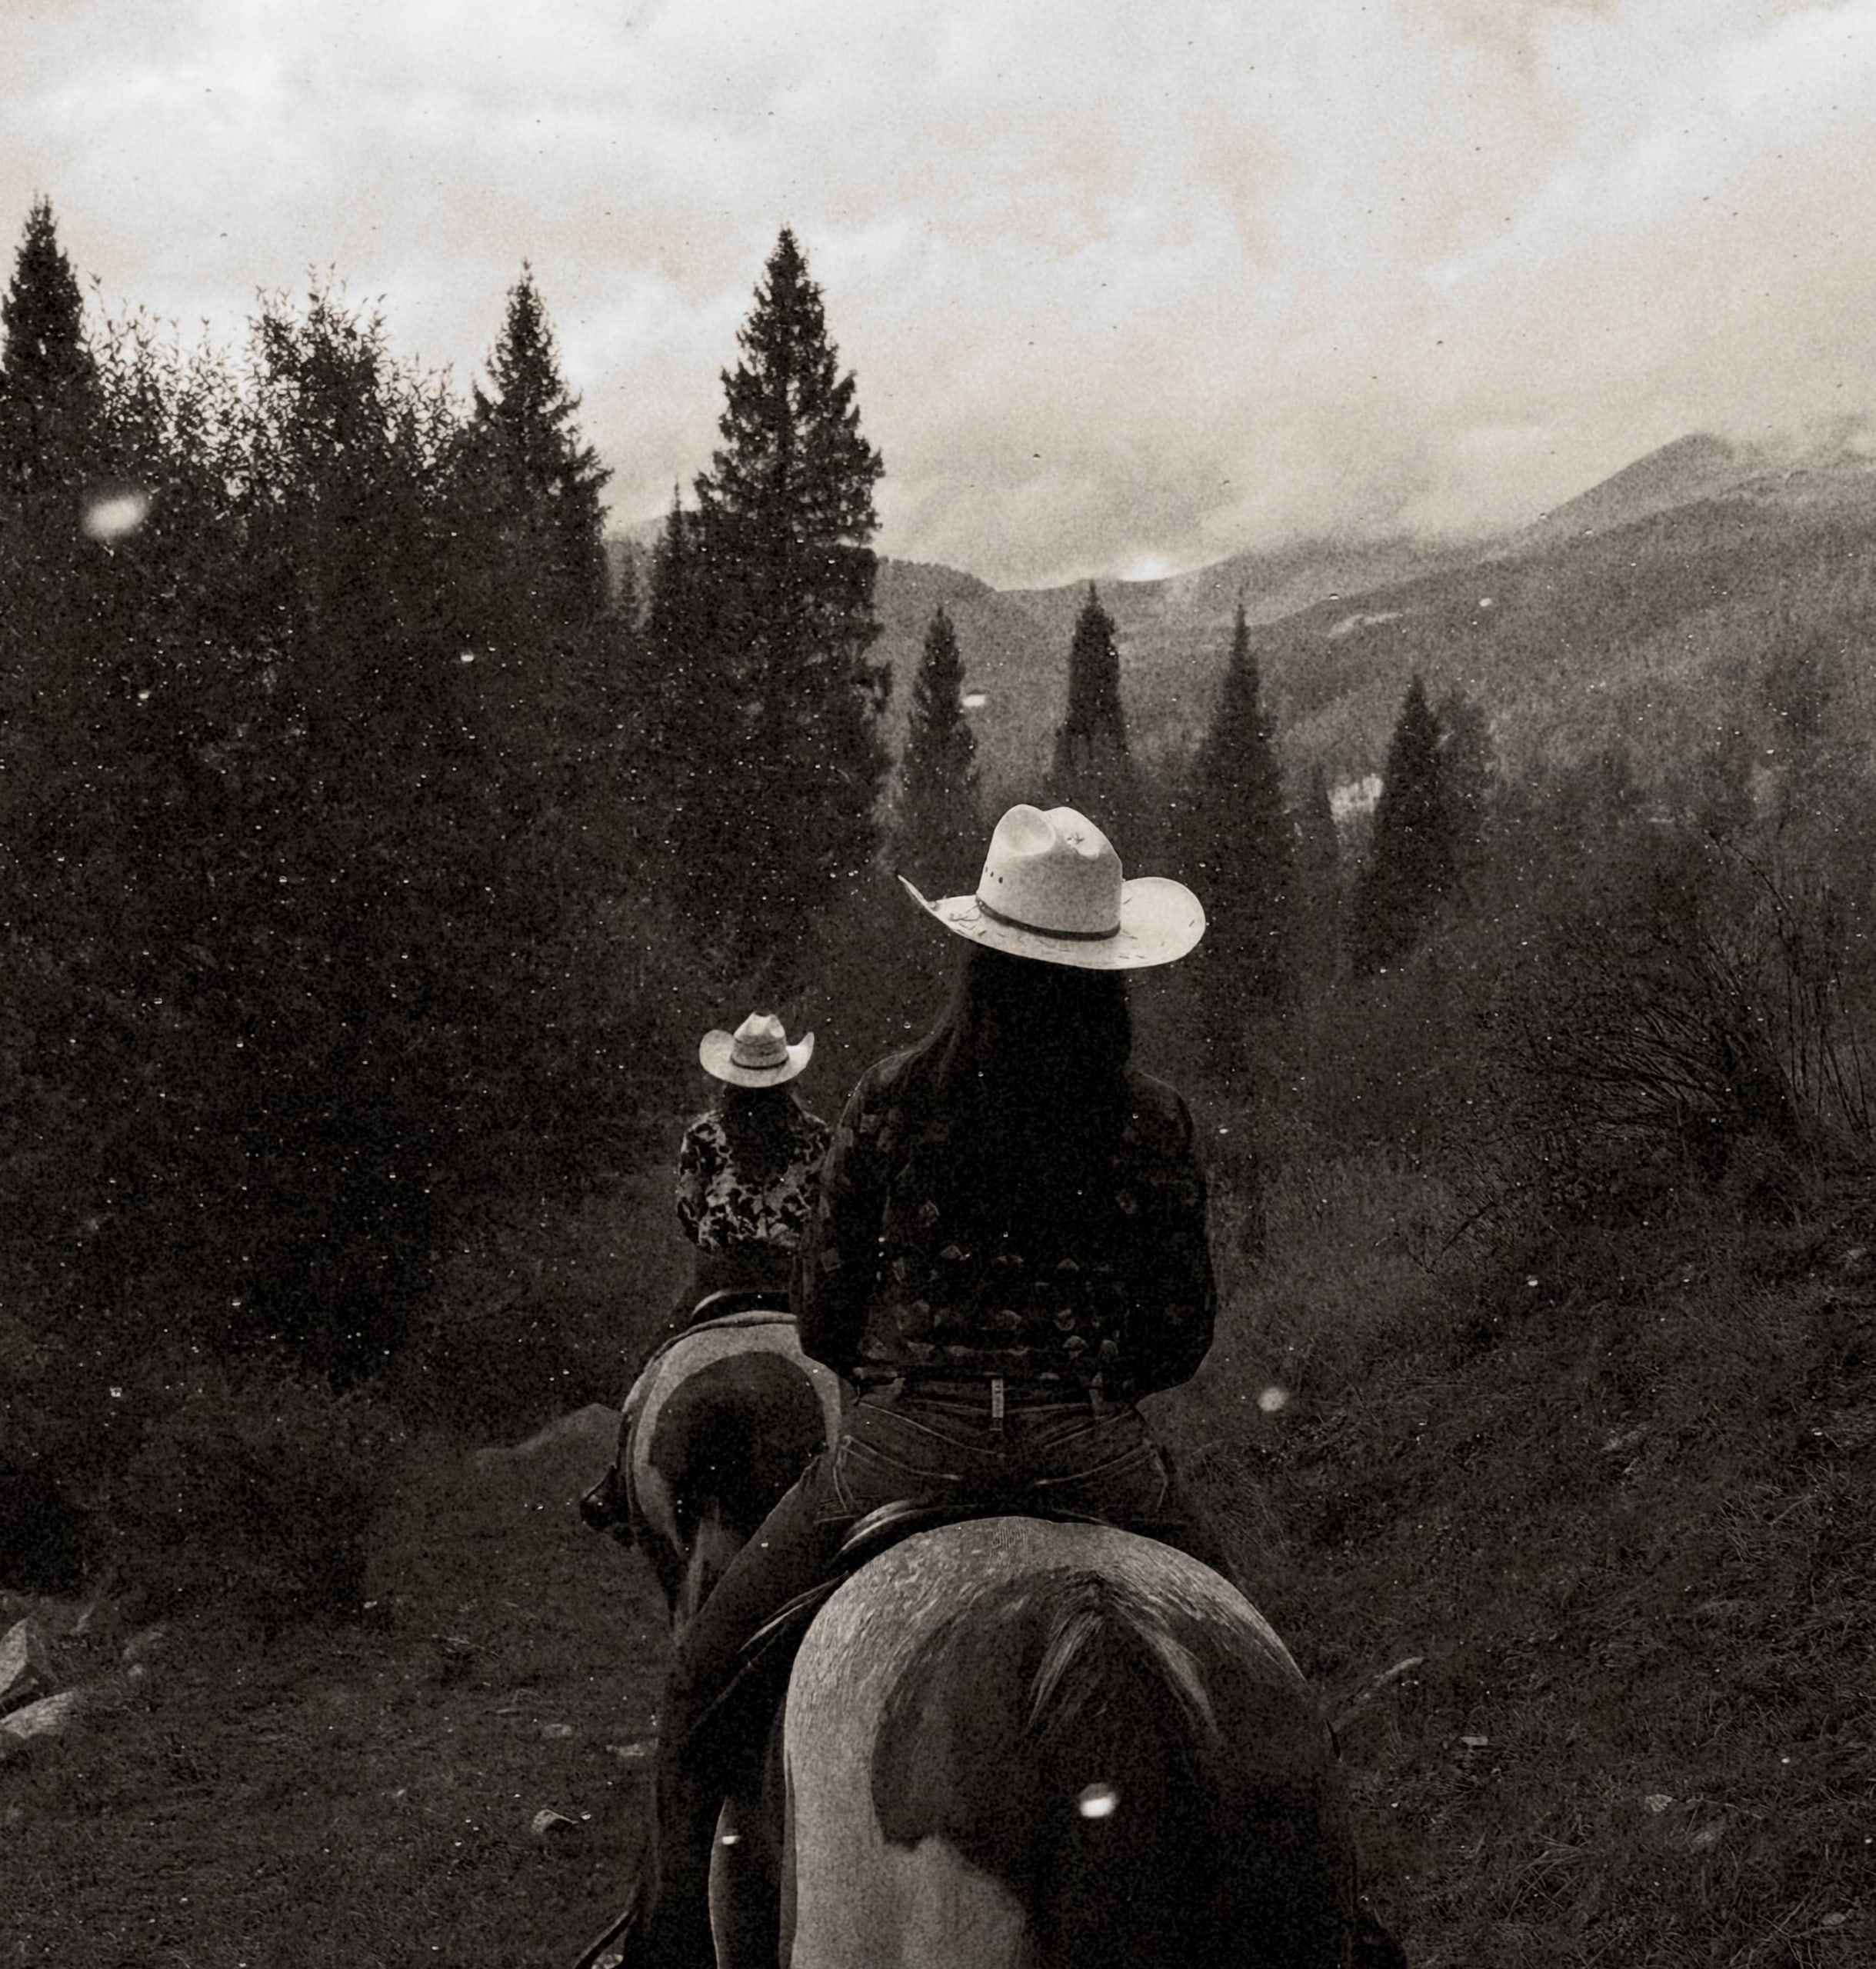
Sophia and Brooklynn riding through an afternoon rainstorm in the high RockiesiPhone 18 Pro24mm1xƒ/1.481/7143ISO 64Photographic Style: Stark B&W + Film with Grain + WB for warmth
There’s also halation around the highlights, which can be dialed up or down with the Film slider in Photographic Styles. Look closely at the edge of the bar in the Dunton saloon and you’ll see a subtle example. In traditional film, halation is a physical phenomenon that occurs when light from very bright areas passes through the emulsion, scatters or reflects within the film, and exposes the emulsion again, creating a soft, diffuse halo around the highlight.
I’ve noticed this effect appearing in some of my images with extremely bright highlights, and I like how it adds to the overall feel.
Fun fact: Look closely at the bar and you’ll see the name of the one and only Butch Cassidy. Legend has it that he hid out here at Dunton after robbing a bank in nearby Telluride.
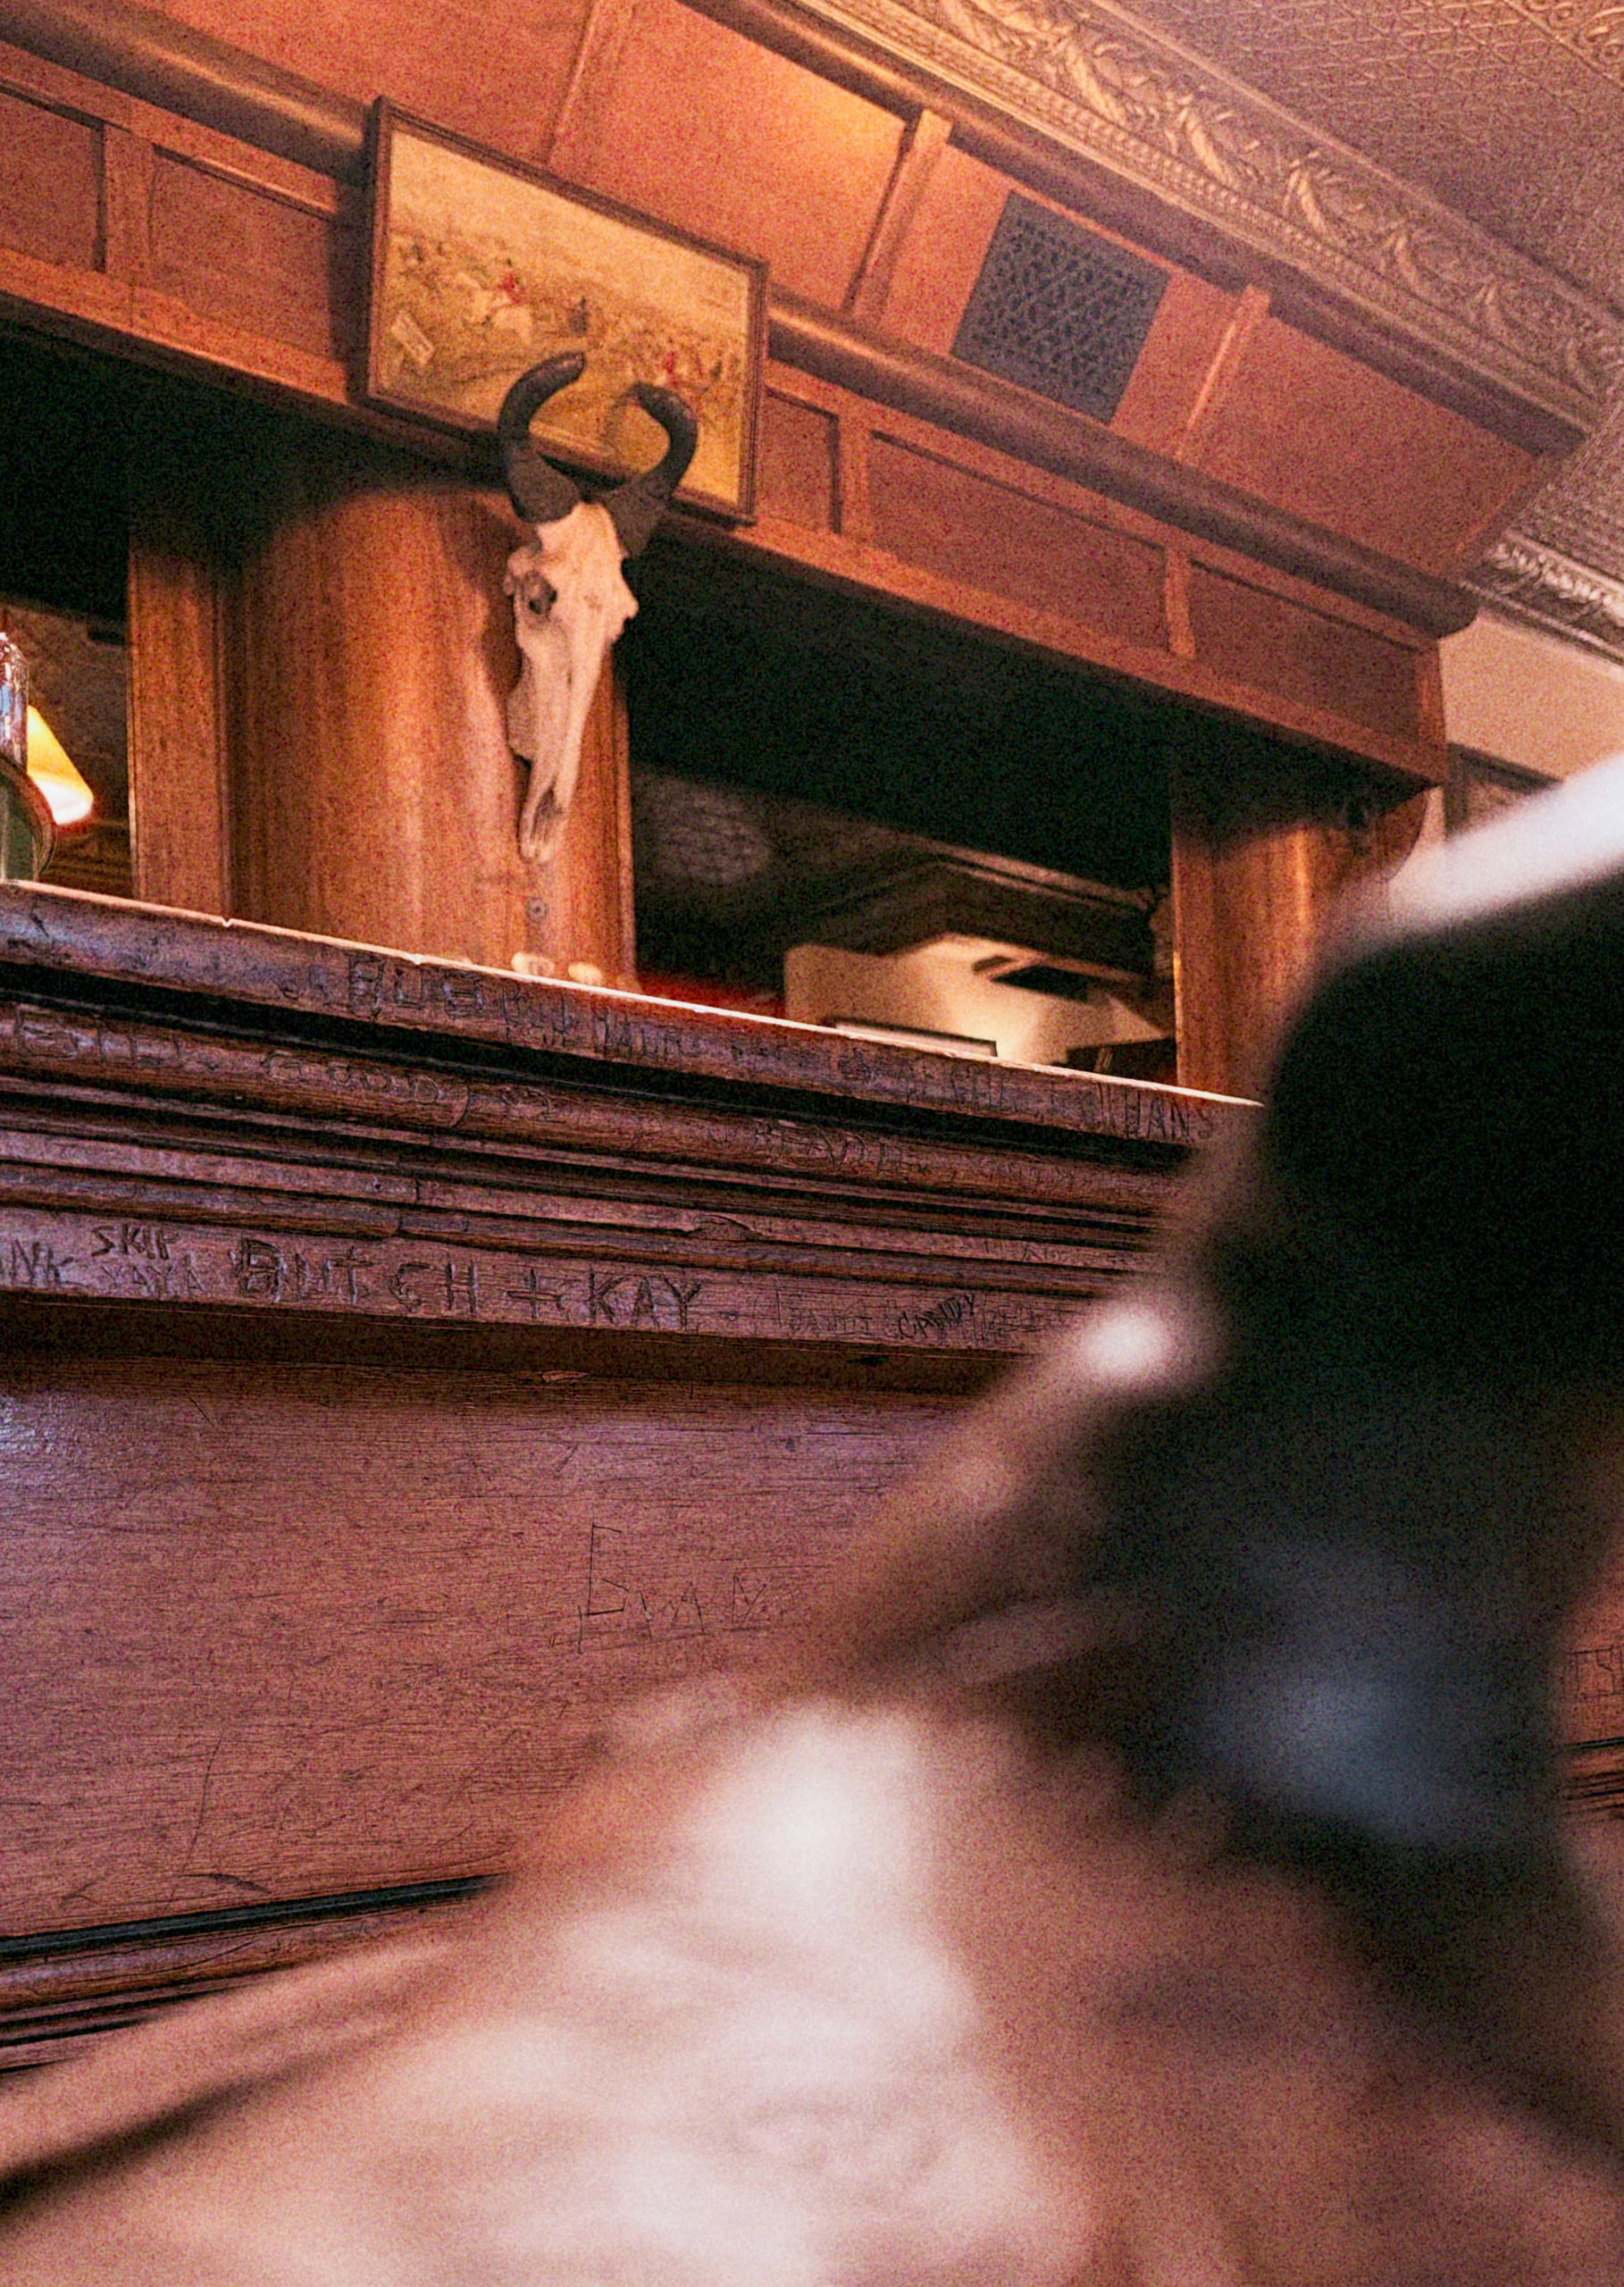
The Dunton saloon, signed by Butch Cassidy himselfiPhone 18 Pro24mm1xƒ/1.481/30ISO 800Photographic Style: Quiet + Film with Grain
Beyond the film, we also got smooth skin and “glow” which is the style on the two images below.
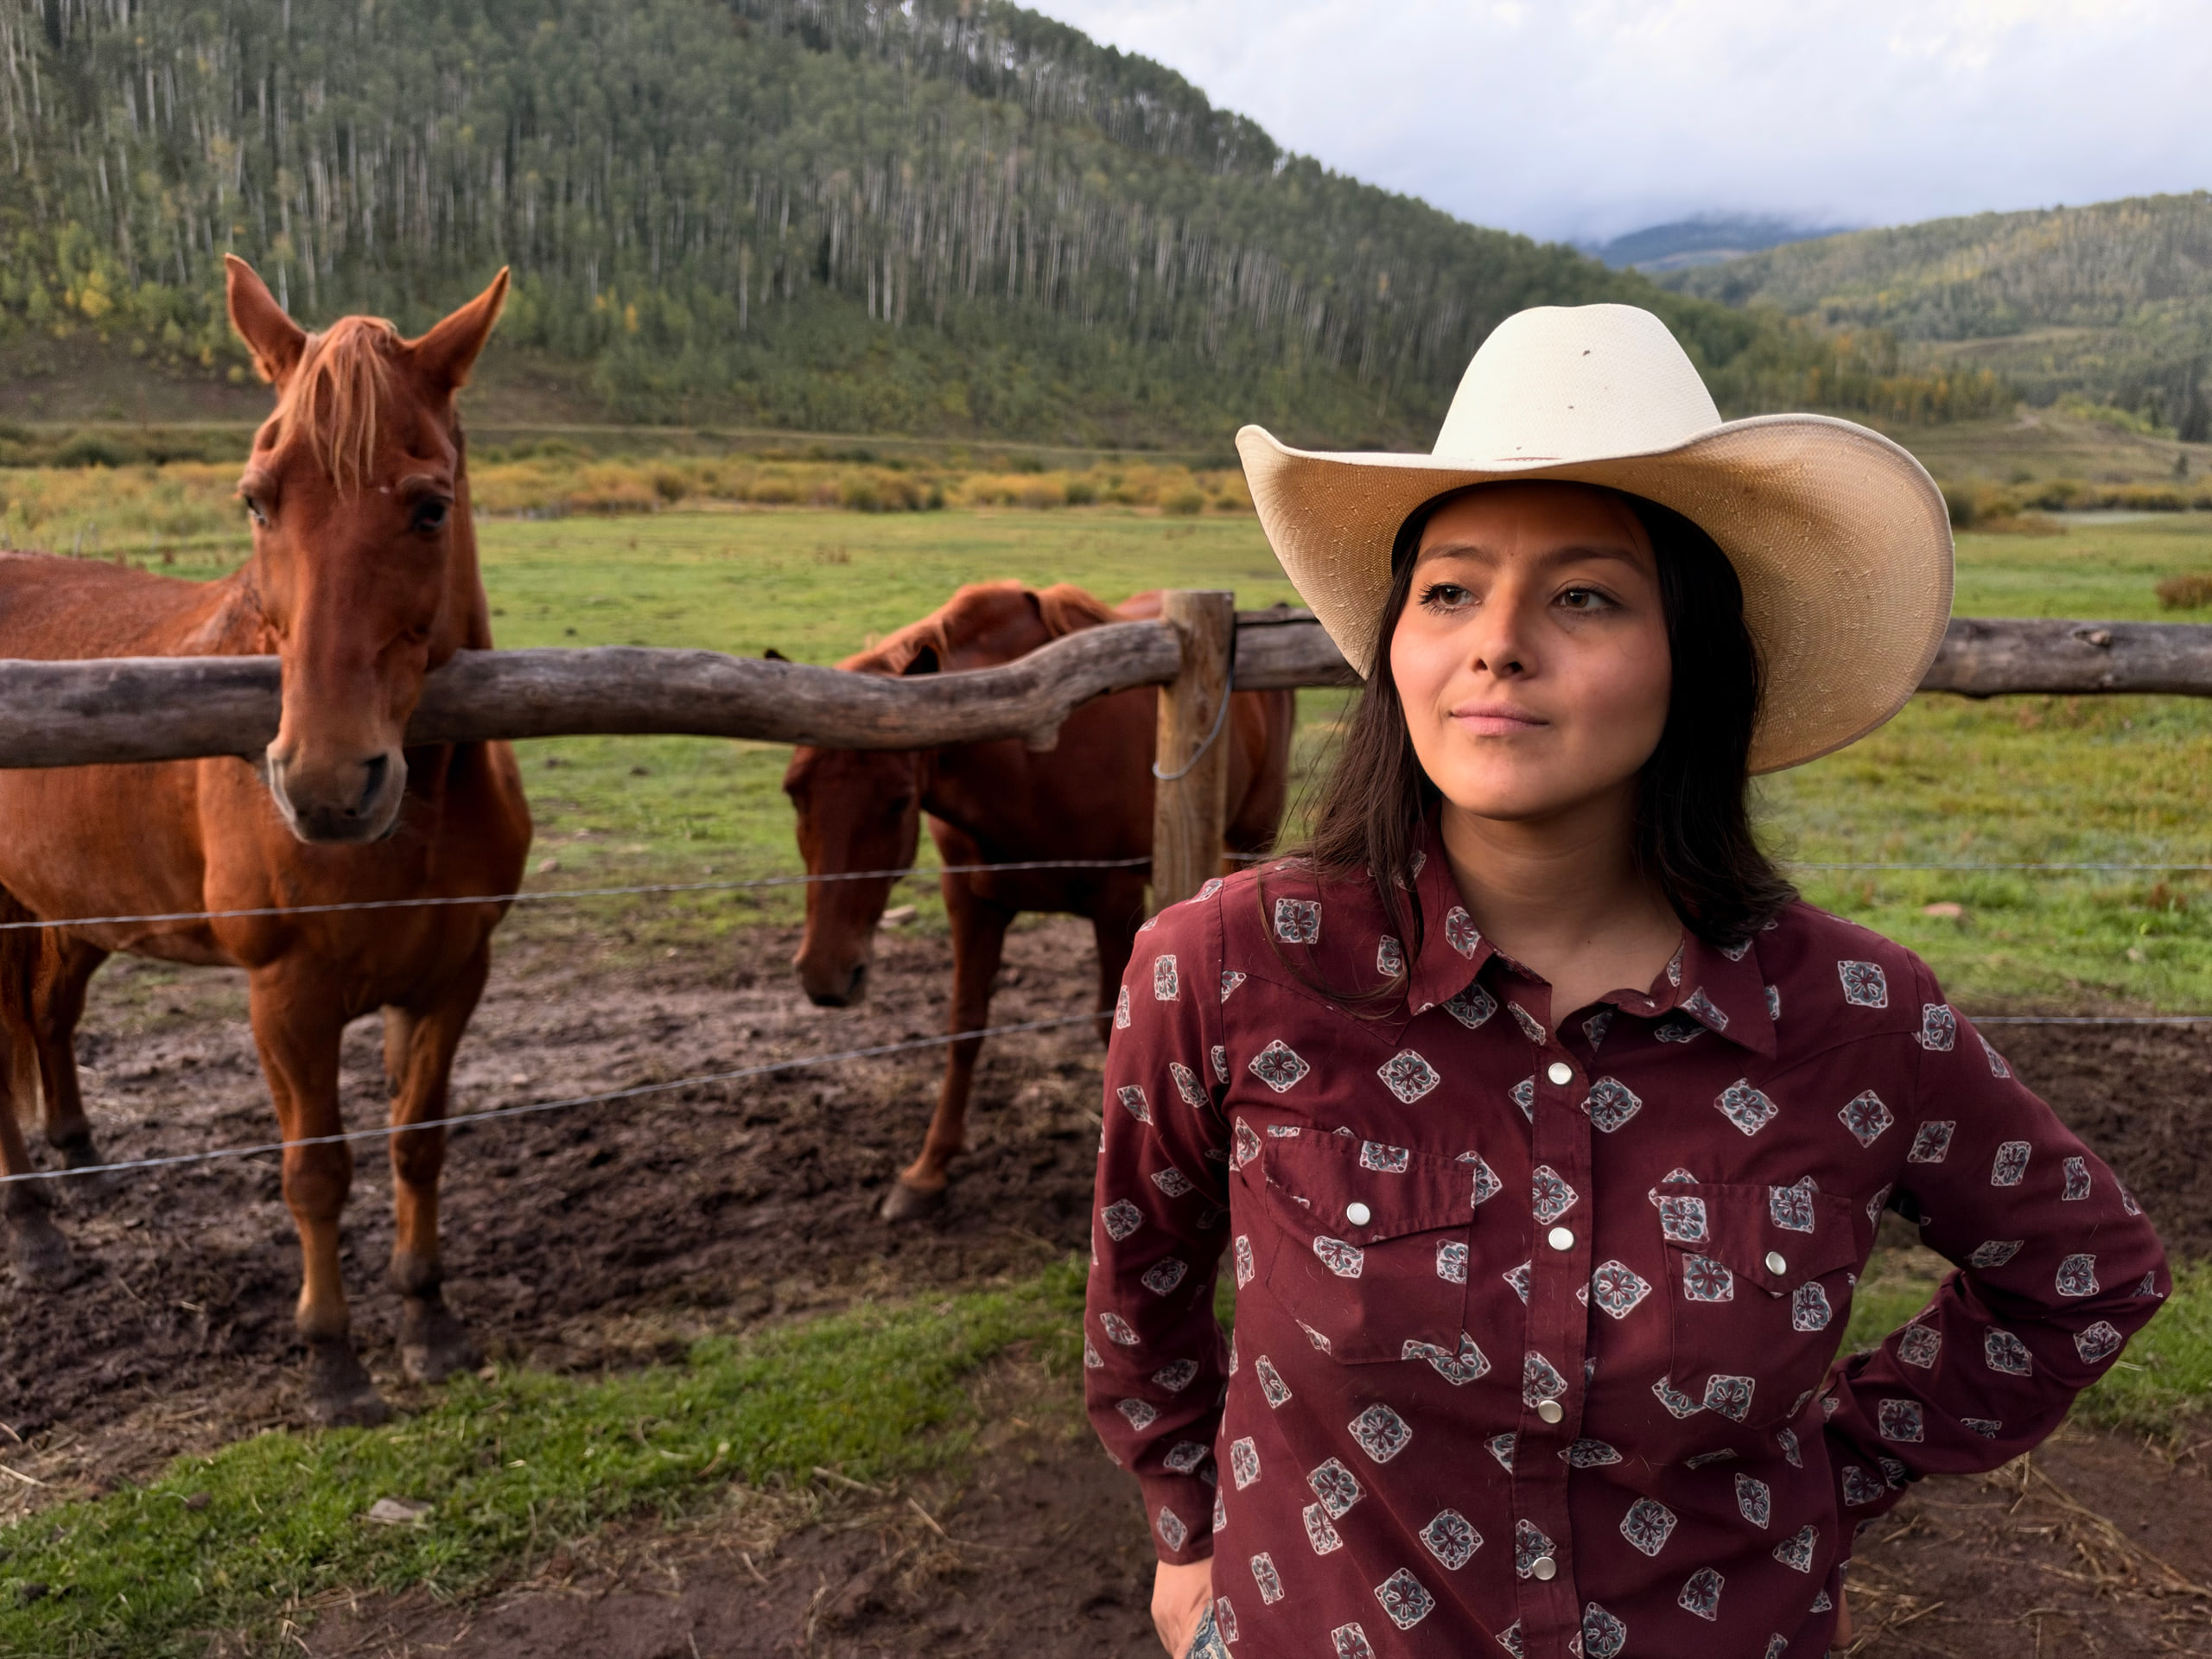
Sophia, our trail guide and wrangleriPhone 18 Pro24mm1x48MPƒ/1.481/34ISO 640Photographic Style: Amber + Glow
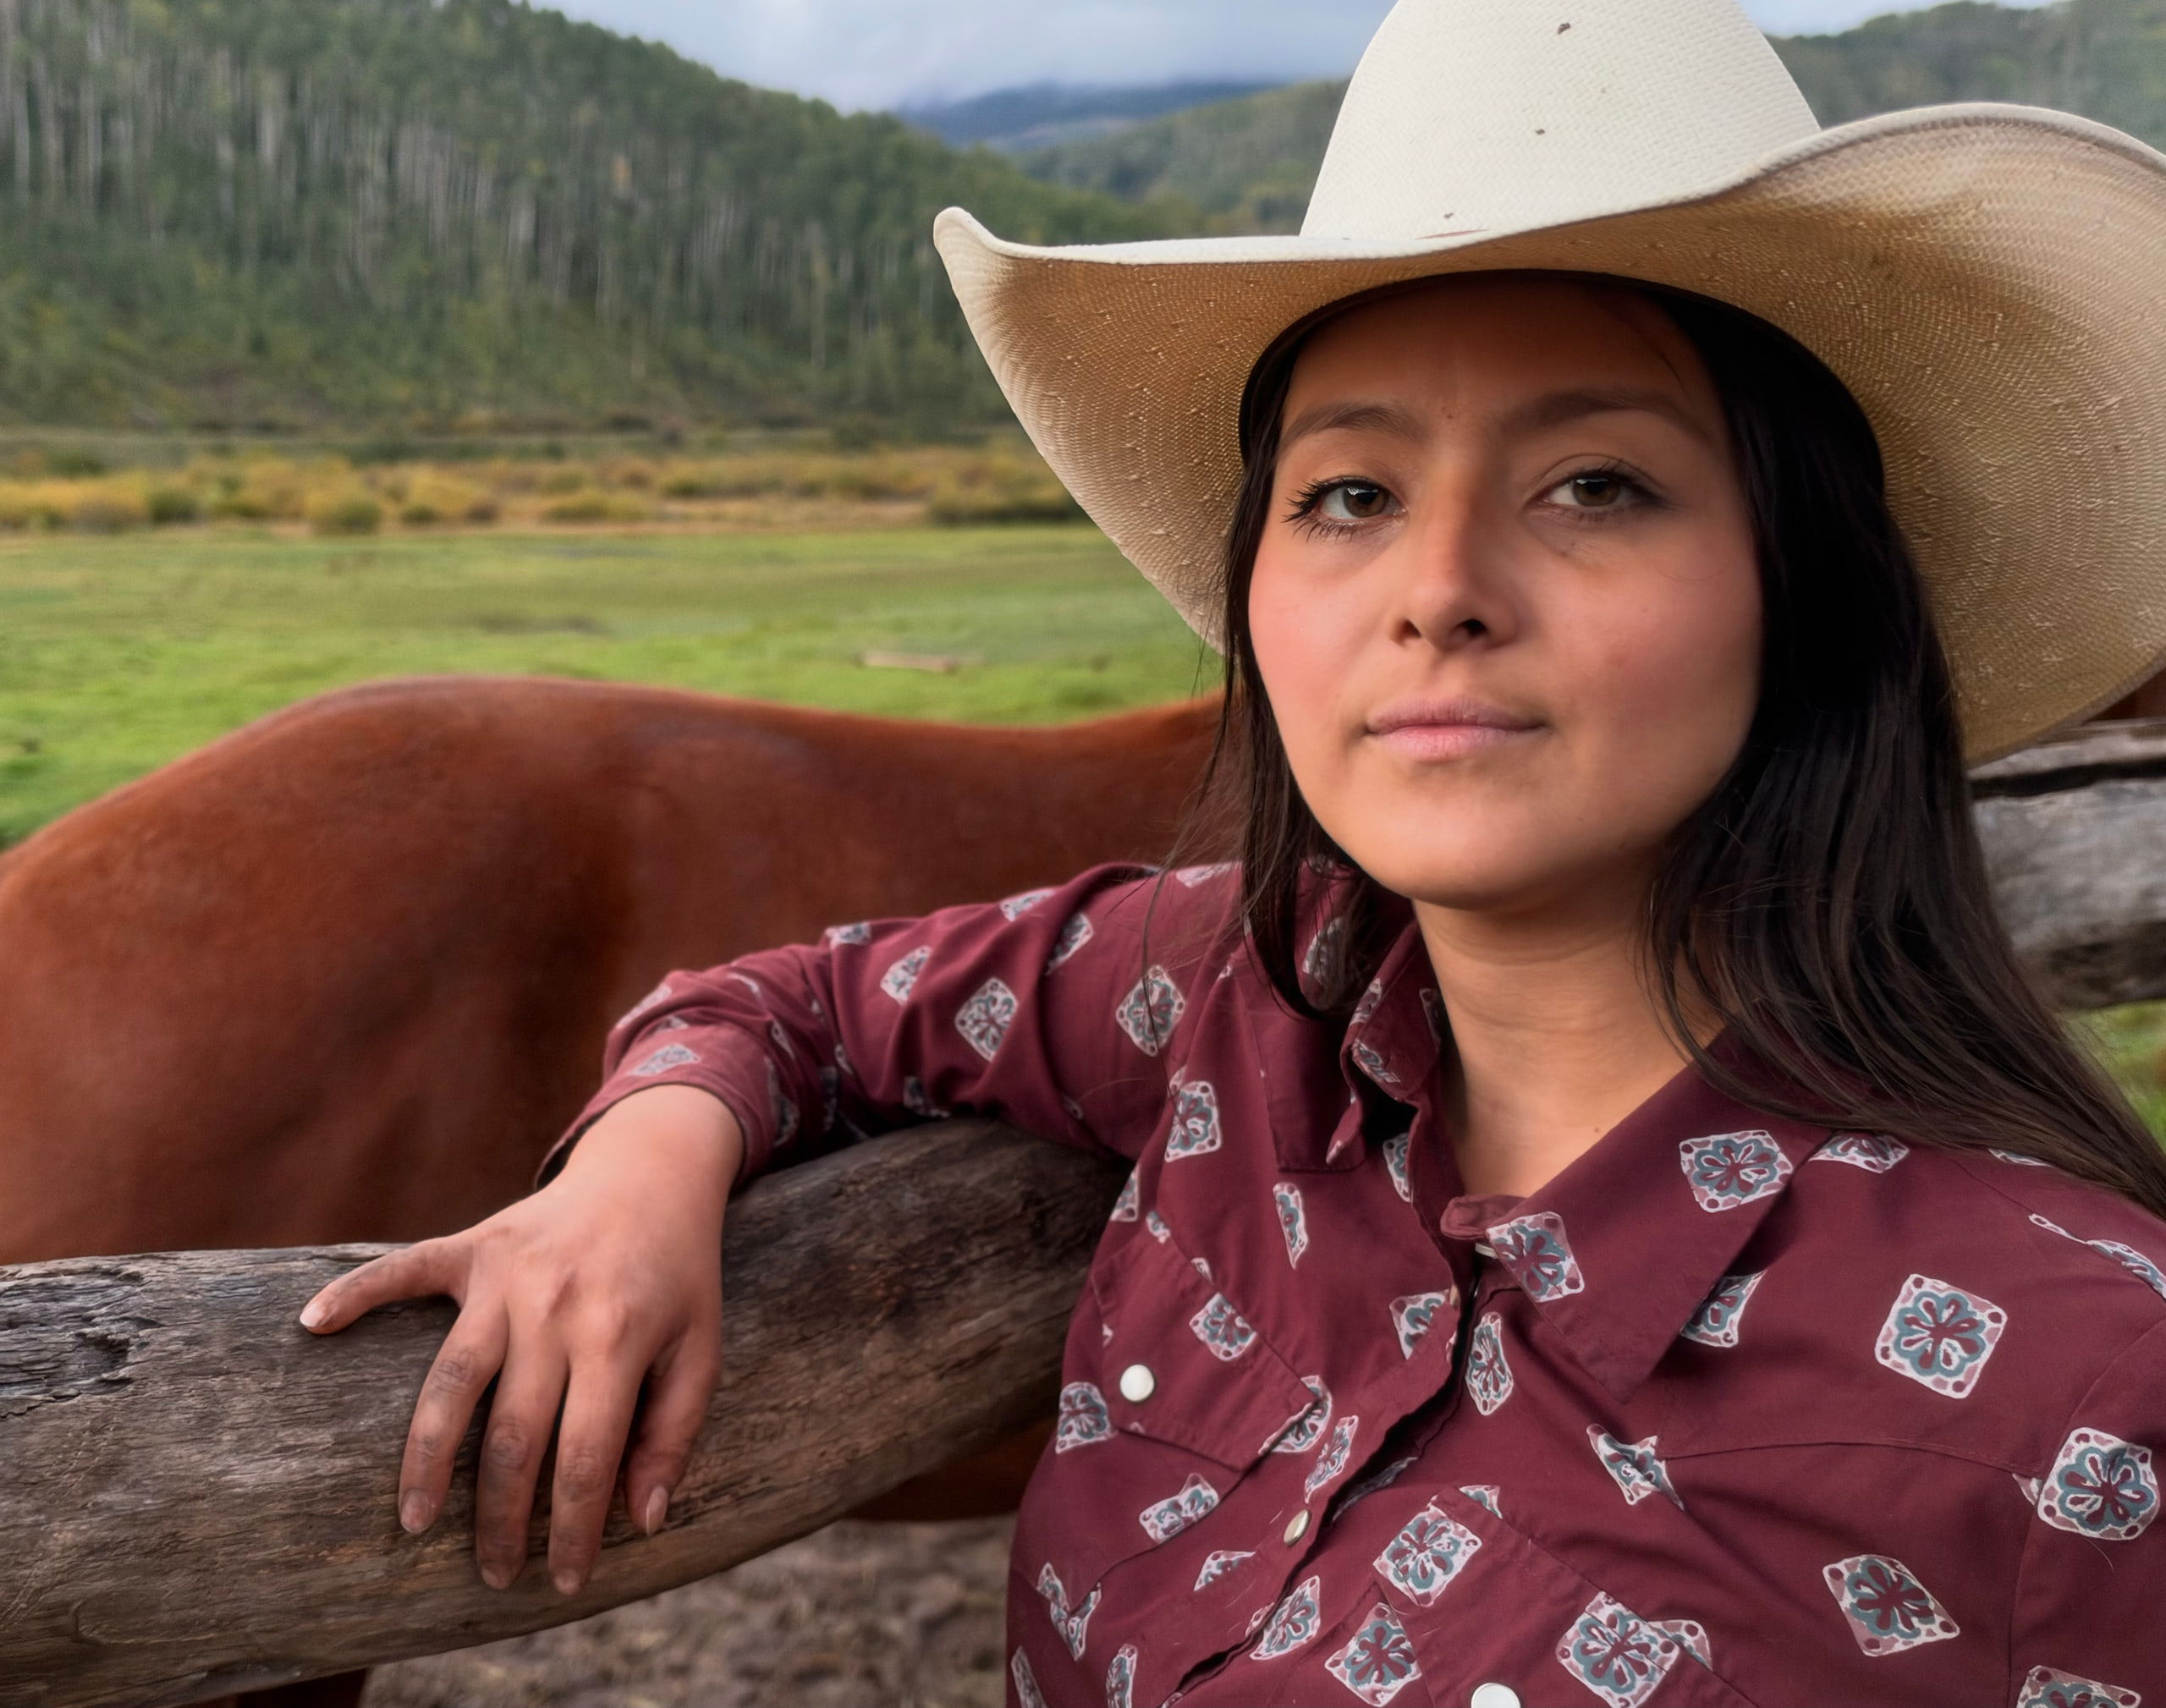
Sophia, our trail guide and wrangleriPhone 18 Pro24mm1xƒ/1.481/56ISO 640Photographic Style: Amber + Glow
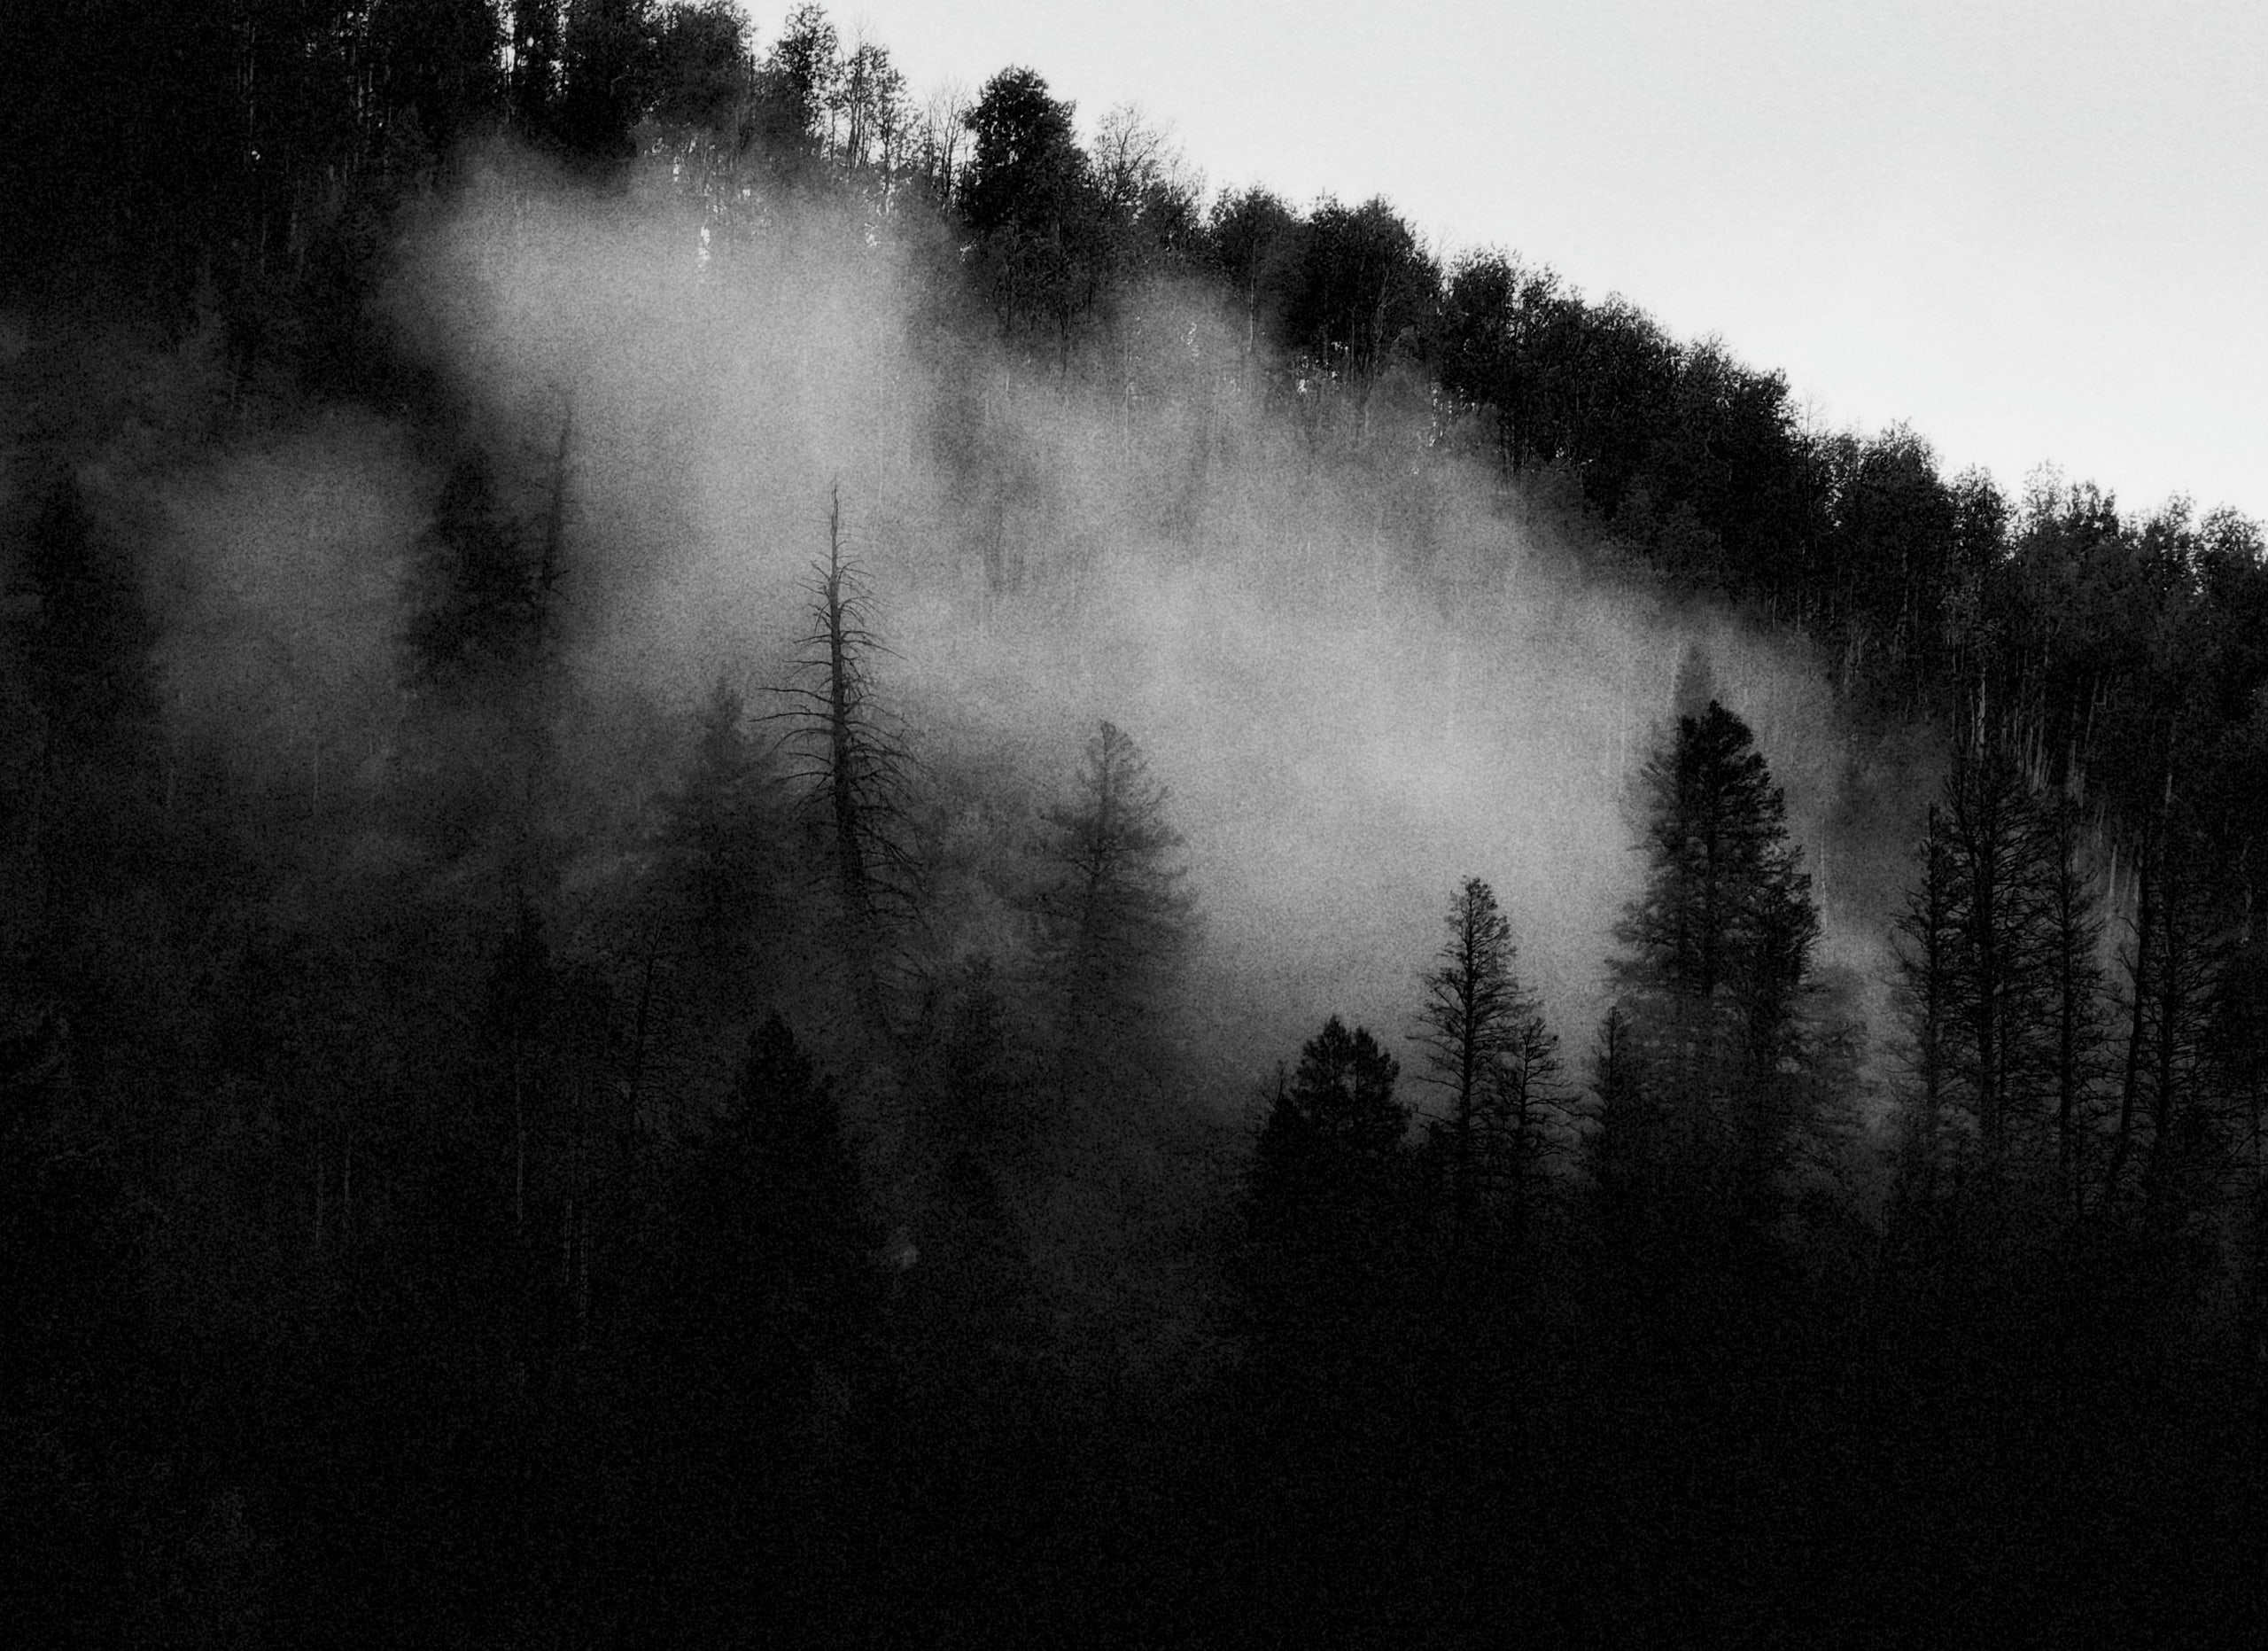
Mountain fog, Dunton, ColoradoiPhone 18 Pro100mm4x18MPƒ/2.81/308ISO 50Photographic Style: Stark B&W + Film with Grain
Here’s a look at all the Photographic Styles with their default settings:
As you can see, I’ve put these Photographic Styles through the wringer… here are my tips for the best film effect…
-
Shoot dark, like -1.0, and shoot wide open at f/1.48. Use manual focus, which will make the image slightly softer (which is OK!).
-
Shoot HEIF so you can apply Photographic Styles.
-
Then in post, on the D-Pad, put the dot in the very lower right. This reduces the tone-mapping (aka the HDR look) and crunches your shadows and blows your highlights.
-
You can dial back the Film effect to reduce halation, which sometimes goes a bit overboard.
I rarely shoot in ProRAW anymore, I use HEIF… unless I'm shooting stars or low light and need to be able to control the grain and noise reduction.
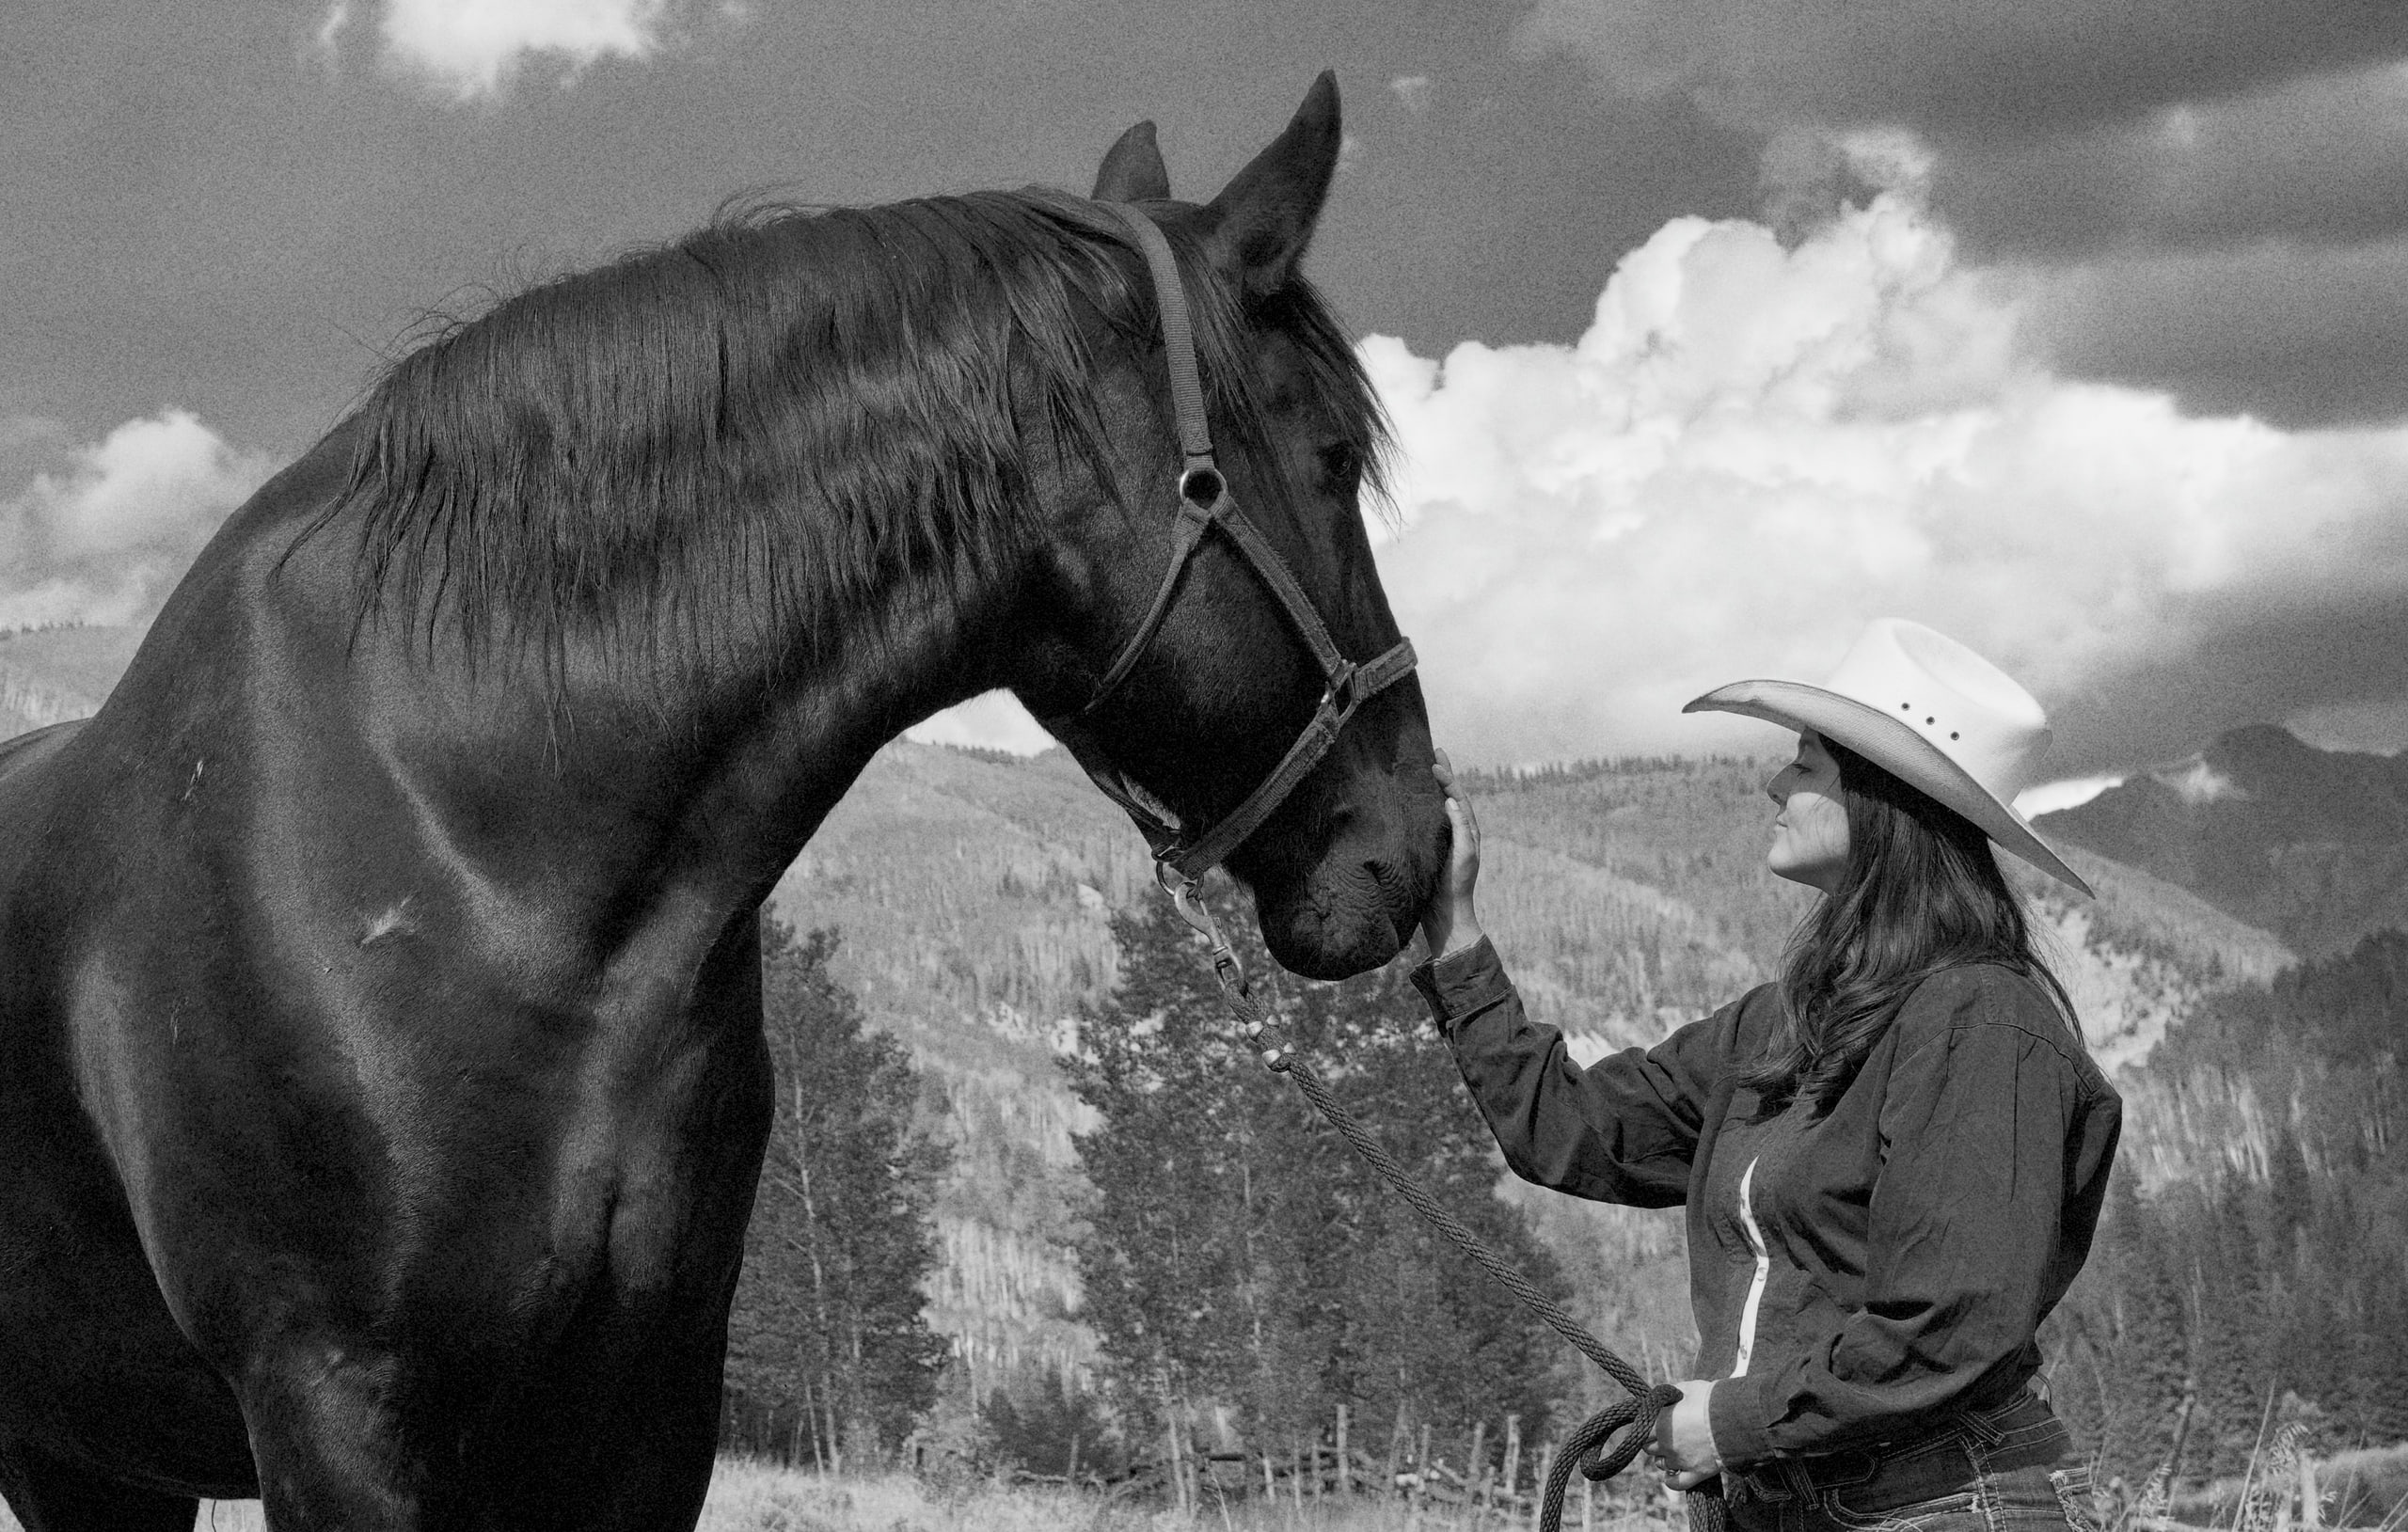
Sophia and Pat at Dunton River CampiPhone 18 Pro100mm4xƒ/2.81/638ISO 32Photographic Style: Stark B&W + Film with Grain
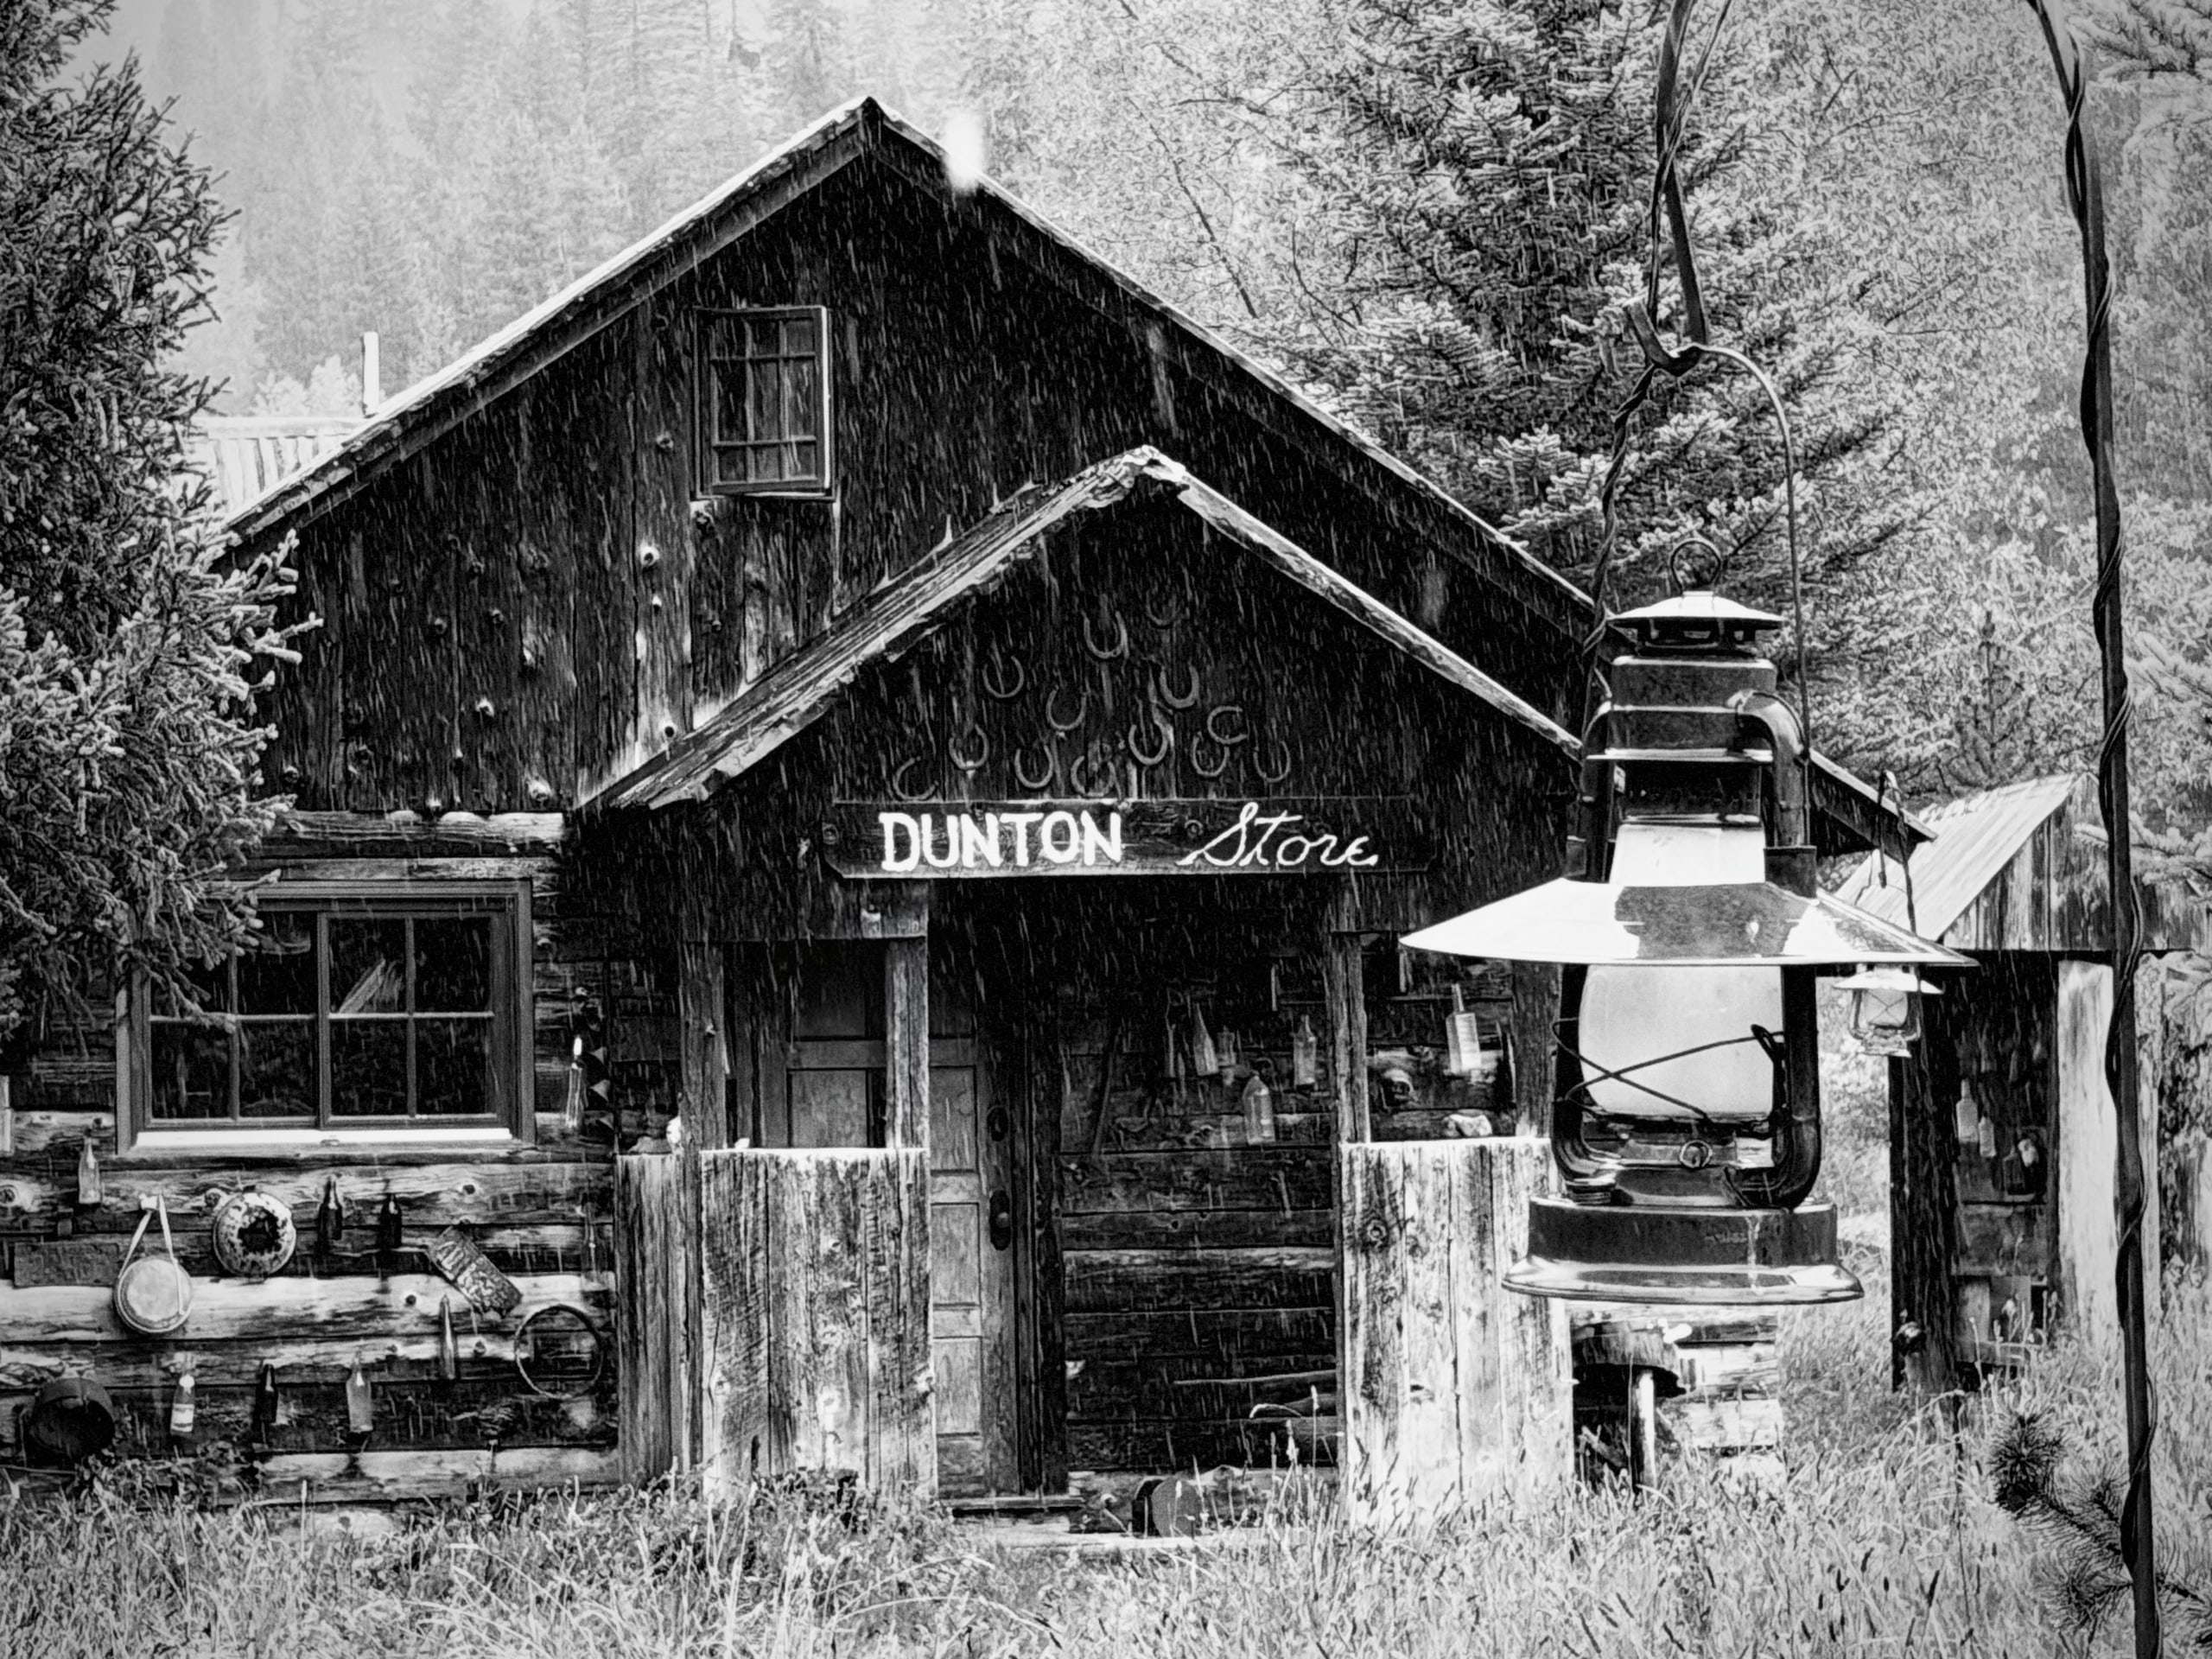
Dunton StoreiPhone 18 Pro101mm4x12MPƒ/1.81/121ISO 64Photographic Style: Stark B&W + Film with Grain
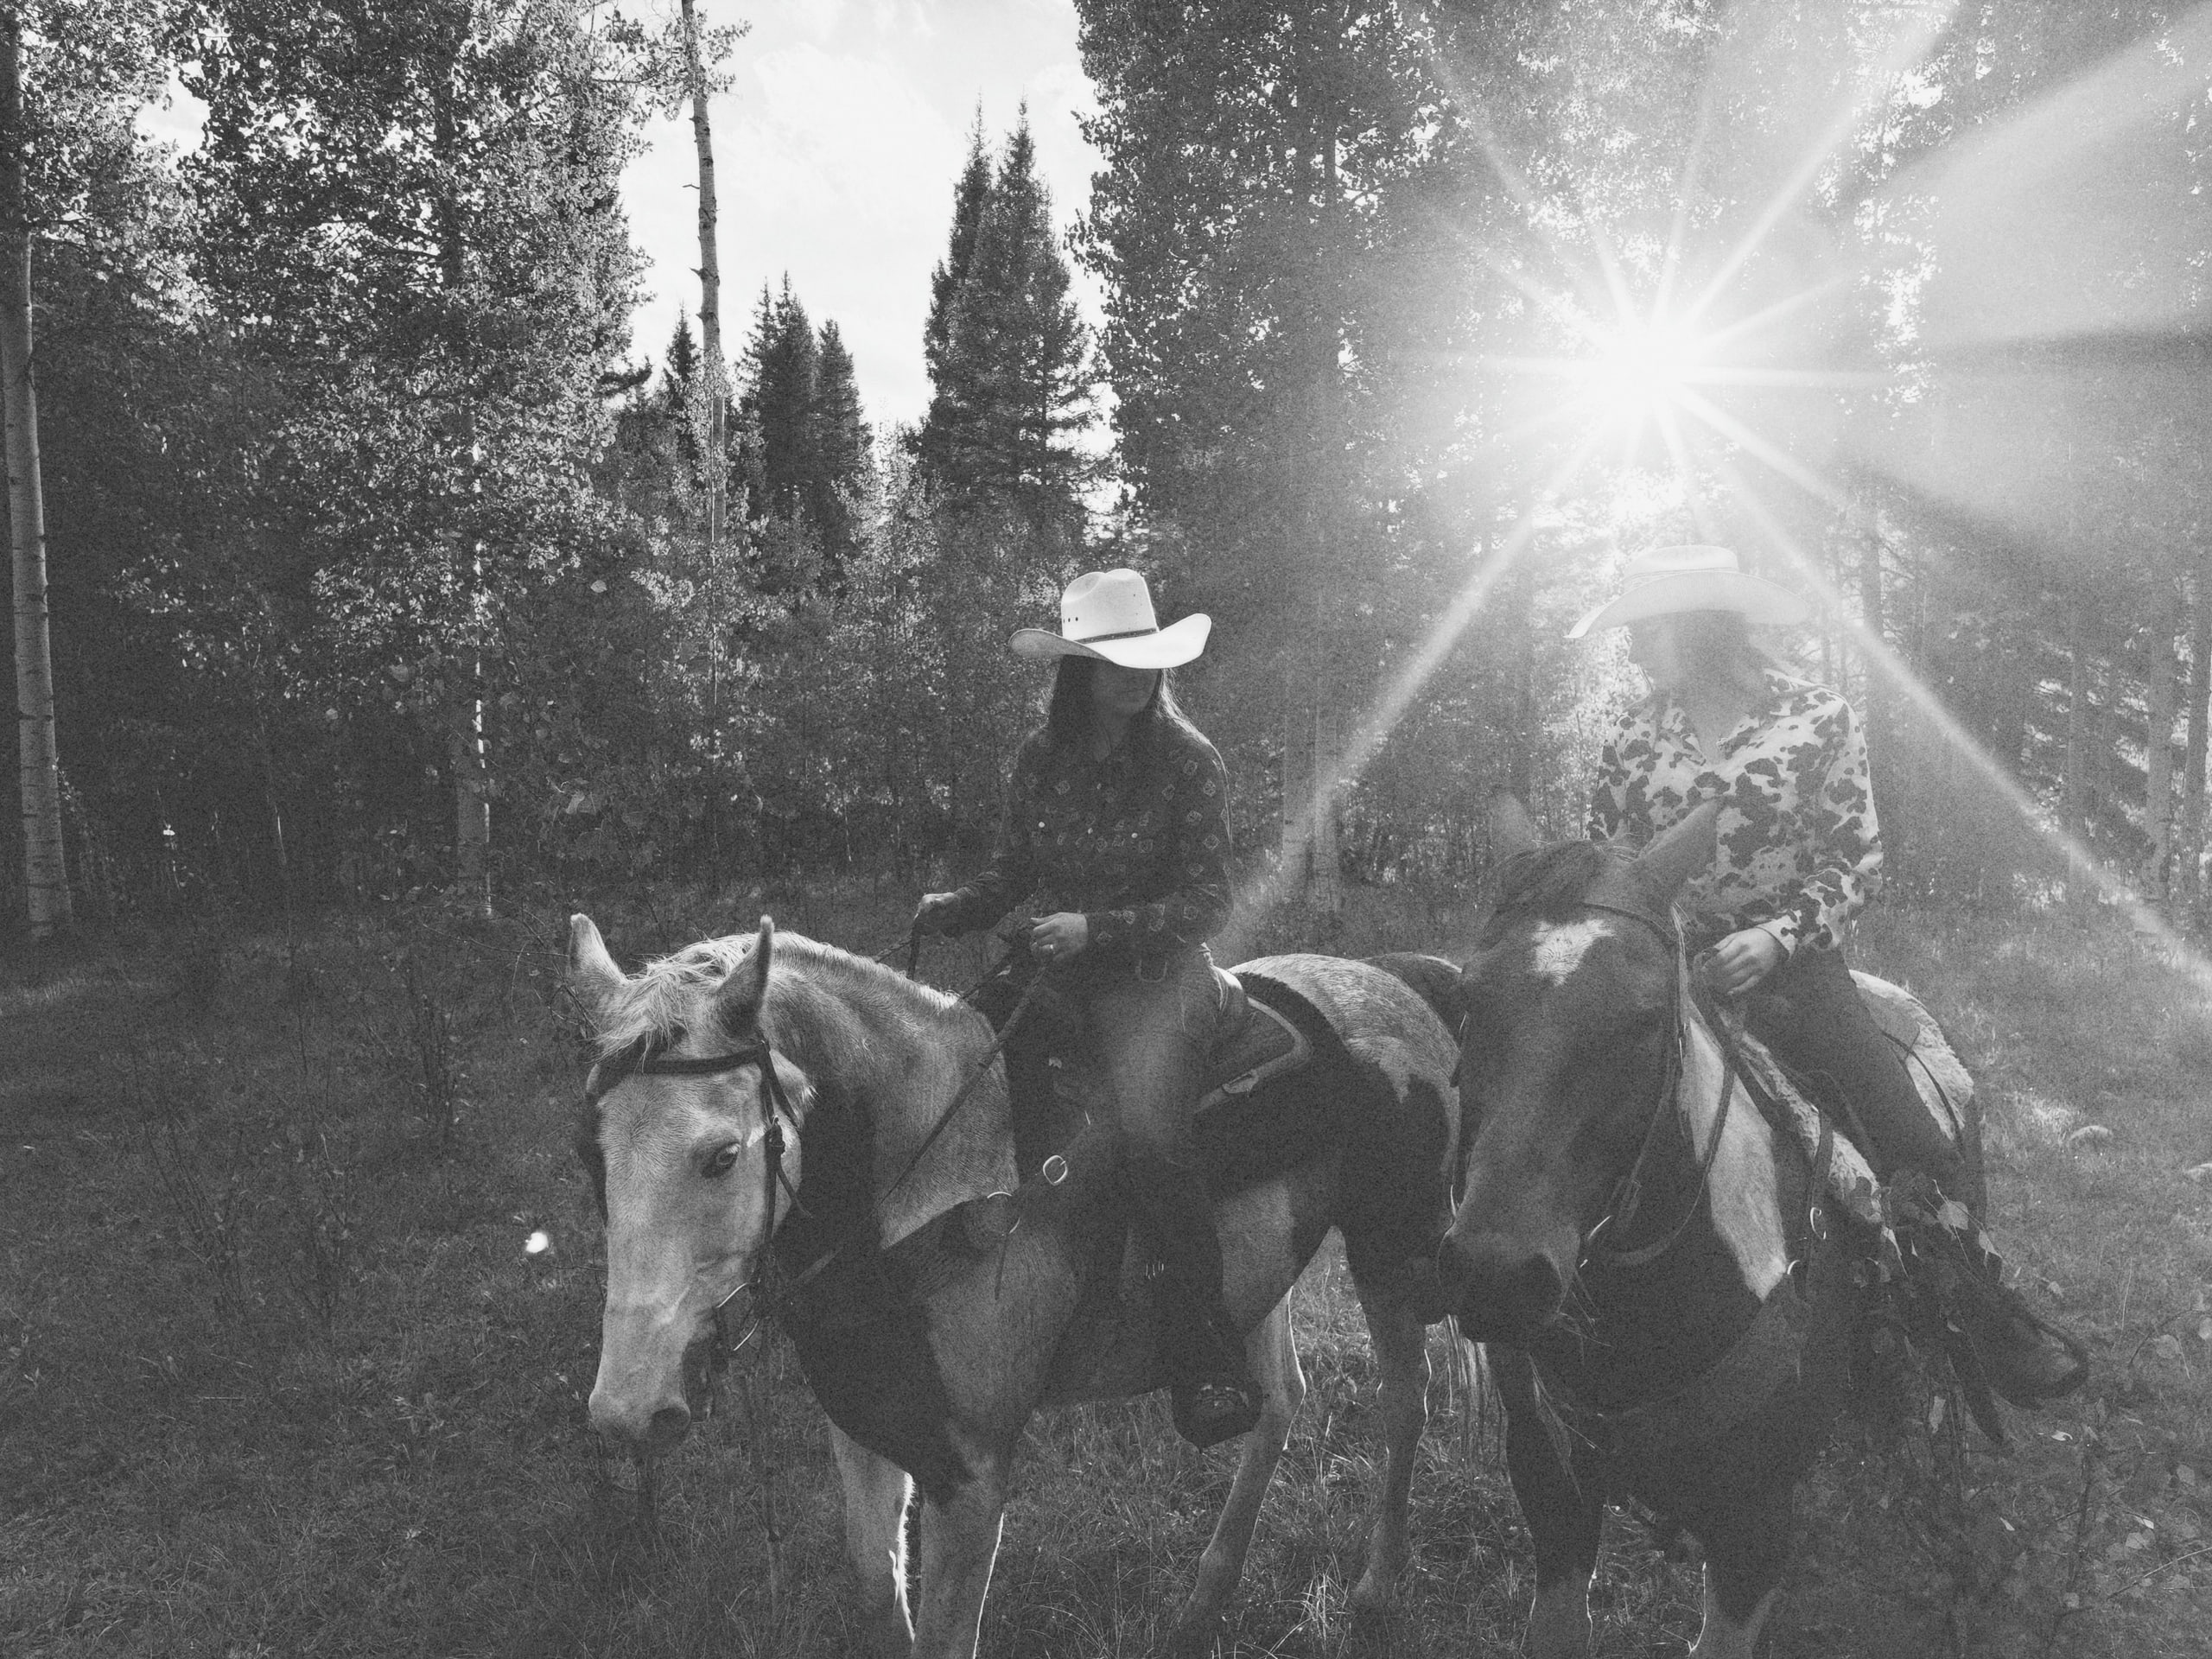
Sophia and Brooklynn on horsebackiPhone 18 Pro24mm1x48MPƒ/1.81/1000ISO 64Photographic Style: Stark B&W + Film with Grain
Apple Reference Image
When Apple started talking about Reference Image at the keynote, my first question was "how is this different from a RAW or DNG, which can't be edited either?" As best I can tell, the difference is the signing. Think of it like a paper contract. Your RAW is a clean original you've kept in a drawer. Reference Image is the same original with a notary stamp. The drawer copy is probably genuine. The notarized copy is provably genuine.
Turn it on in Settings > Camera > Reference Image > Add Reference Mode. It gets its own mode in the camera, next to Photo, and works on the main sensor (1x and 2x) but not the 0.5x, 4x or 8x.
Why it matters
For the first time in history, a photograph is no longer evidence by default. Anyone can generate a photo-realistic image of anything in seconds, so the assumption has flipped from "real unless proven fake" to "fake unless proven real." Since the beginning of photography, "I have a photo" ended the argument. Photoshop started eroding that trust, and AI finished the job. Reference Image is the answer.
If Apple makes this technology available to third parties, and I assume they will, I can see it used in verifying vehicle damage for insurance, move-in and move-out photos for a landlord, or a listing when you sell something online. I'd love to see Instagram offer a "Verified Photograph" check too, especially now that Leica and Sony are signing their files with Content Credentials.
This might sound like a feature for photojournalists and the historical record, but it matters for the rest of us too. With Clean Up, Extend Frame and Reframe, we can now extend reality, and six months or six years from now we won't remember exactly what we changed. The timing is right. Just as the camera team hands us tools to reshape a photo, they hand us one to verify it.
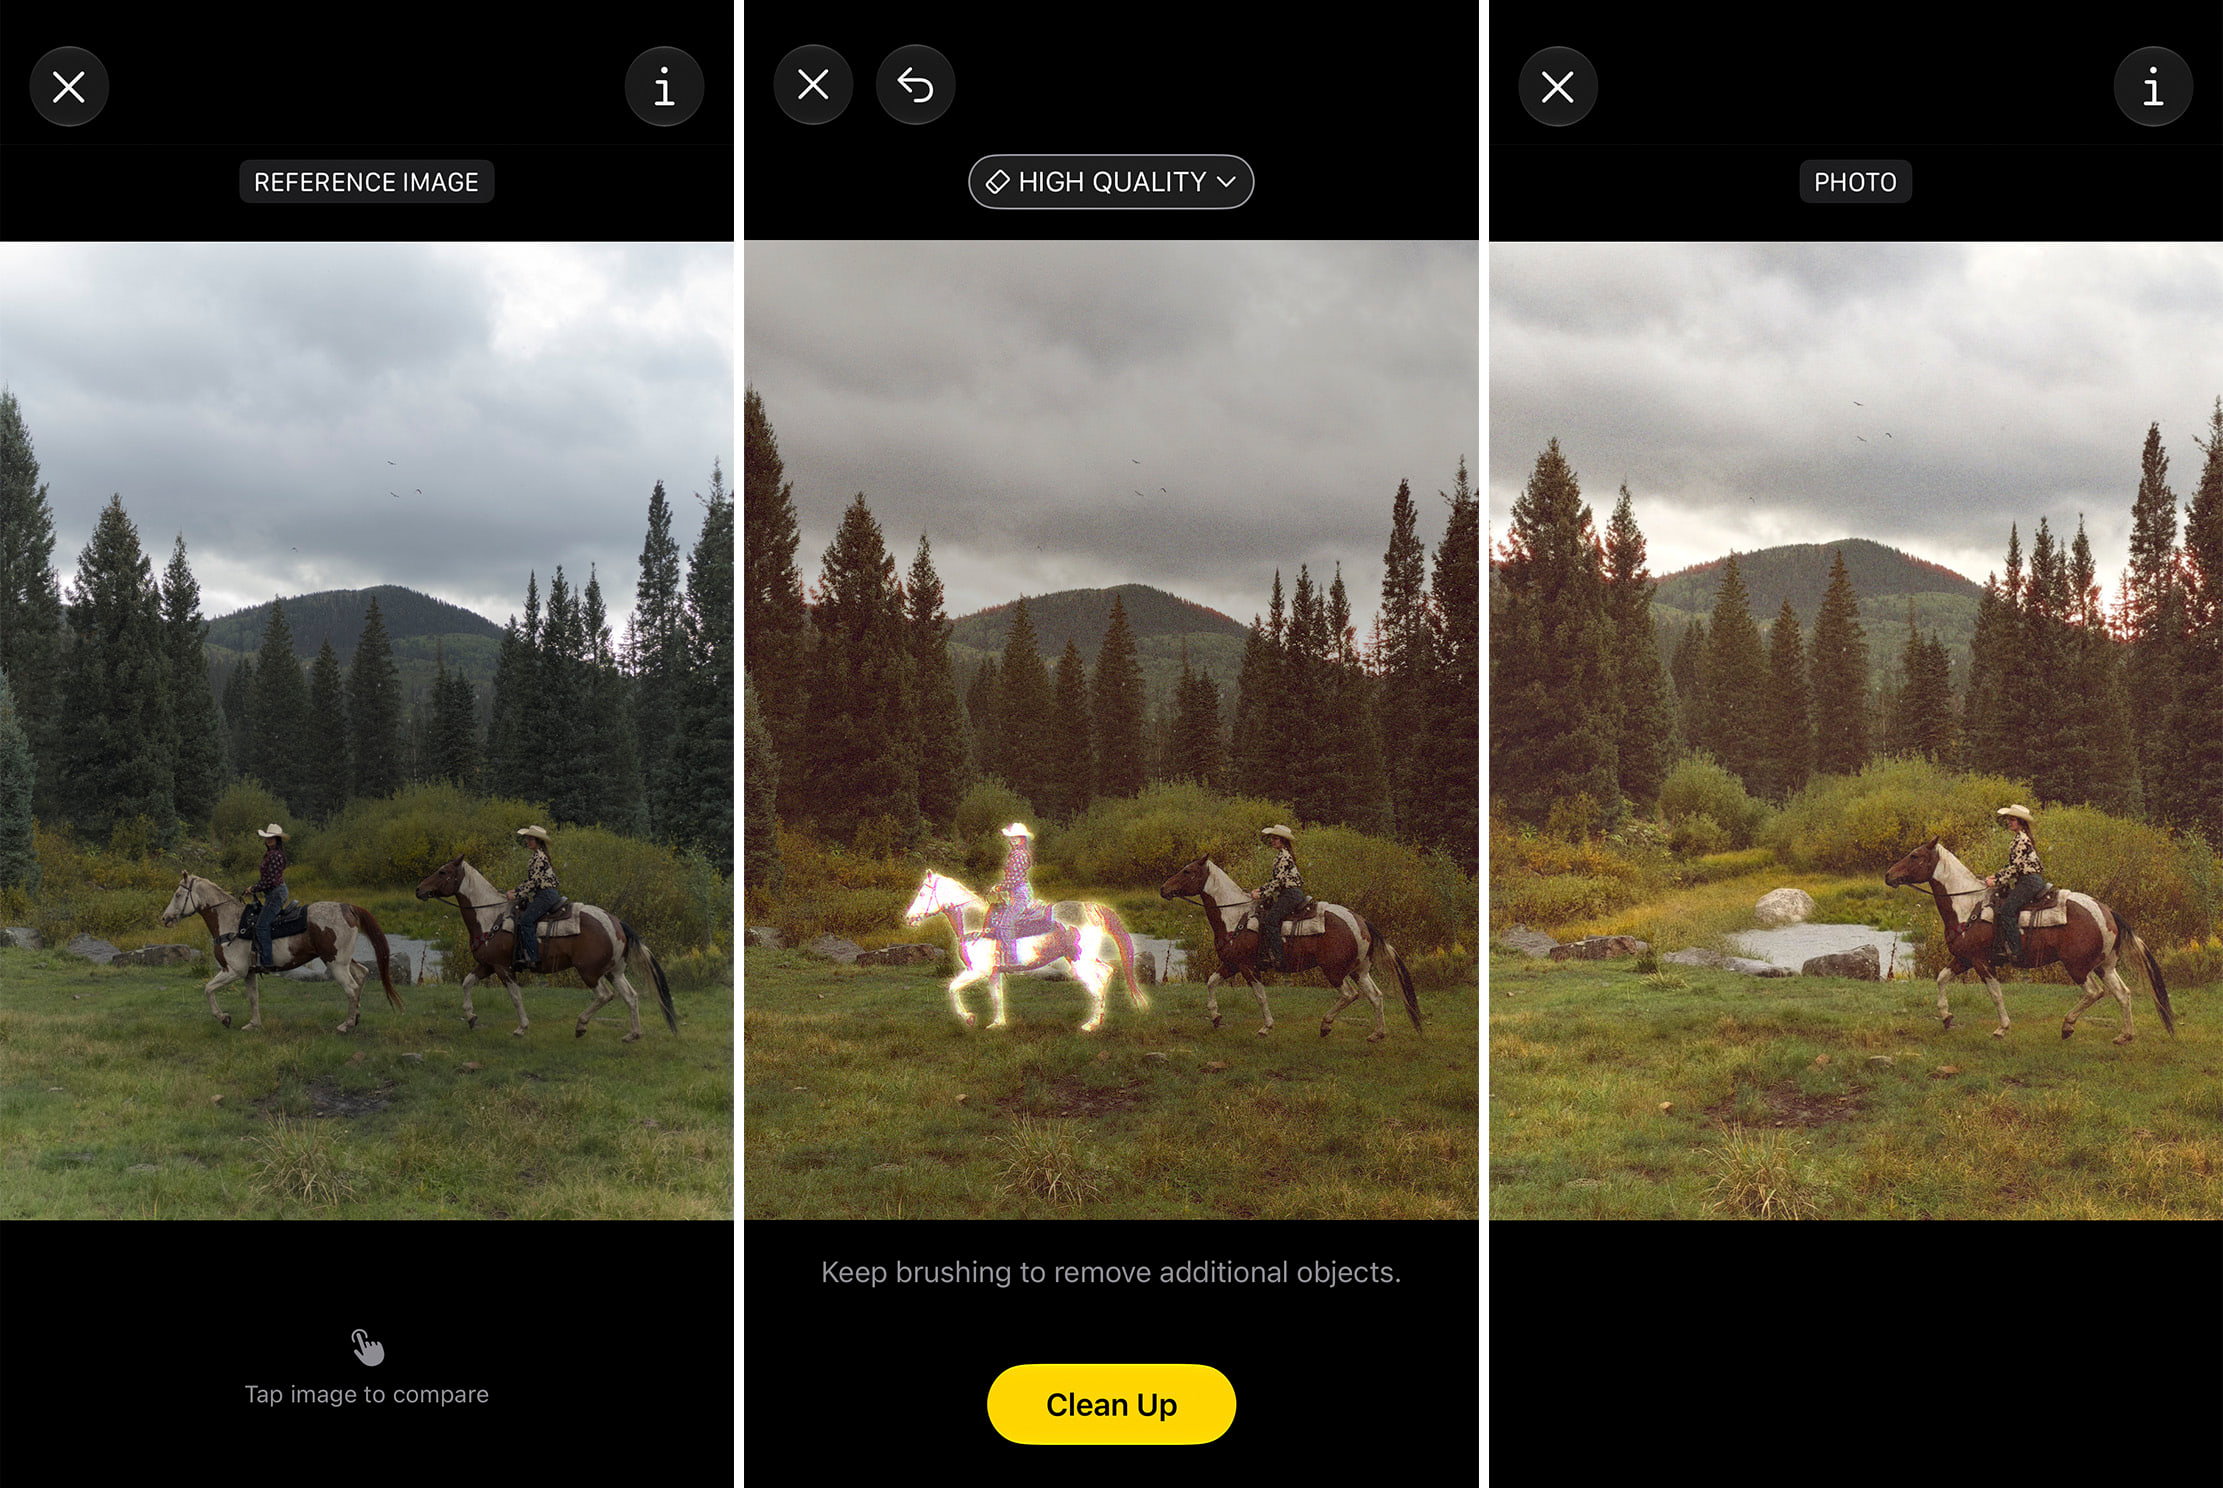
Left: the original, signed Reference Image. Middle: the Clean Up tool used to change the scene. Right: the final, altered imageiPhone 18 Pro
Photographs matter because they represent moments that actually happened. Somewhere, someplace, light hit a sensor. Reference Image gives us that grounding when it really matters.
4K Time-lapse
I really love shooting time-lapses. Remember the iPhone 6S video we made with all the time-lapses from Switzerland?
Up until now, time-lapses shot in the native Camera app have only been 1080p, so working them into our review videos has never felt quite right. Now with 4K, time-lapses are the same resolution as our video.
Here’s a 4K time-lapse of the ranch:
After I wrapped this time-lapse, I noticed there was a brief moment where the light was more dramatic and highlighted the trees on the left. Now that the time-lapse is 4K, I found myself wishing there was a way to easily export this high resolution frame… and I was delighted to find that feature!
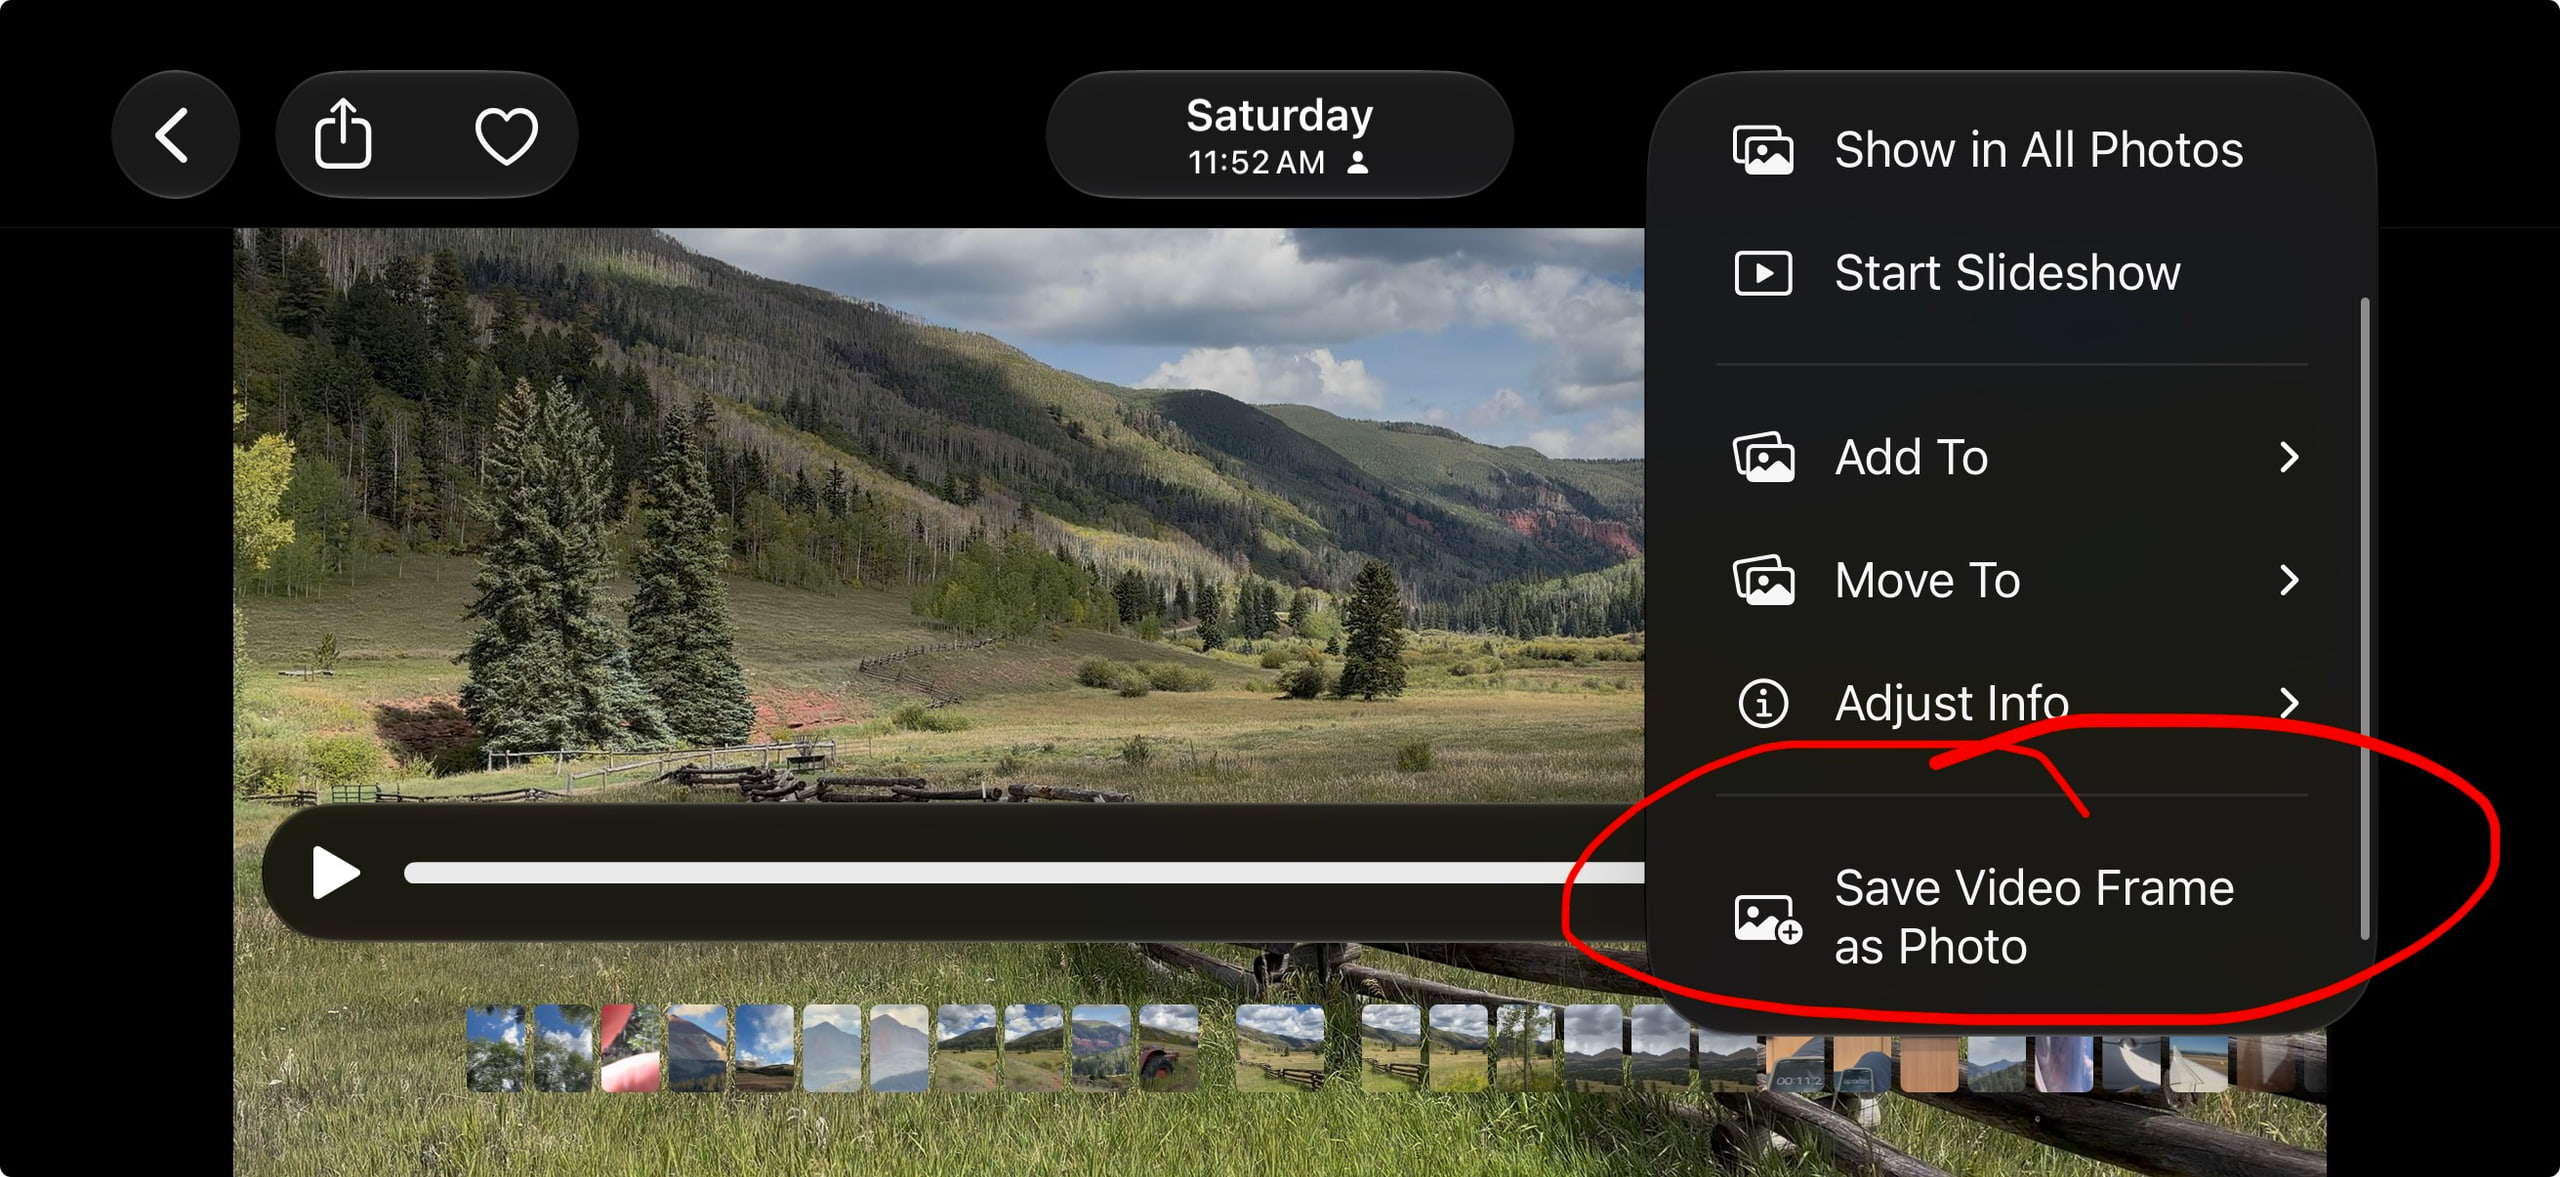
Exporting a frame from the time-lapseiPhone 18 Pro
Here’s that final exported frame:
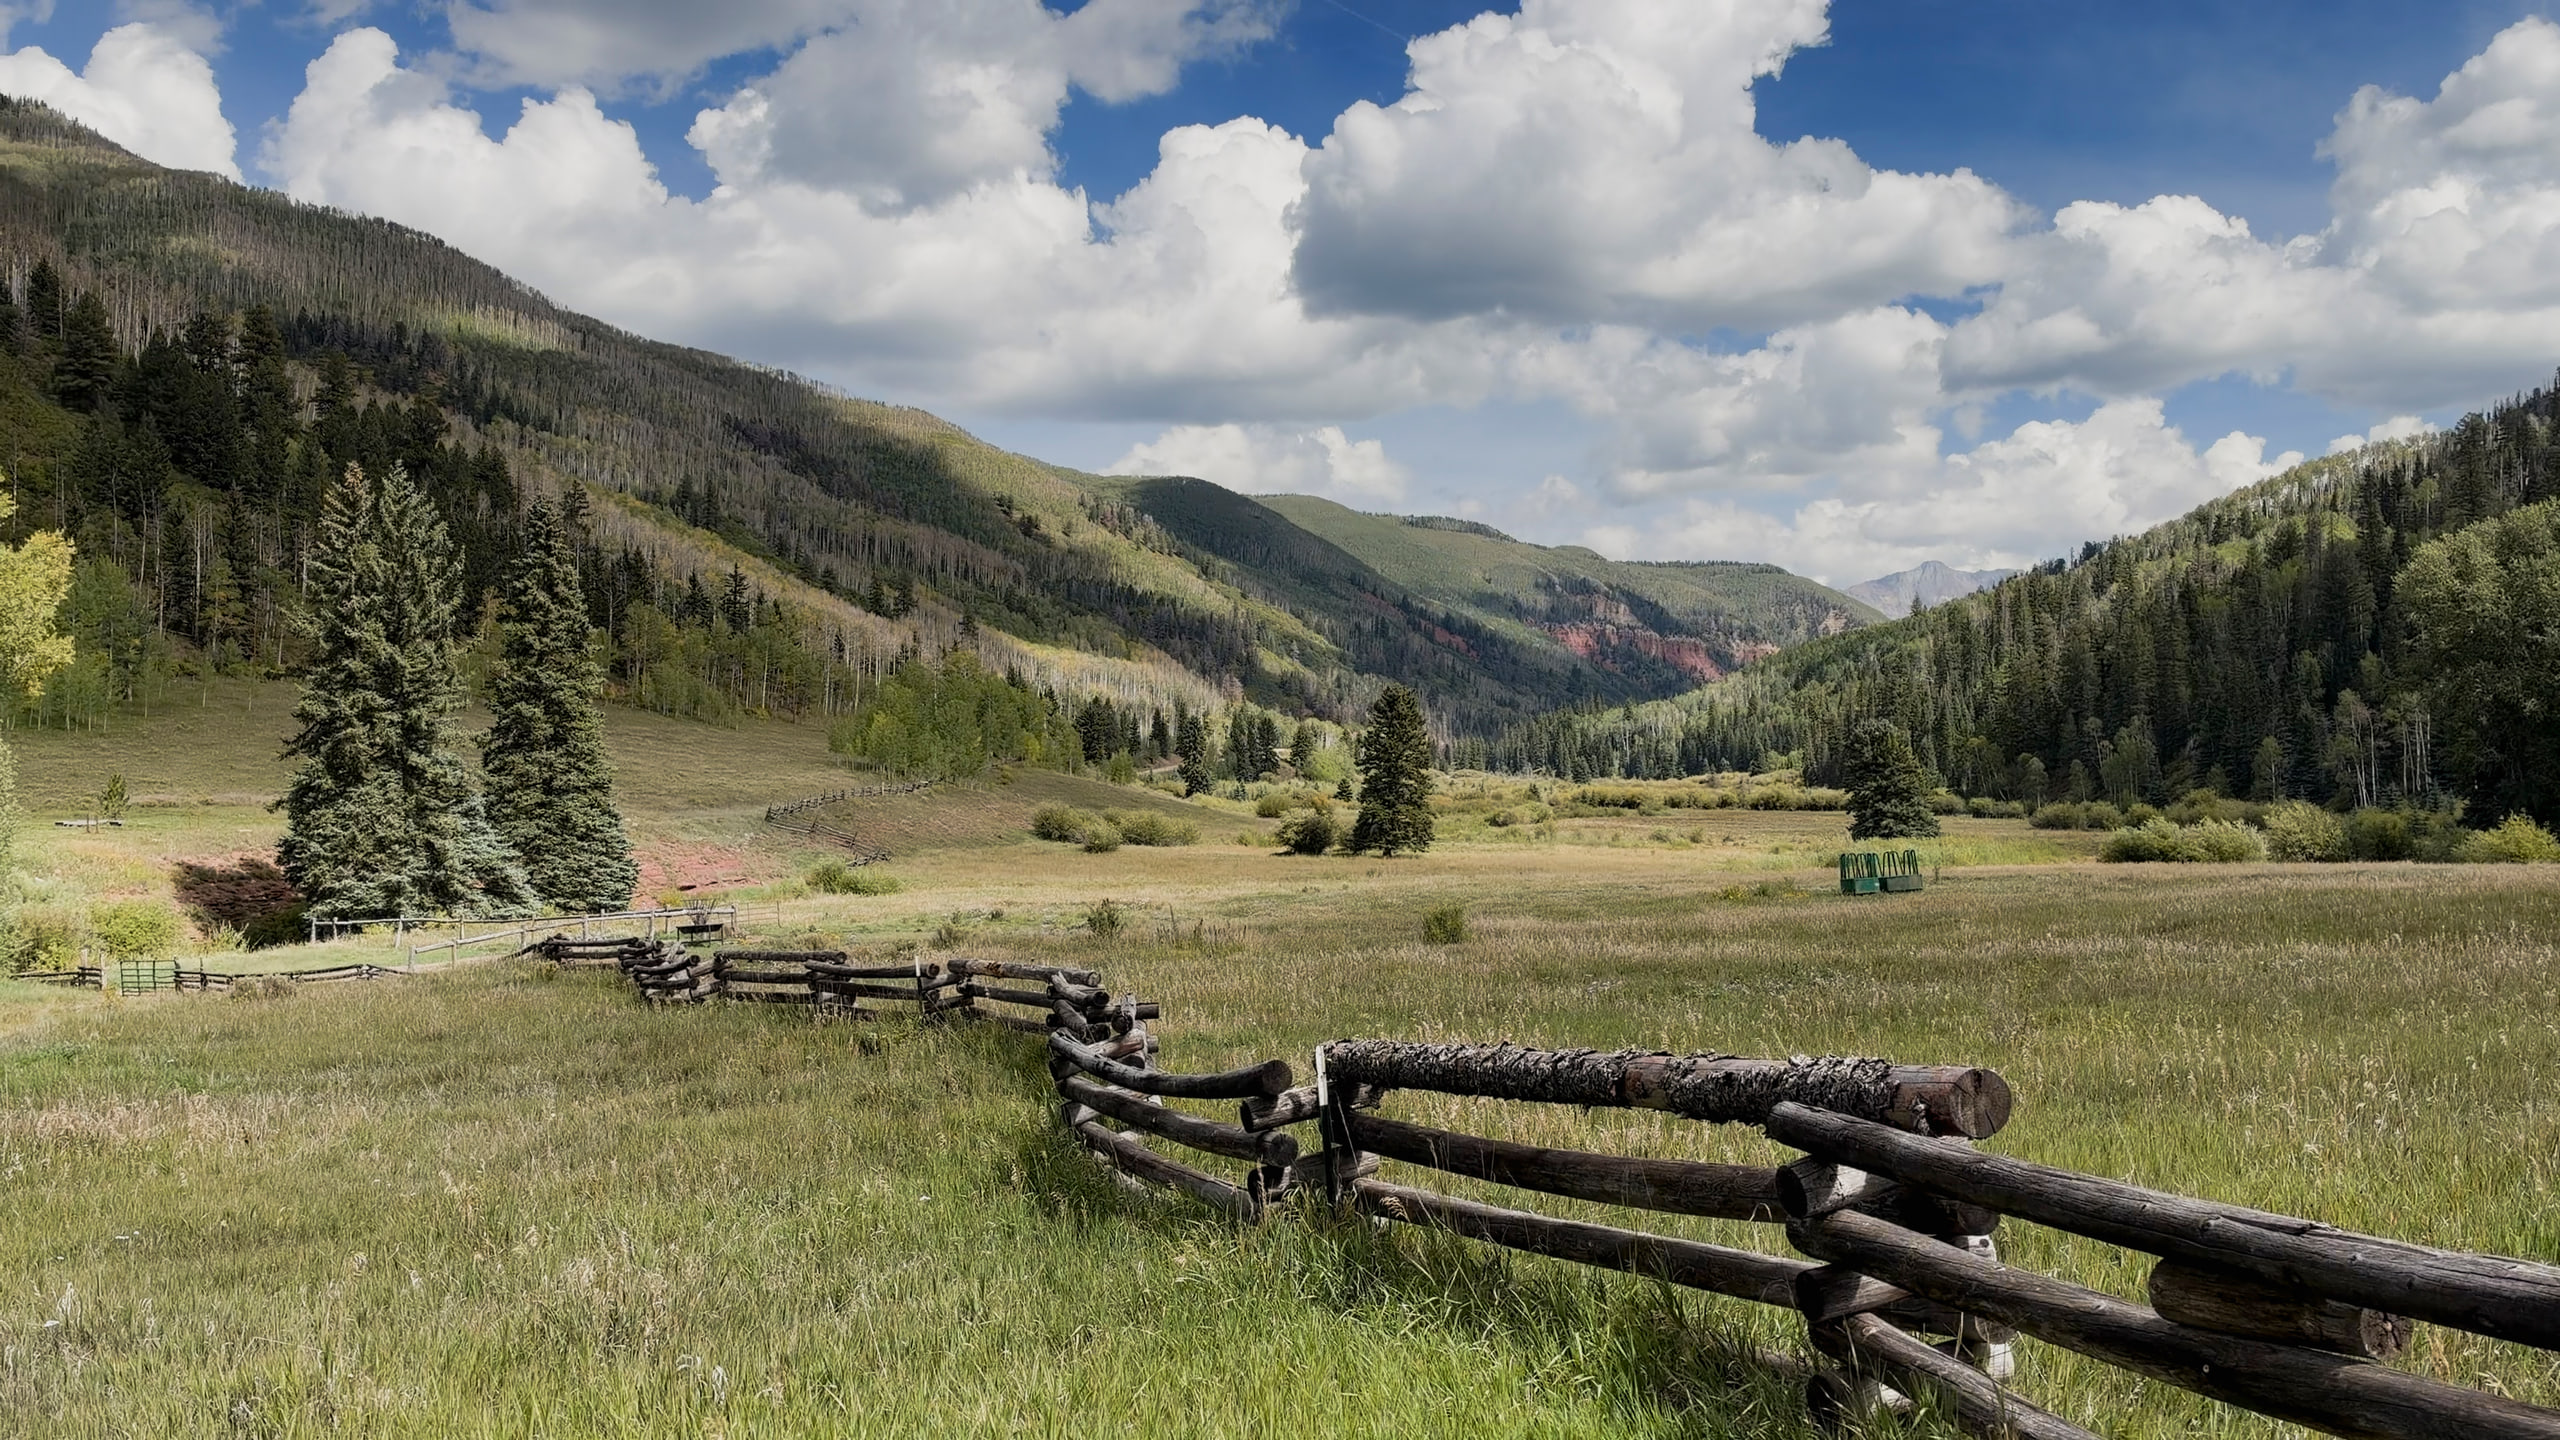
The exported 4K frameiPhone 18 Pro
There's also a new feature called "Adaptive" time-lapse, which slows the time-lapse down when it detects motion. I tried this a few times but honestly haven't exactly figured out how it works just yet. Curious to see how folks use it.
I’m glad Time-lapse is getting some attention and hope there’s more to come.
The lens lineup is right
I don't know about you, but for me the lens lineup on the iPhone 17 Pro just felt right… the 0.5x and 1x have always been great, but it's the optical telephoto that has moved around a bit. 5x was a bit too tight, and the 3x on previous iPhones wasn’t always enough. 4x on the 17 Pro was not only the right perspective at 100mm but also 48MP.
These “eight lenses” felt right all year, and I’m glad it hasn’t changed on the 18 Pro.
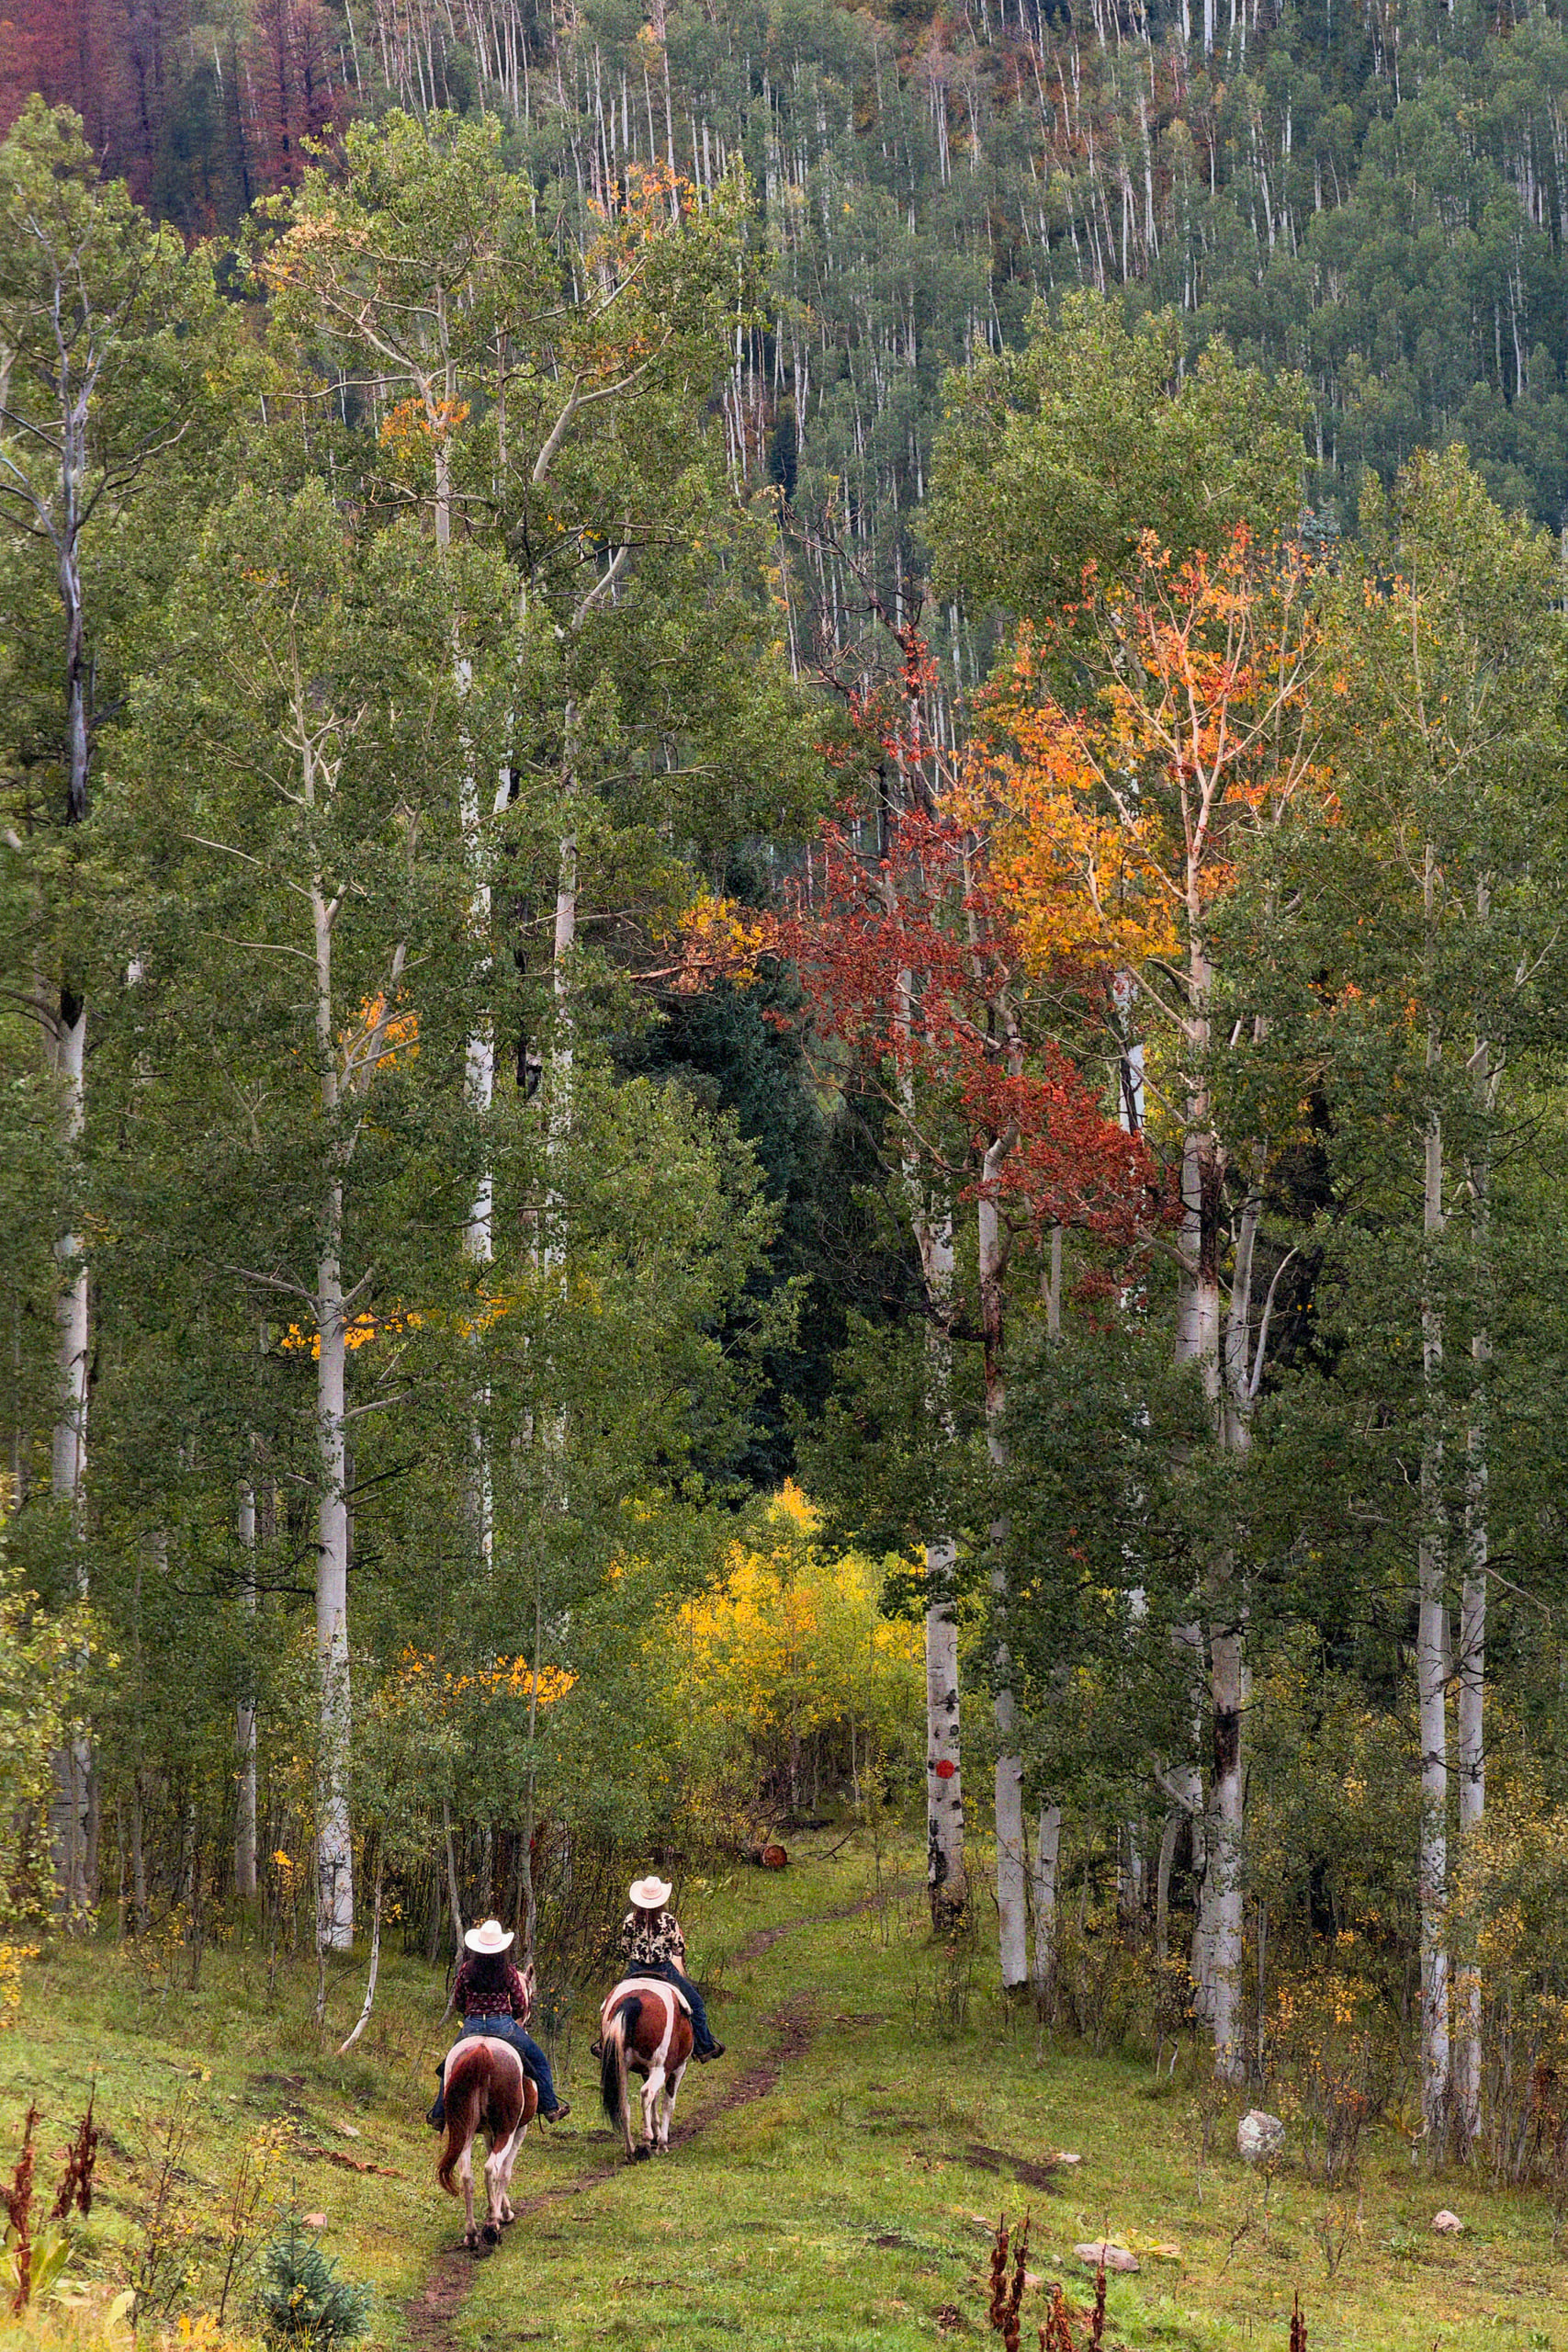
Sophia and Brooklynn trail riding in the high Rockies at DuntoniPhone 18 Pro100mm4xƒ/2.81/121ISO 80Photographic Style: Amber + Film
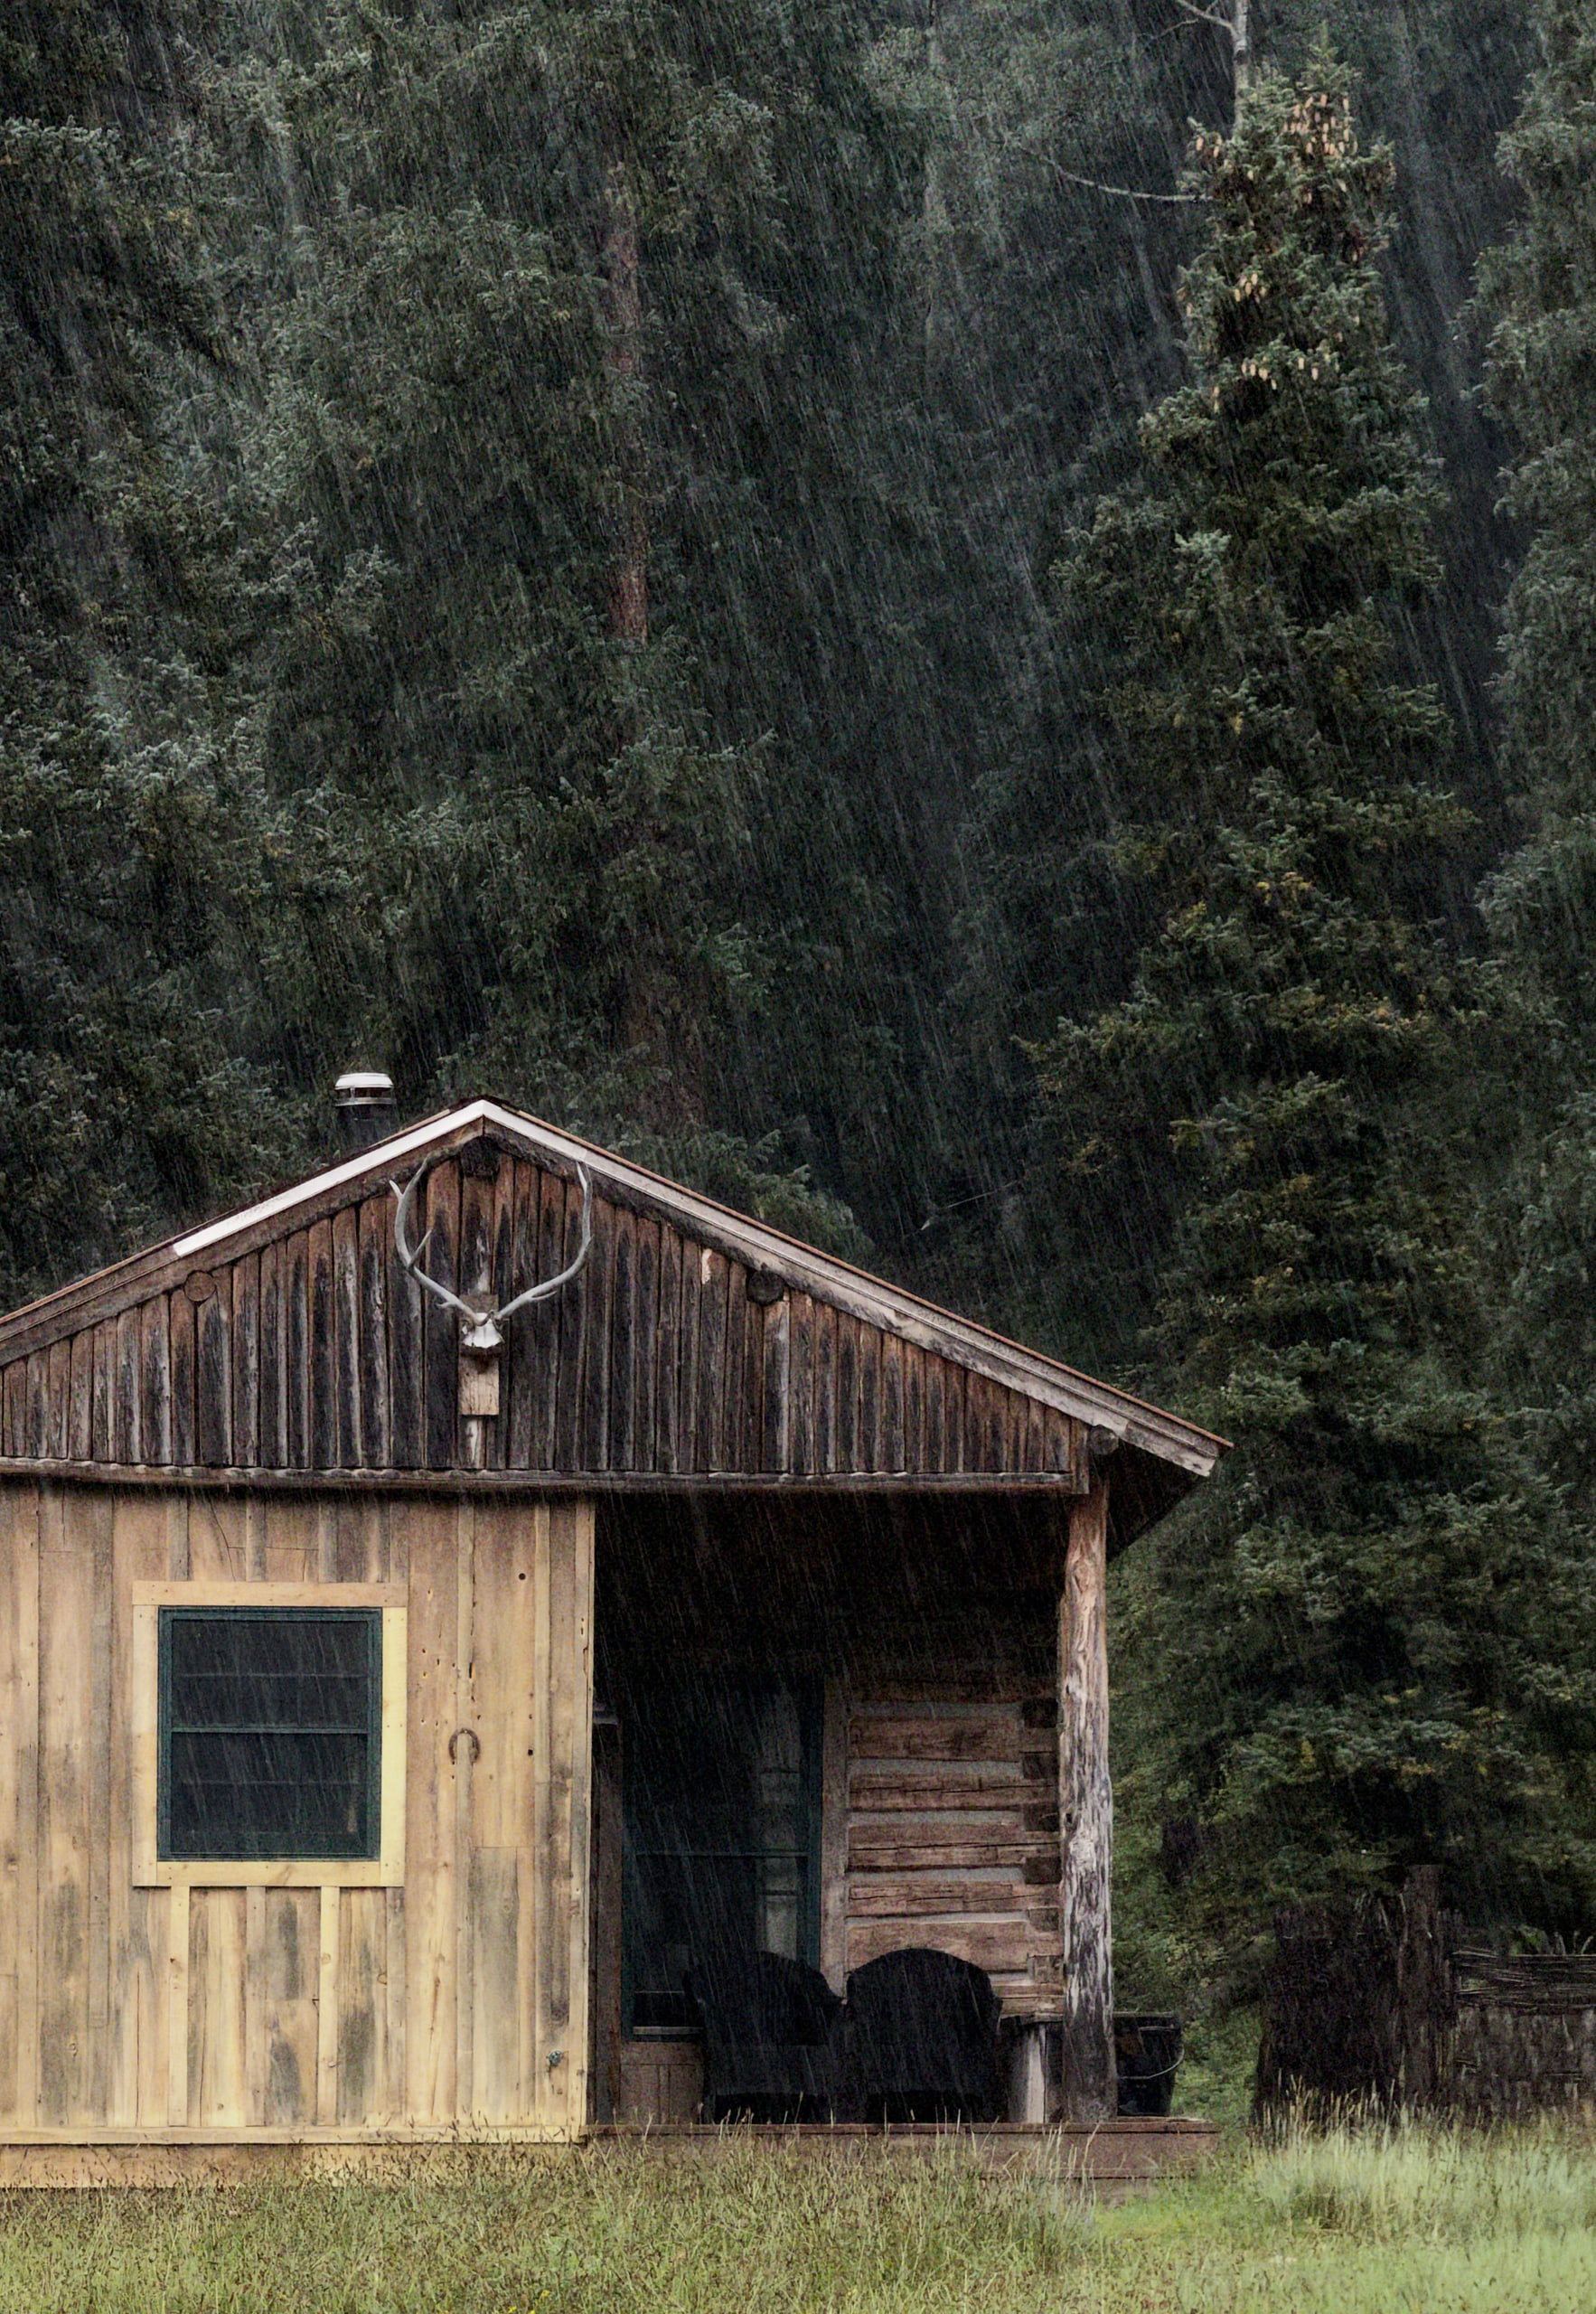
Morning showers over Major Ross at Dunton Hot SpringsiPhone 18 Pro100mm4x18MPƒ/2.81/116ISO 320Photographic Style: Natural + Film with Grain
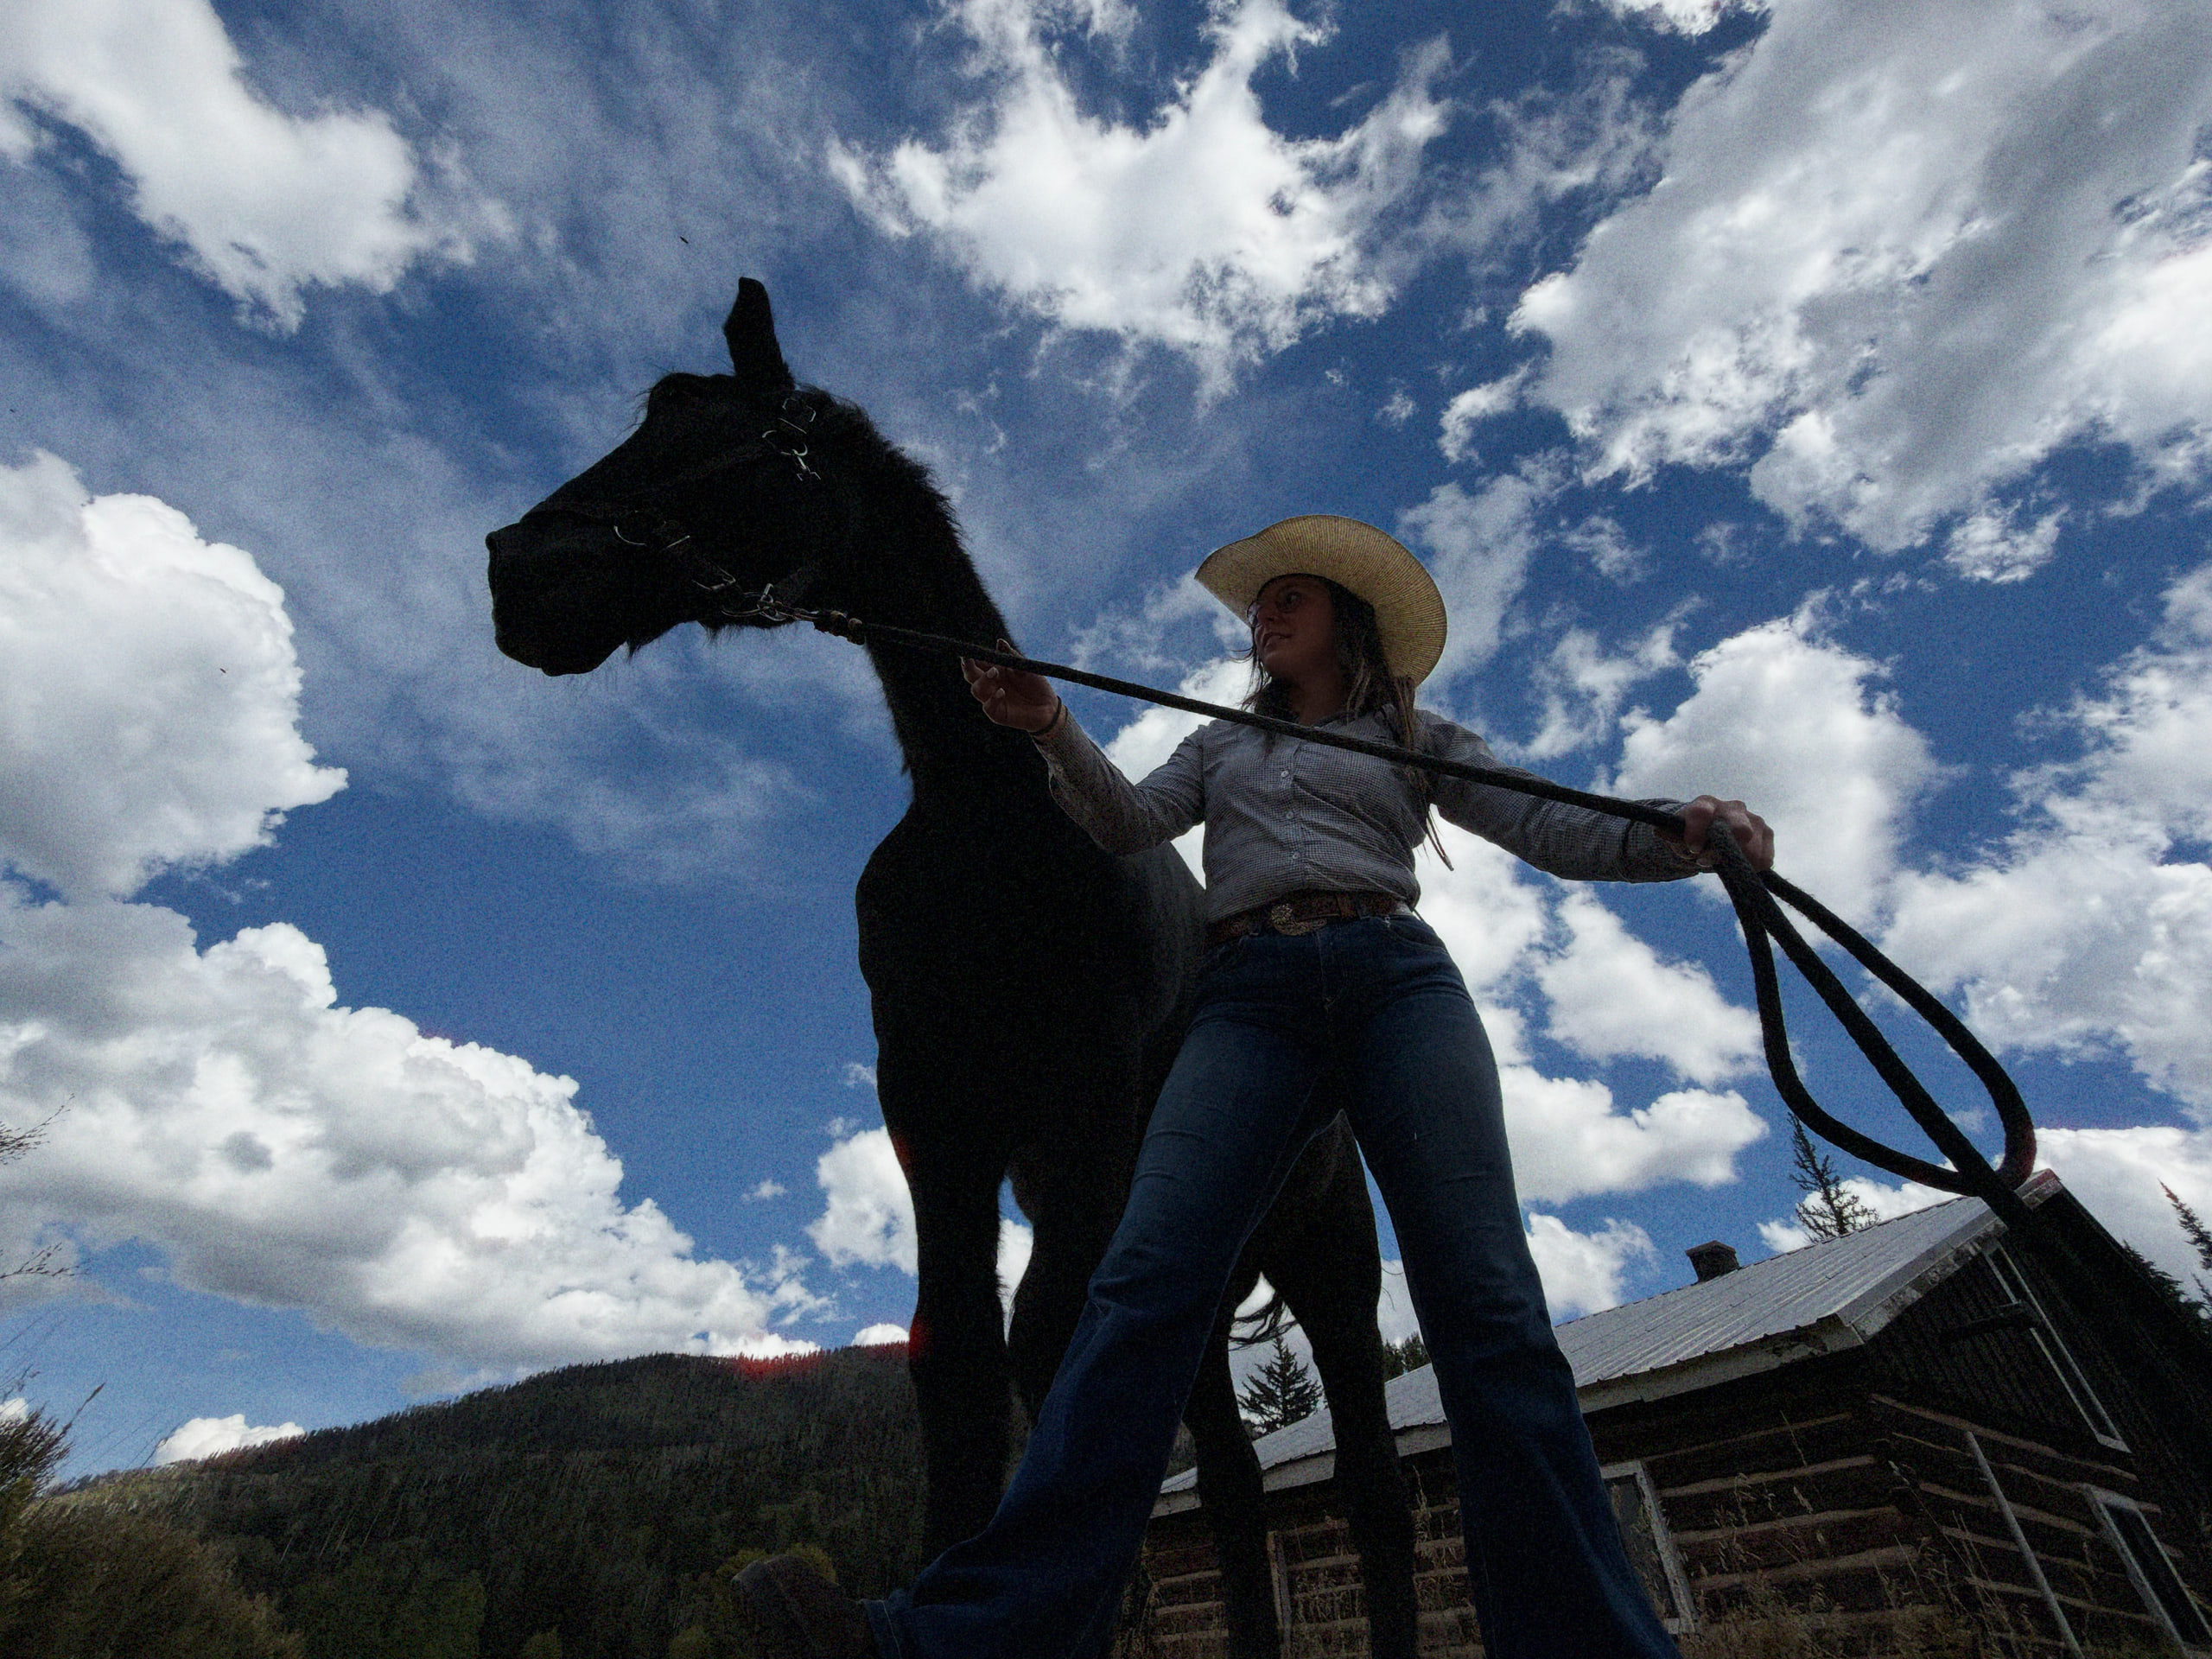
Brooklynn and Zeus at Dunton River Camp. Photographic Style: Quiet + Film with Grain.
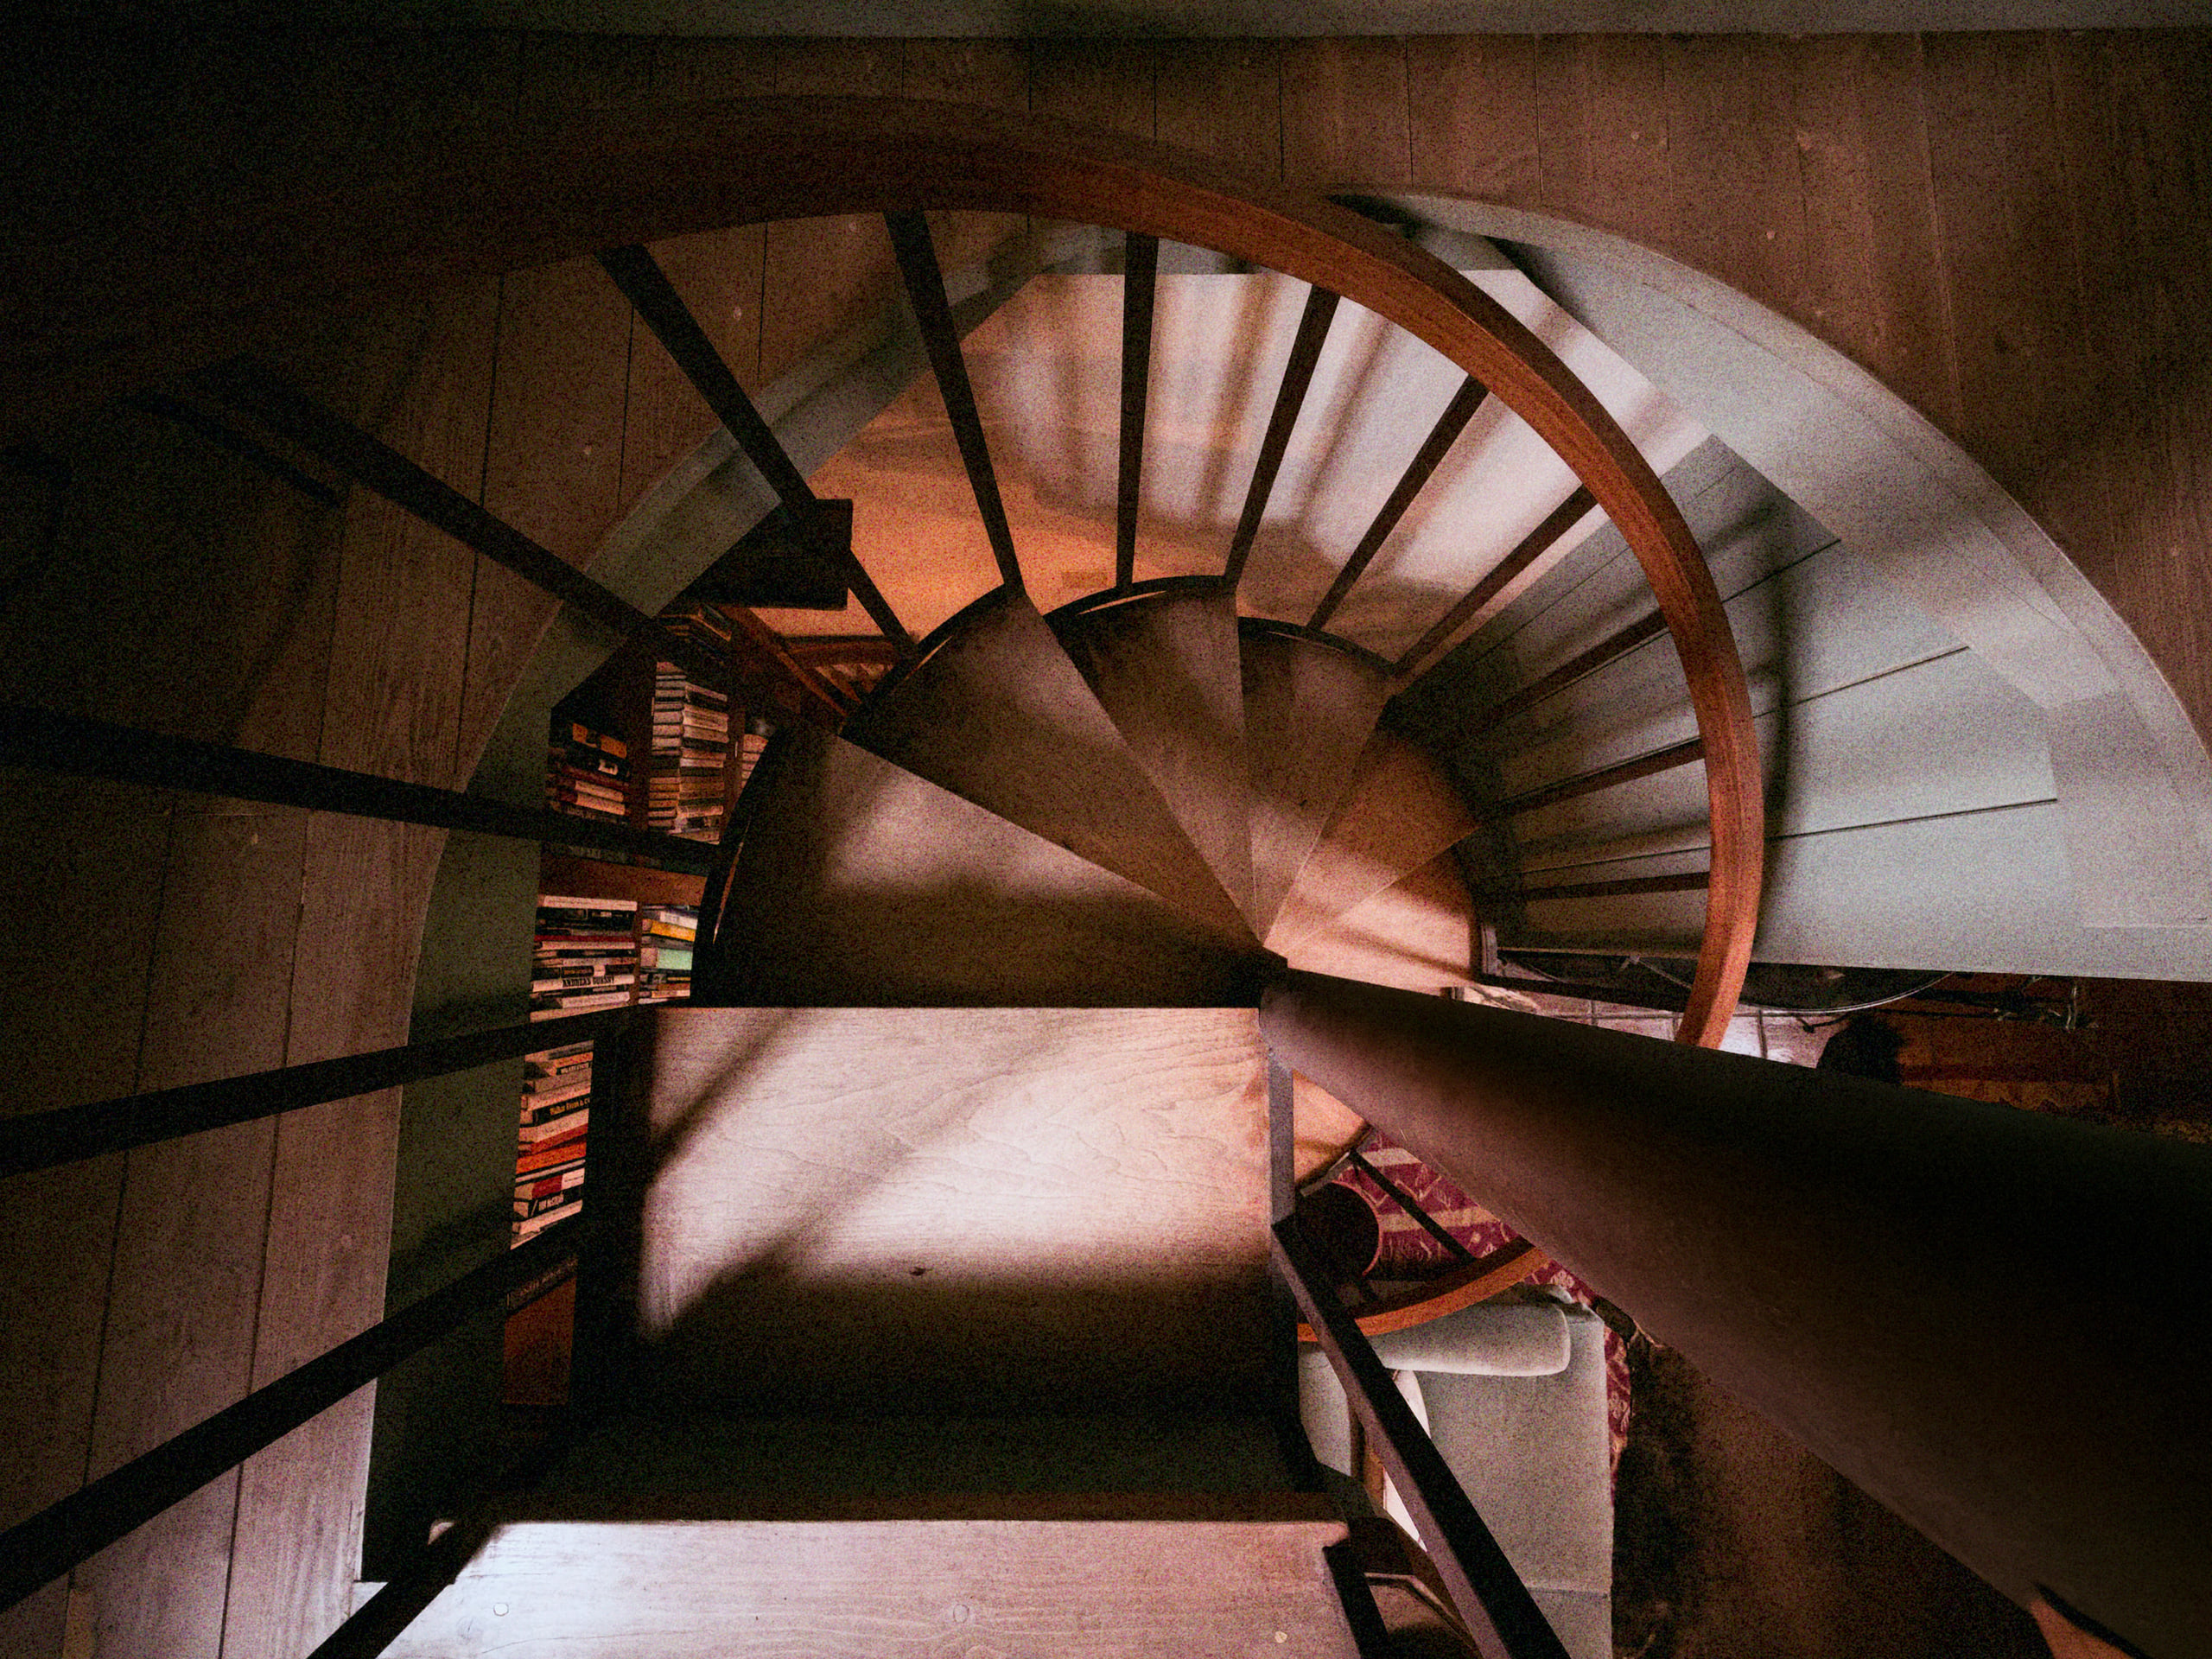
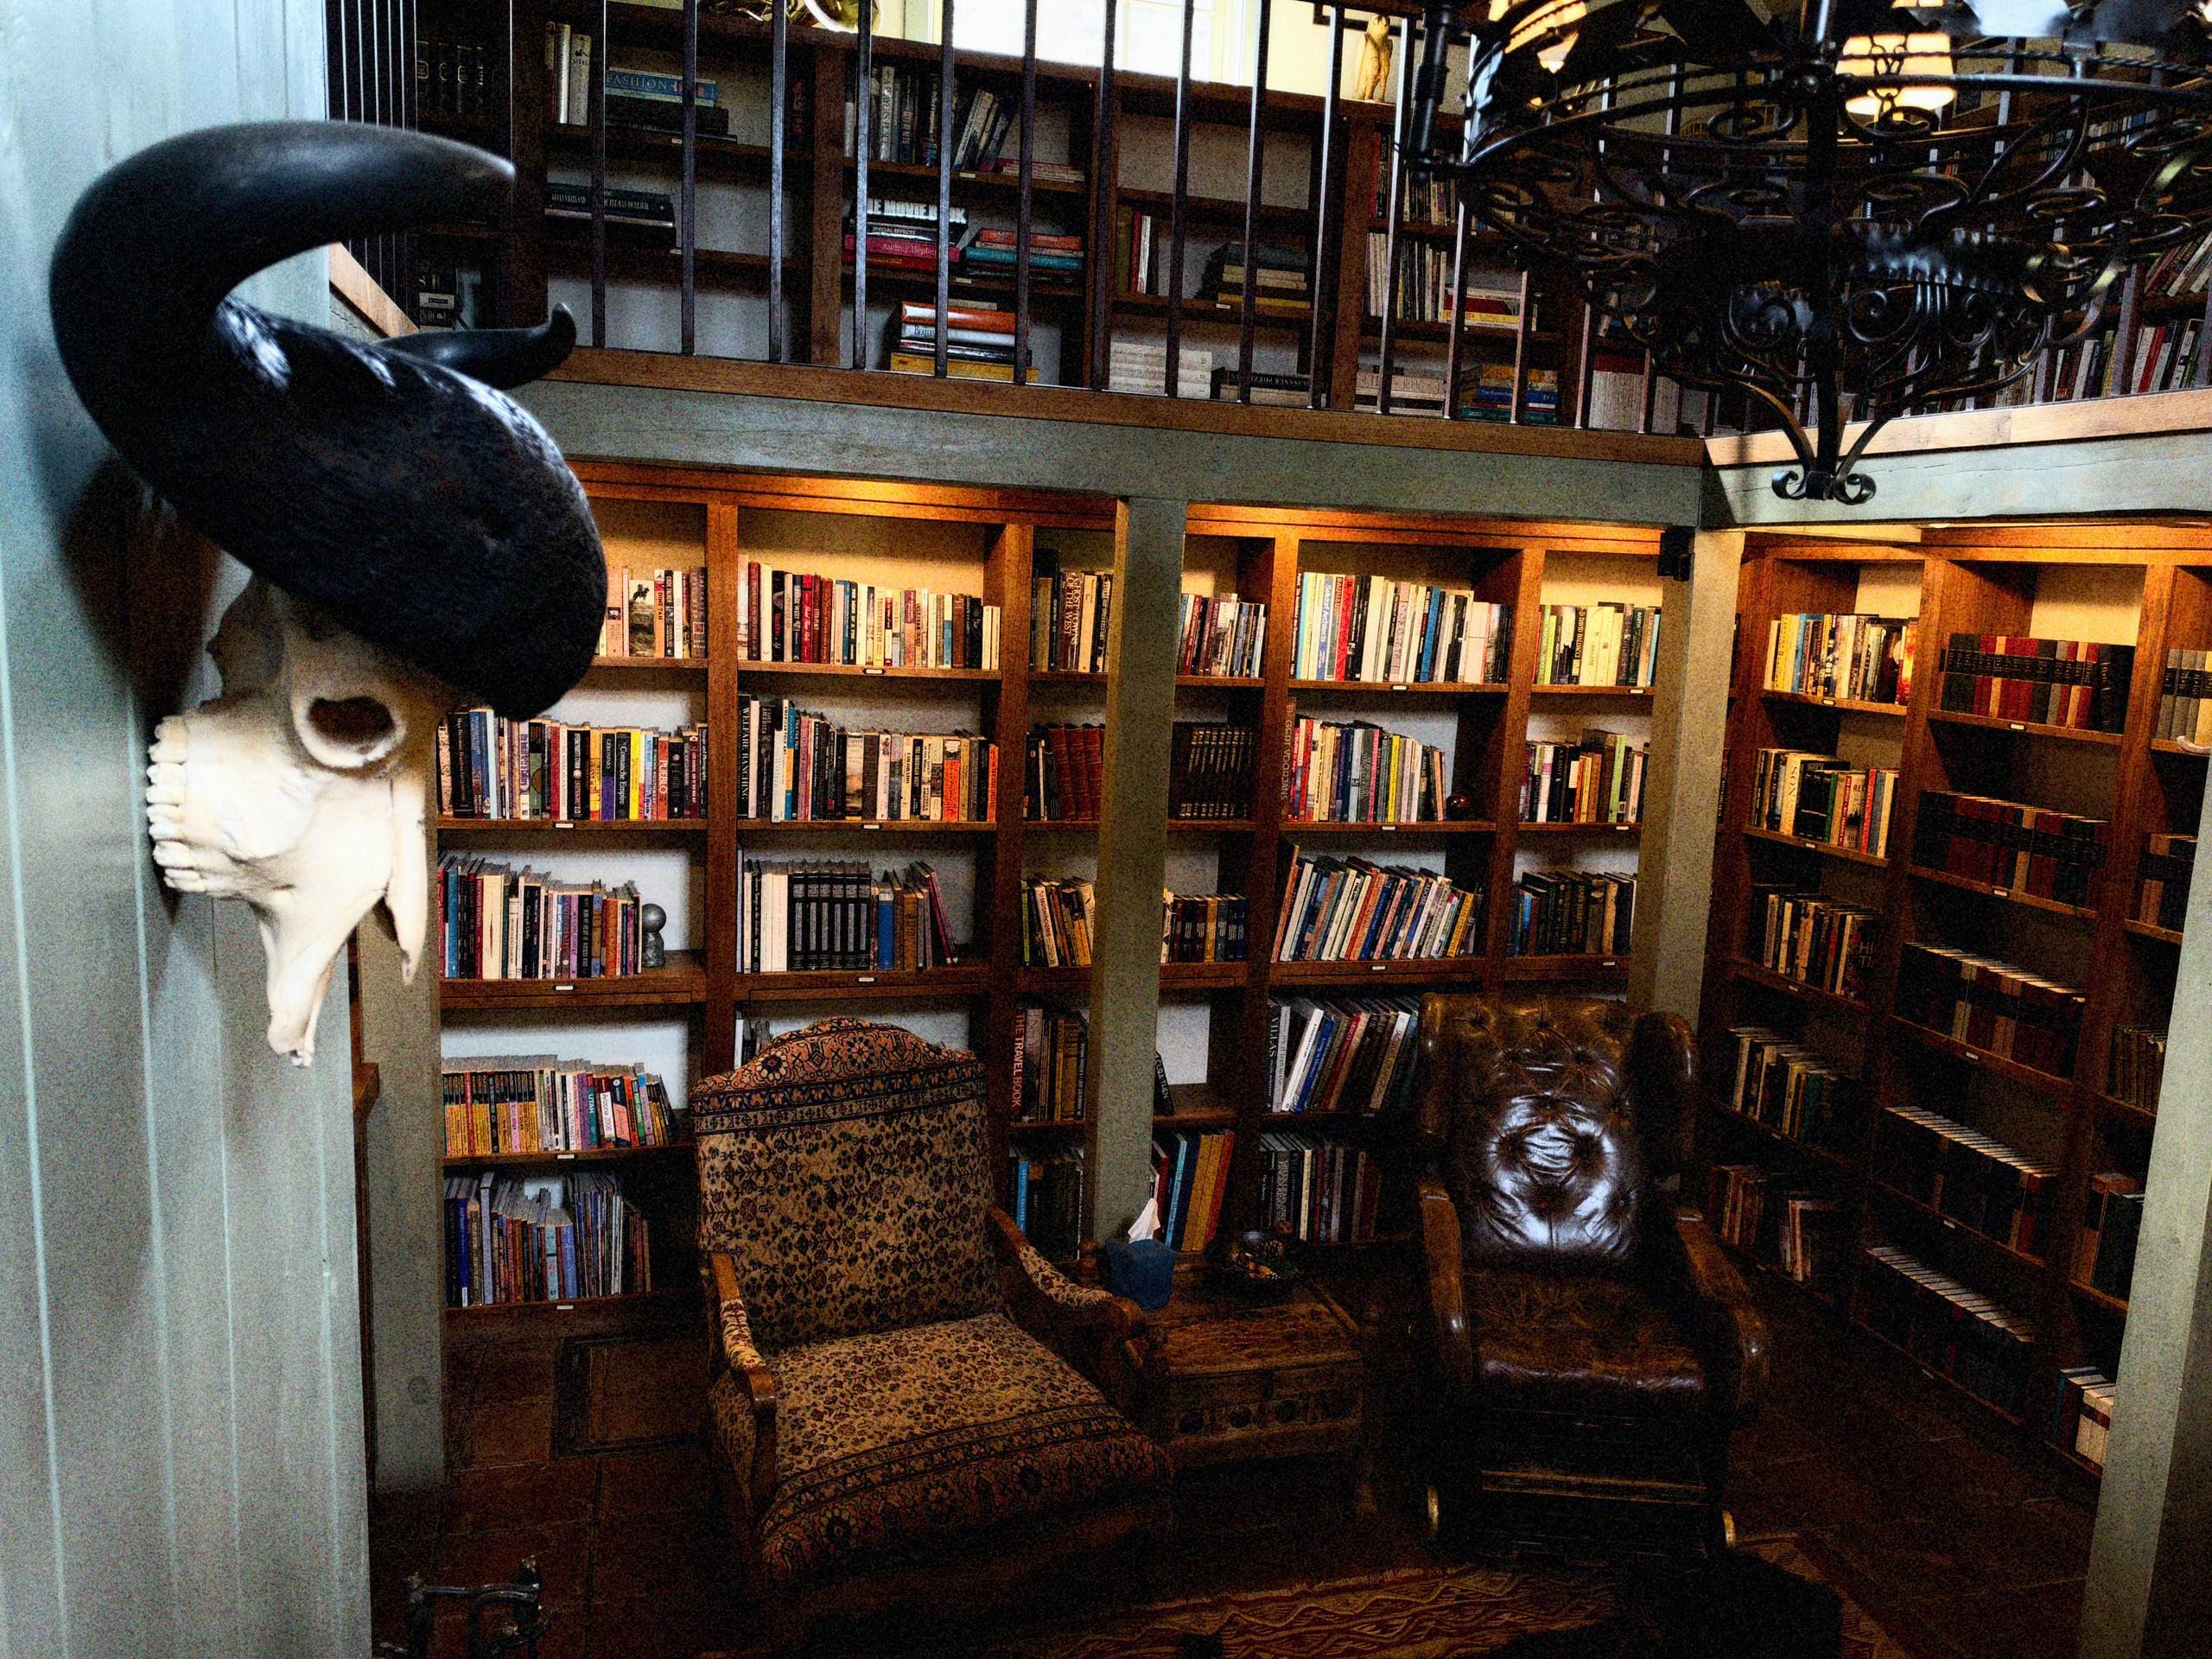
The beautiful Dunton libraryiPhone 18 Pro14mm0.5x48MPƒ/2.21/24ISO 320Photographic Style: Amber + Film with Grain
The Duo and iPhone handoff
I got to play with iPhone Duo at Apple Park and it's absolutely stunning. It feels great in your hand and the screen is incredible. I love SmartTake, which detects the scene and fires the camera when everyone in the group is ready, and KidQ, which uses the outer screen to catch the attention of the kiddos in the picture. And because of its unique design, it can stand on its own without a tripod.
The Duo has a great camera system, a 48-megapixel Ultra Wide and Wide, but no telephoto. I use the 4x all the time, otherwise it’d be my daily device. But with the new iPhone Handoff feature letting you use the same number on two iPhones… is it too much to carry them both? 🤔
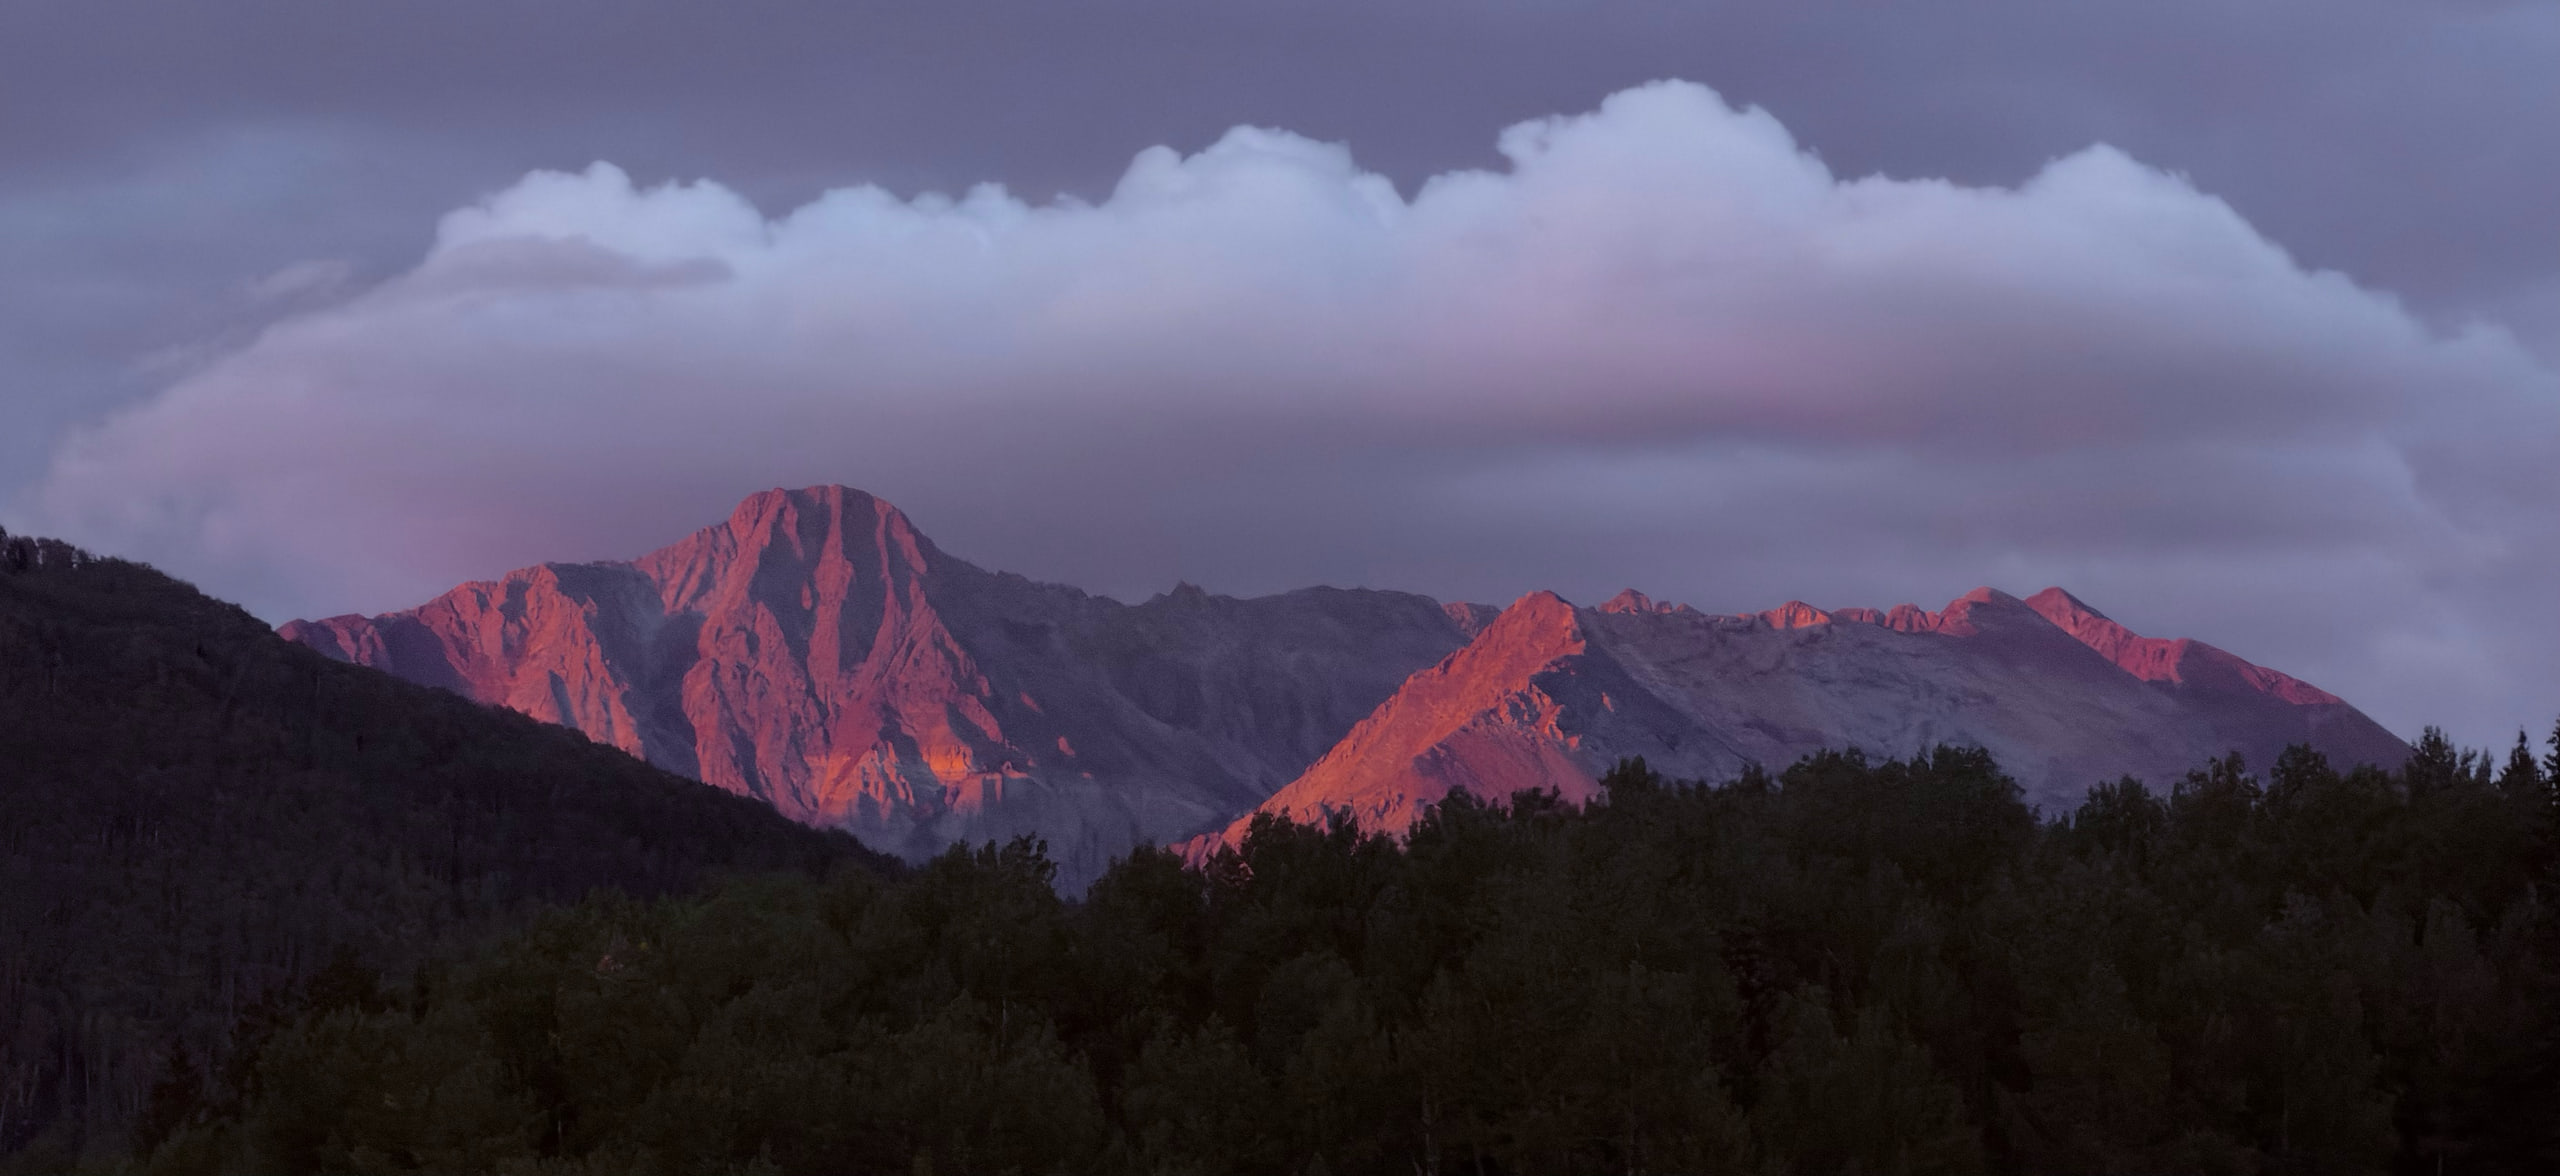
El Diente and the Wilson Range from Dunton Hot SpringsiPhone 18 ProPhotographic Style: Vibrant
Worth mentioning…
During the keynote, Apple's Kaiann Drance shared that AirDrop is now up to 80% faster, and that it's enabled through software. I haven’t side-by-side tested this but have noticed my AirDrops are blazing.
The new displays have new color calibration with Apple Color Matching Functions (CMF) for more accurate and consistent colors. In Apple's words, "this advancement bridges the gap between display color capability and true perceptual quality." I love hearing how far the engineers go behind the scenes to get this right.
A few wishes
-
The new Pro Controls are exciting and very welcome, but they’ll take some getting used to. There are so many options that it’s hard for me to remember where everything is, change what I want, and get back to the shot. I think I’ll get used to the new camera UI but it has me thinking about the Pro Camera app conversation that has gone on for years, and with a variable aperture and real manual controls, I wonder if it’s time. Apple built Final Cut Camera for serious filmmakers. I’d love a Pro Camera app built the same way for photographers.
-
I really like the grain and how smart it is but I do wish I could tone it up and down. Often when I'm adding grain to an image, I use it as a subtle polish, not something you necessarily notice when viewing the image, but something you feel. Sometimes this is for a feeling, other times it's because I've done some retouching and grain helps smooth things out (like a Clean Up.)
-
I wish Time-lapse had variable speeds! Maybe just Fast, Faster and Fastest. When you end the time-lapse, you can choose how fast you want it to be.
-
I wish SmartTake, which is only on the iPhone Duo, was on the 18 Pro too. It’ll be super useful, and I can’t wait to field test some of these features on the Duo’s camera.
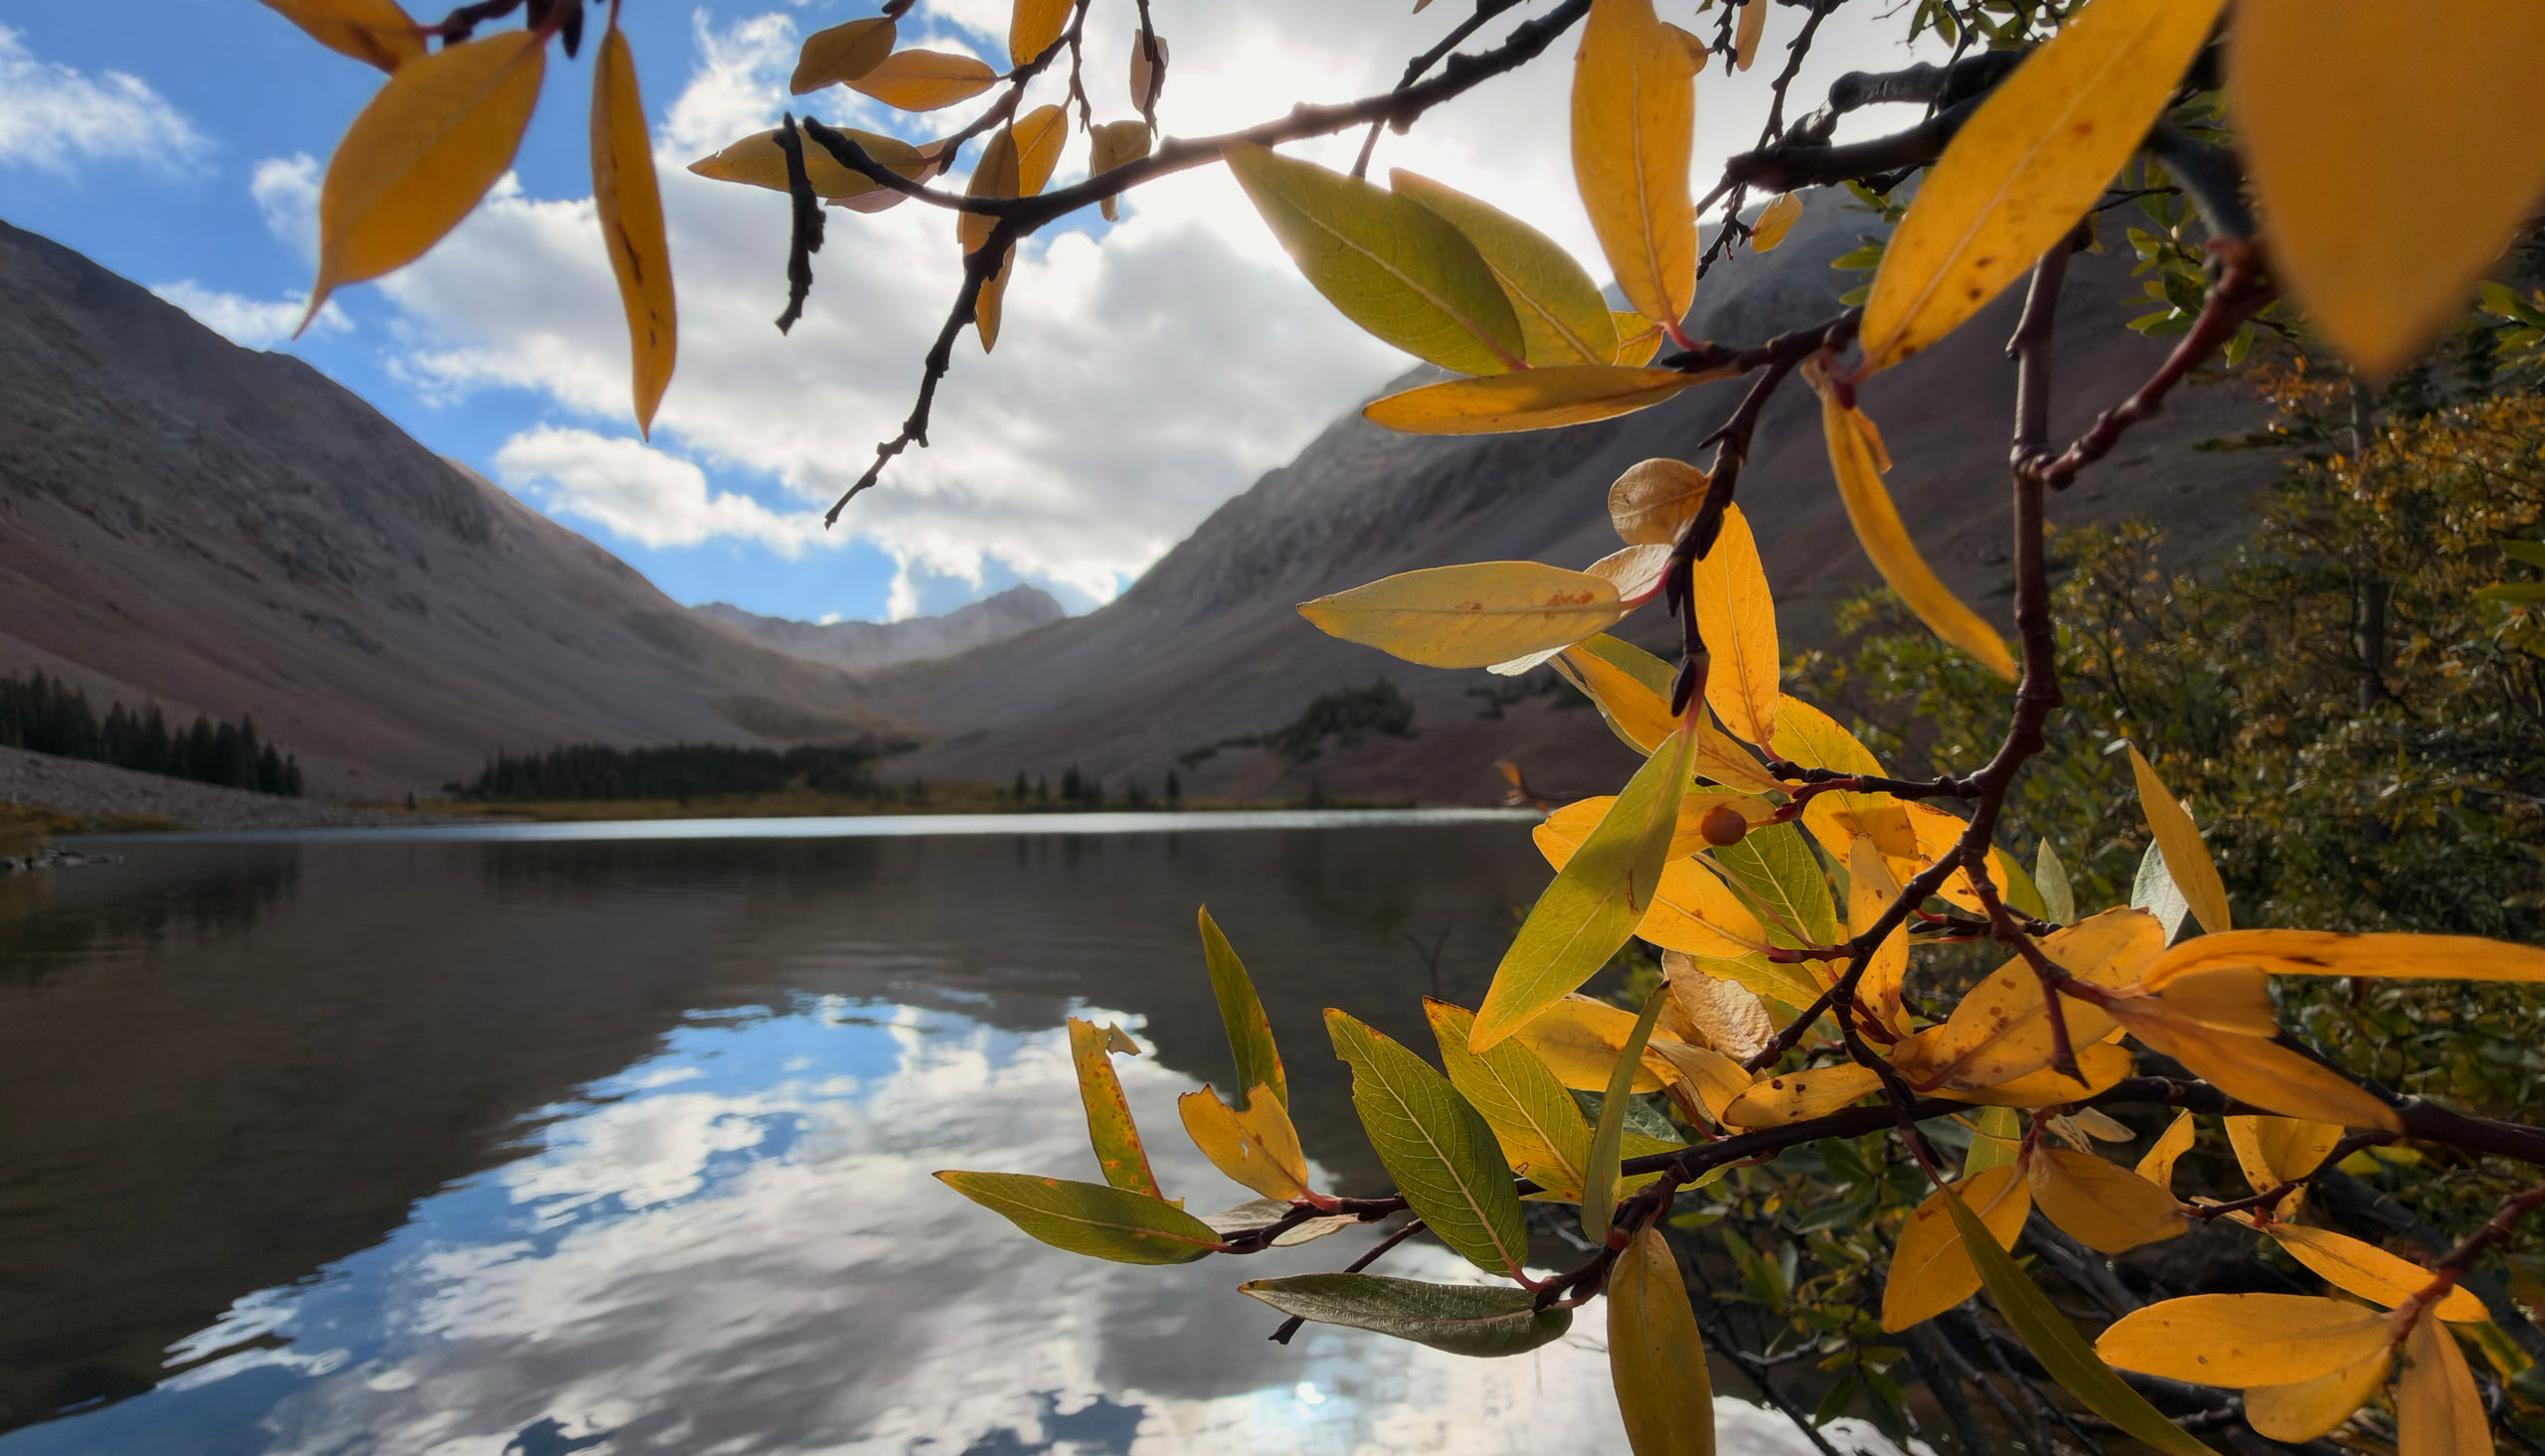
Navajo LakeiPhone 18 Proƒ/2.21/531ISO 20
Tips for photographers using iPhone 18 Pro
-
As always, do your creative push-ups! When you get your new camera, put it through its paces and learn how it works.
-
Go to Settings > Camera to find the new features available.
-
You can customize the top bar of your camera! Press and hold the icon bar at the top of the camera, then choose what goes in there and in what order. I have aperture, shutter speed, focus mode, exposure bias, night mode and file format.
-
Play with the Photographic Styles. There's so much power in there… whether it’s just to make subtle adjustments to undertones or transform the images with filmic moods.
-
Keep your aperture in Auto unless you are shifting for something specific.
-
Shoot HEIF instead of ProRAW for most things. Photographic Styles work with HEIF, not RAW… also the HEIF files take up less space than RAW.
-
Shoot when you're in the field… review and edit when you get home.
Buying advice for photographers
The Bottom Line
Since the first iPhone, the camera's objective has been sharp, color-accurate photographs. That makes sense. It's exactly what most people need.
But for creative pros, it meant achieving something as simple as an artistic motion blur sometimes felt like struggling against the camera. This year, that's shifted.
With new tools that let us drag the shutter and intentionally introduce film imperfections, we have new ways to capture and express our unique vision, even when the result isn't "technically correct."
Technical accuracy matters. But a great photograph is rarely just accurate. It captures a feeling, and this year's tools give photographers more freedom to do that than ever before.
As David Alan Harvey said, "Don't shoot what it looks like. Shoot what it feels like."
One more thing…
Next year marks 20 years of iPhone, and to celebrate, I’m doing something new! For the first time ever, I’m inviting you to join me on one of my iPhone photography adventures, on a private safari in Kenya. We’re going in October so, if the iPhone releases in September as it usually does, you’ll have just enough time to unbox your new iPhone, hop on a plane and learn to use it on the safari of a lifetime with me, Taylor McKay and Bobby Neptune! Three guides. Six guests.
It’s a super small group, exclusive use luxury camps, private charters and an absolutely stunning time to be in Kenya.
Can’t wait to have six of you join us next year… seats are limited and you can find more details here.
ASK ME ANYTHING ON INSTAGRAM STORIES
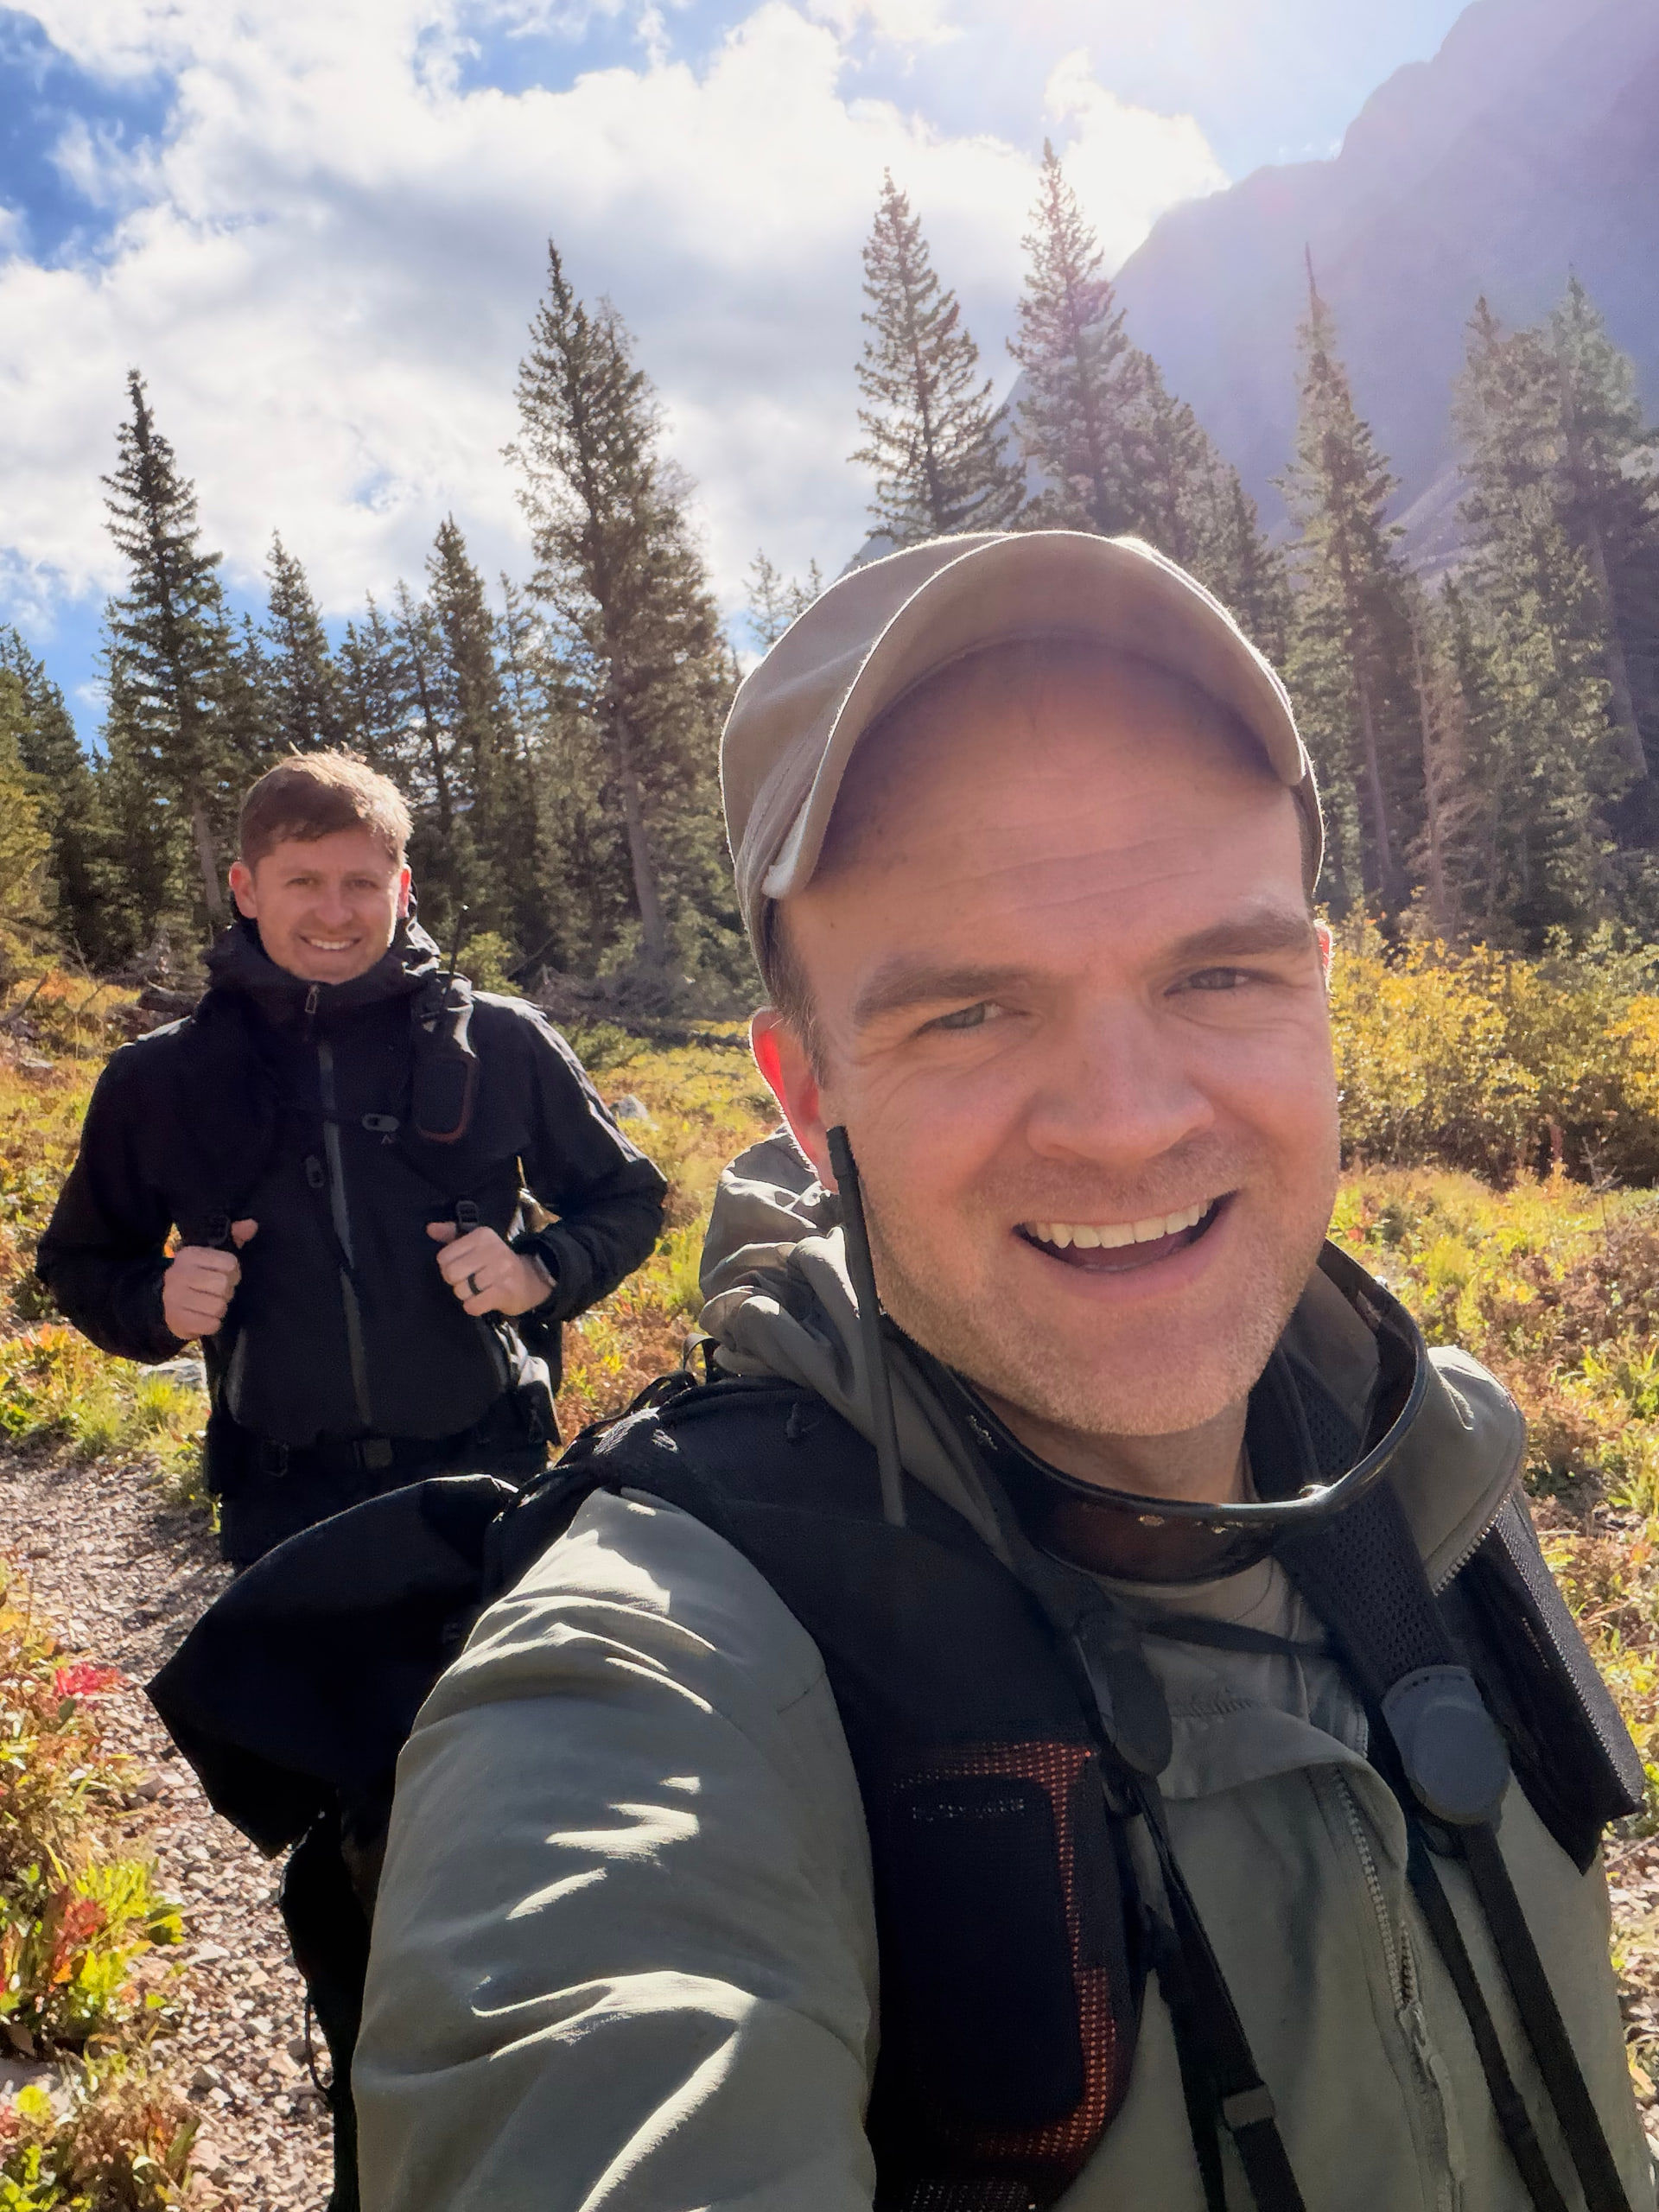
Special Thanks

Thanks to the entire team at Dunton Hot Springs and Dunton River Camp for hosting us. We love this place so much.
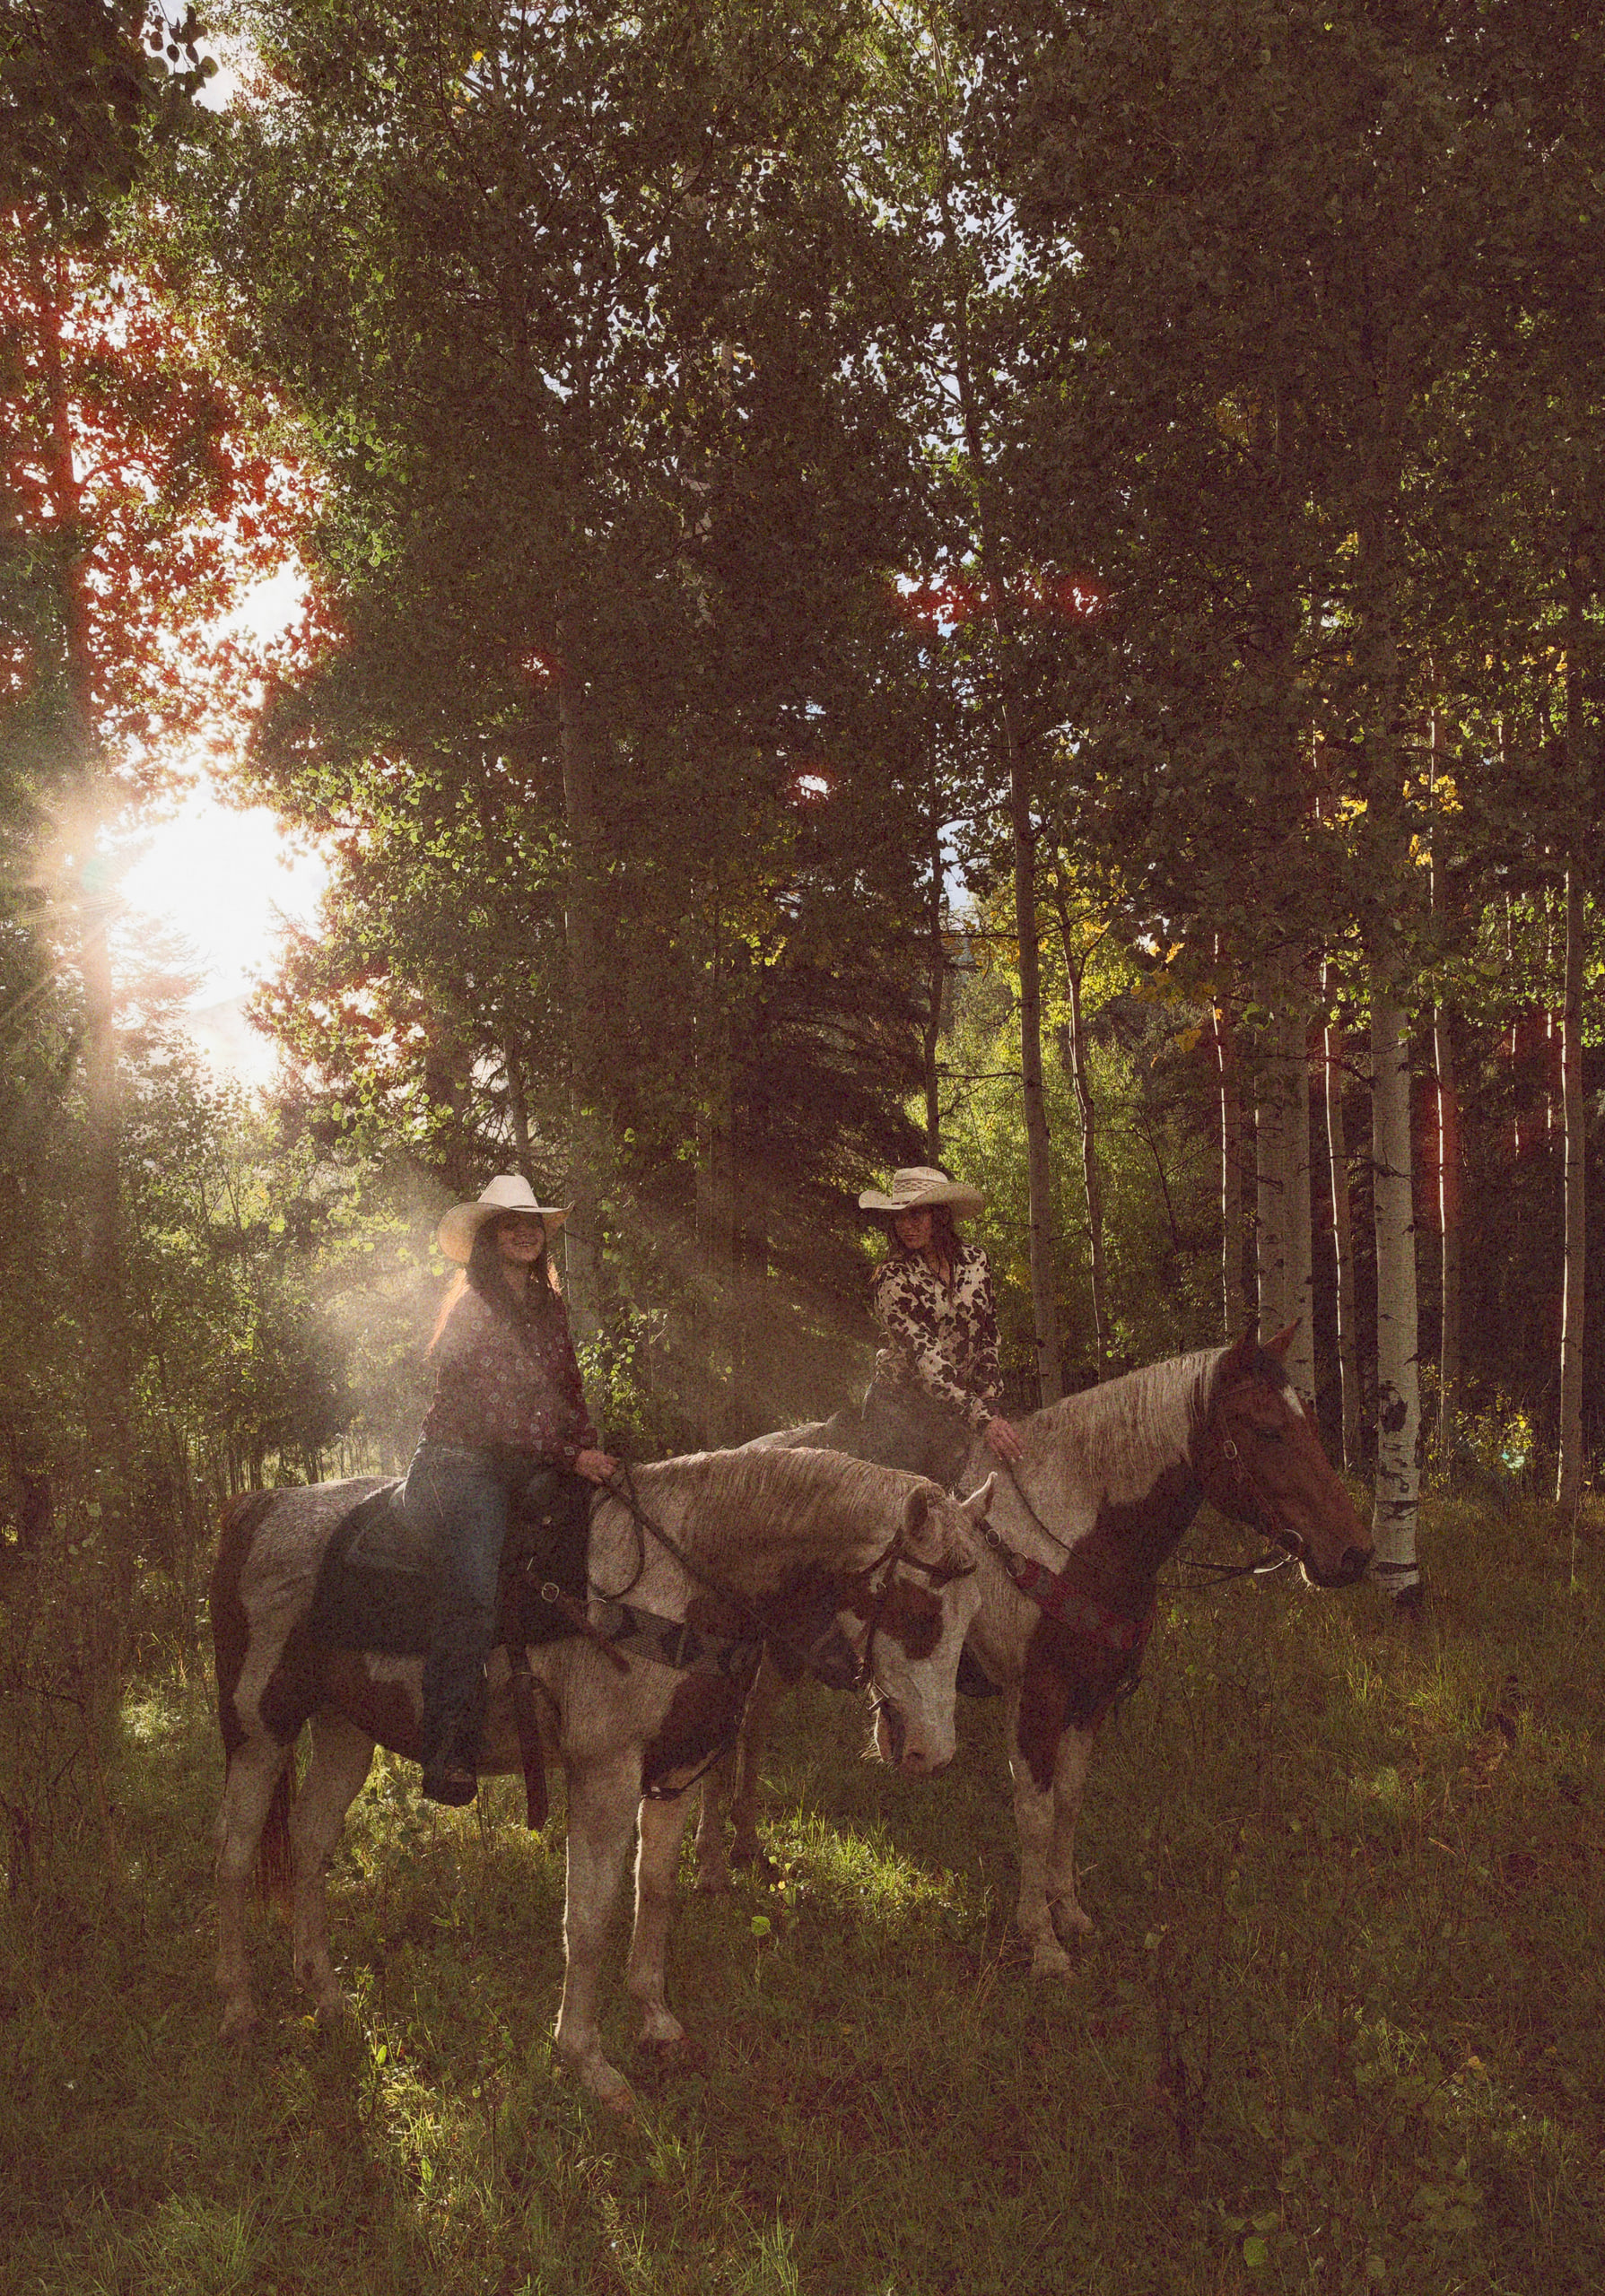
Thanks to our guides Sophia and Brooklynn with the horses, Lee for the fly fishing, and Eric, the general manager.
Thanks to Taylor McKay for the film and for all the support, testing and insights.
Essential gear for this shoot
Keep it simple, don't over-accessorize. The strength of the iPhone is simplicity.
Have a question/comment?
I'd love to hear your thoughts and I'll be replying to every comment below.
I’ll be answering questions on Instagram Stories — and in the comments below, which stay here rather than disappearing in a day. Join me there.
Questions and corrections welcome below — I read every one.
17 years of iPhone camera reviews
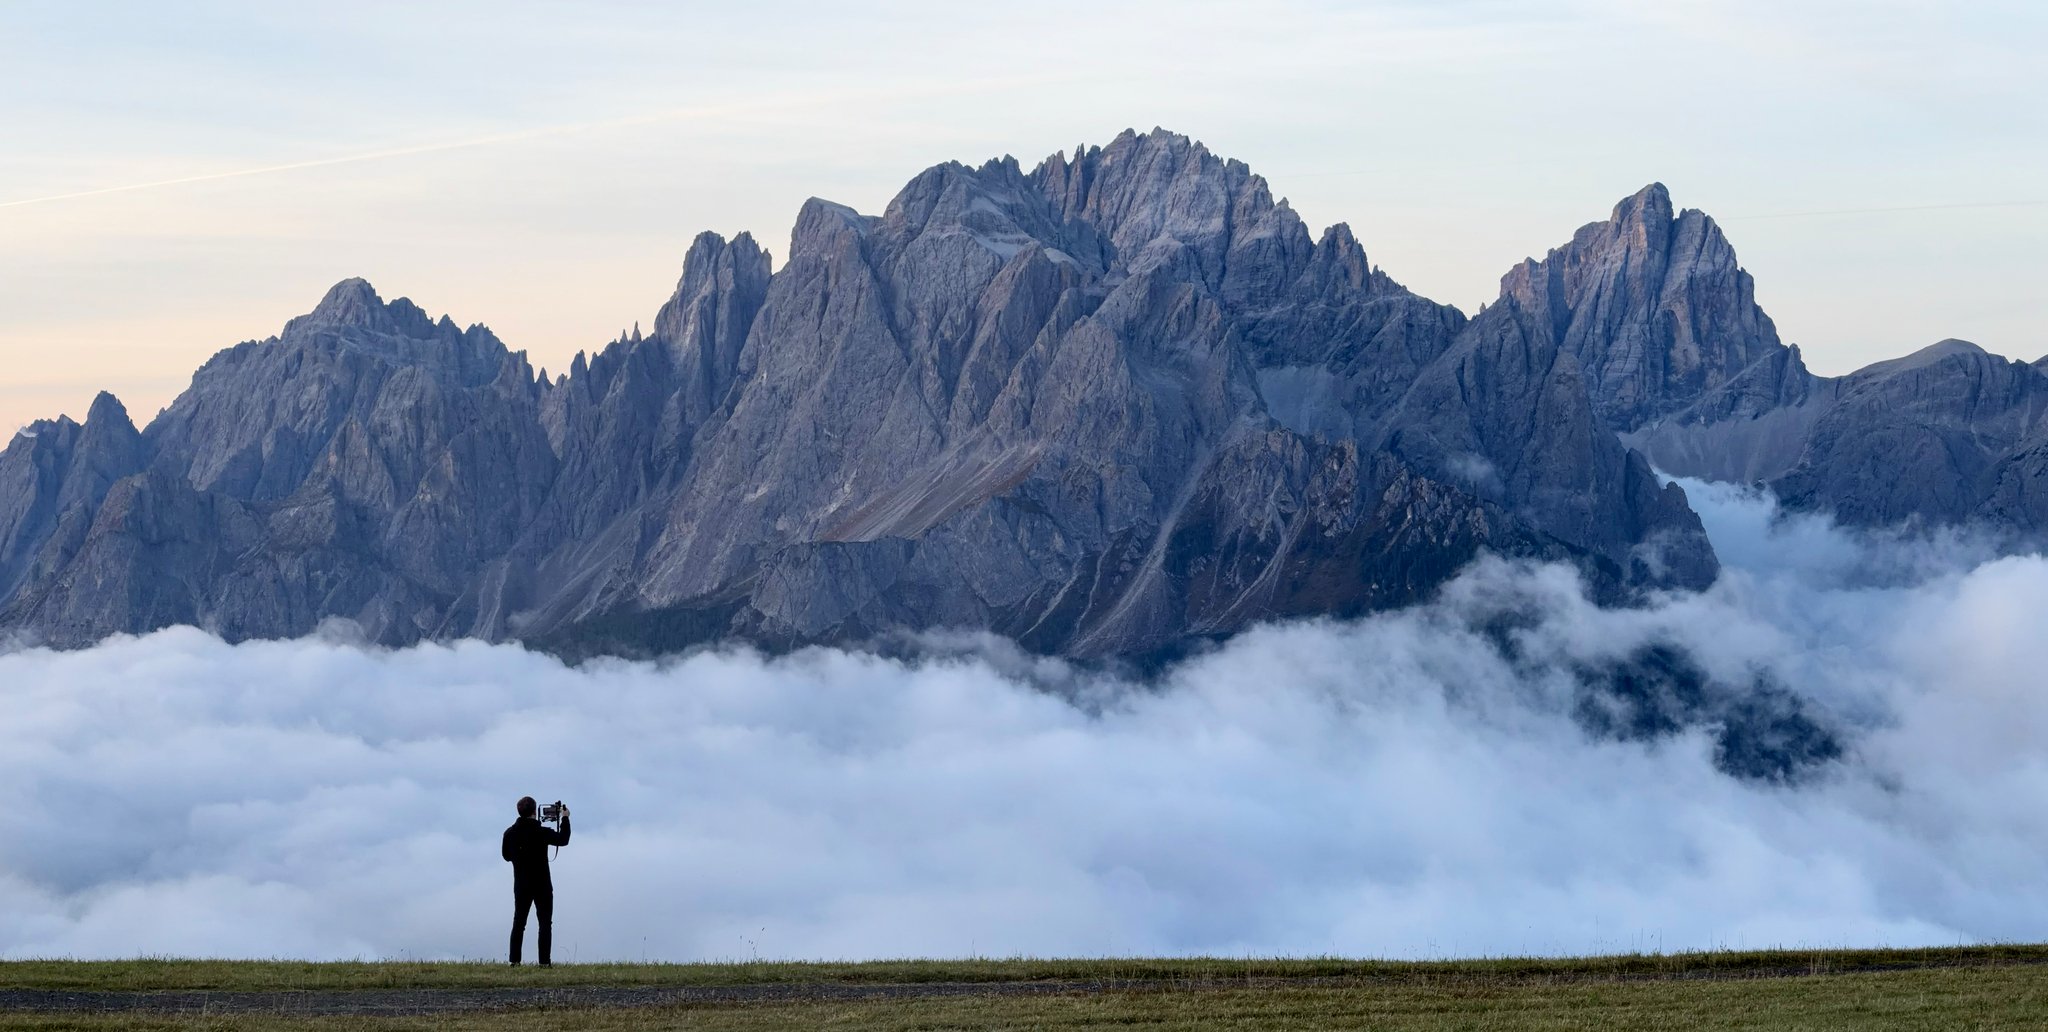 iPhone 17 ProDolomites, Italy · 2025
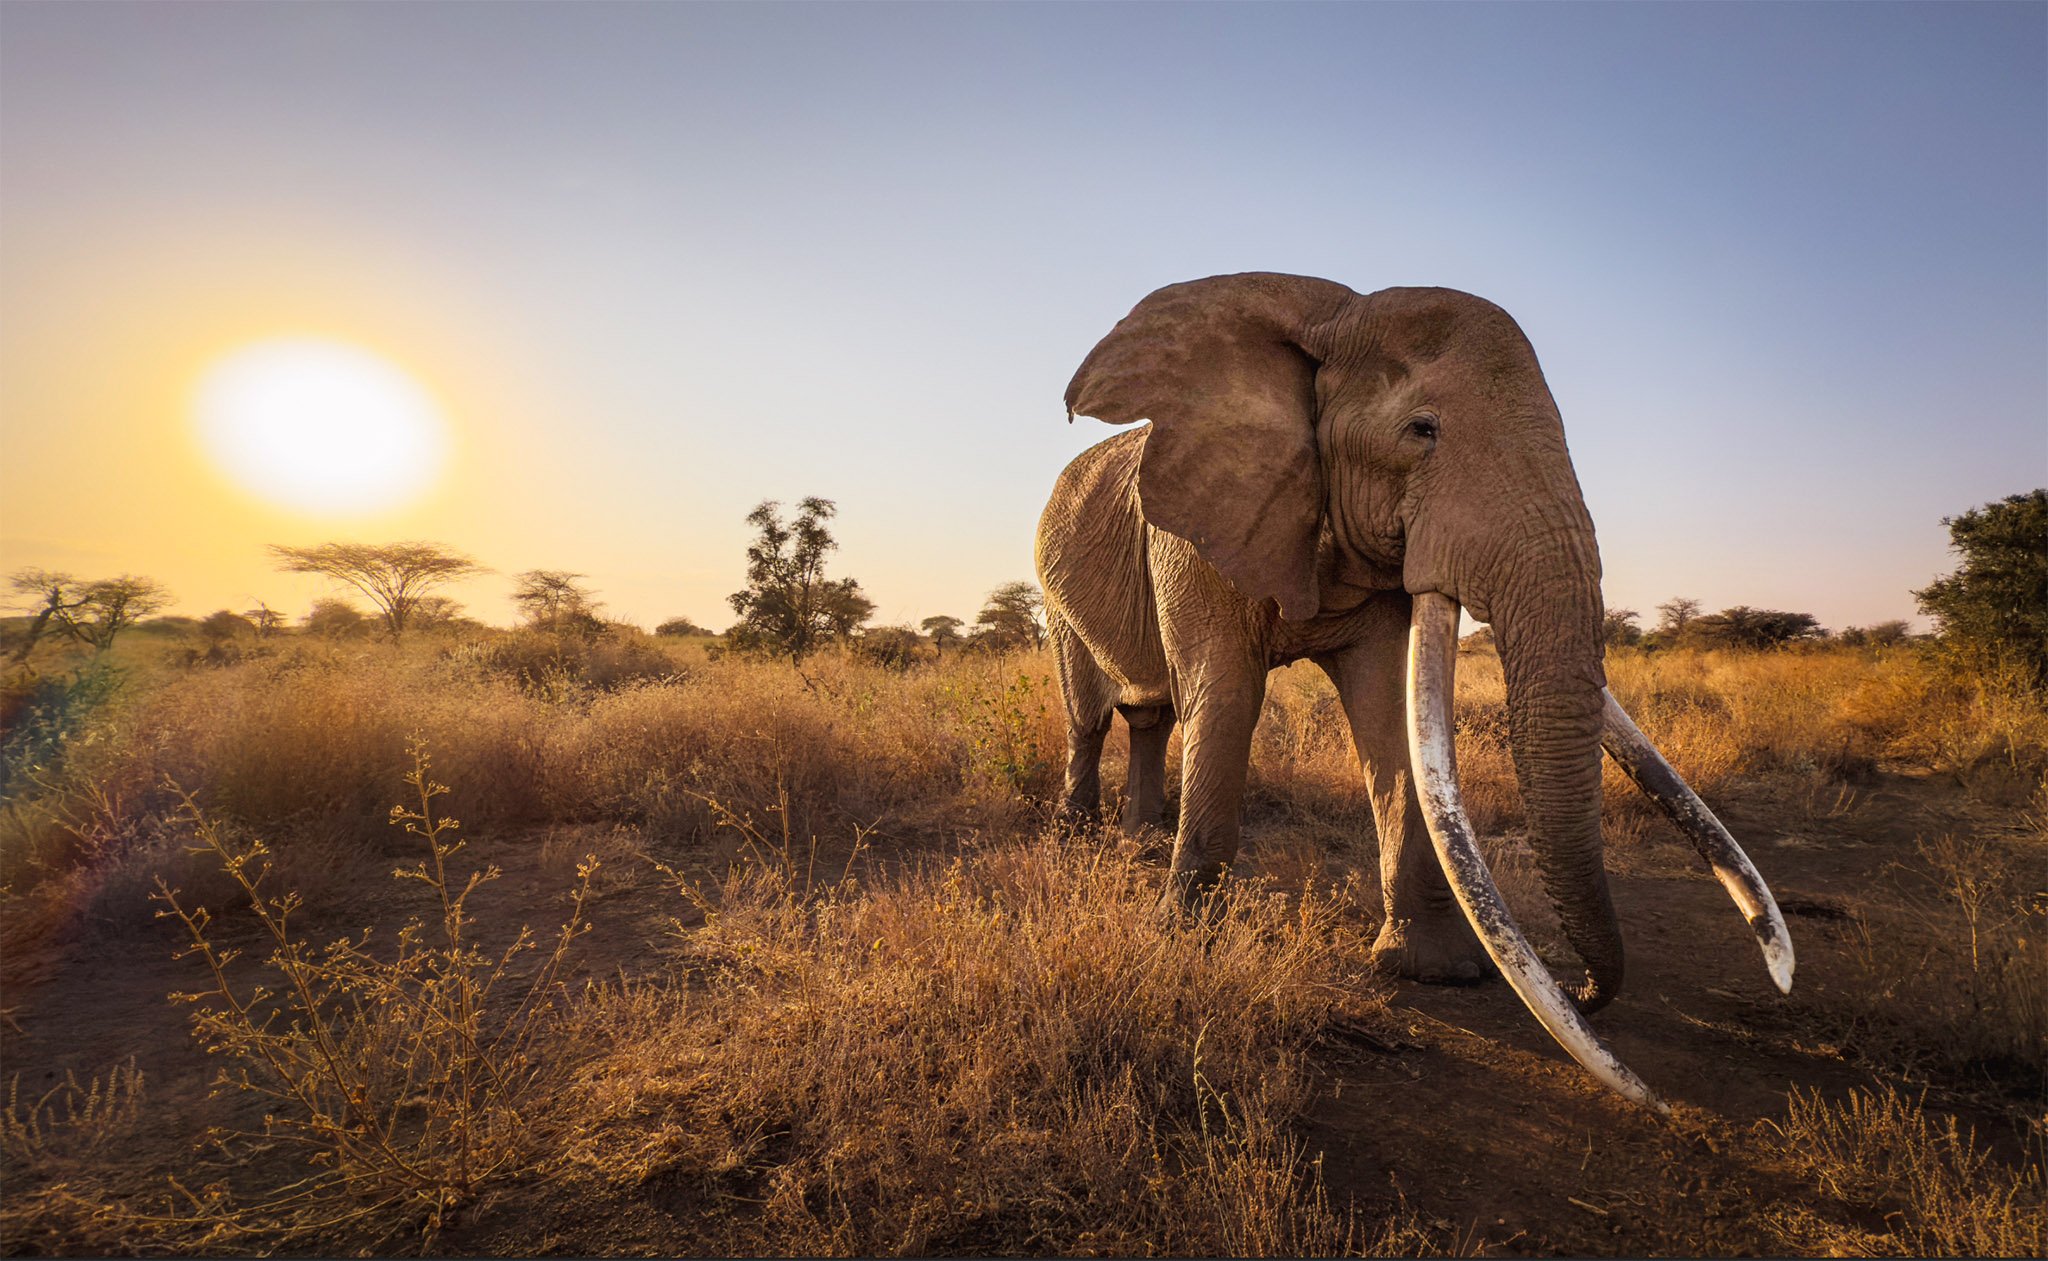 iPhone 16 ProKenya · 2024
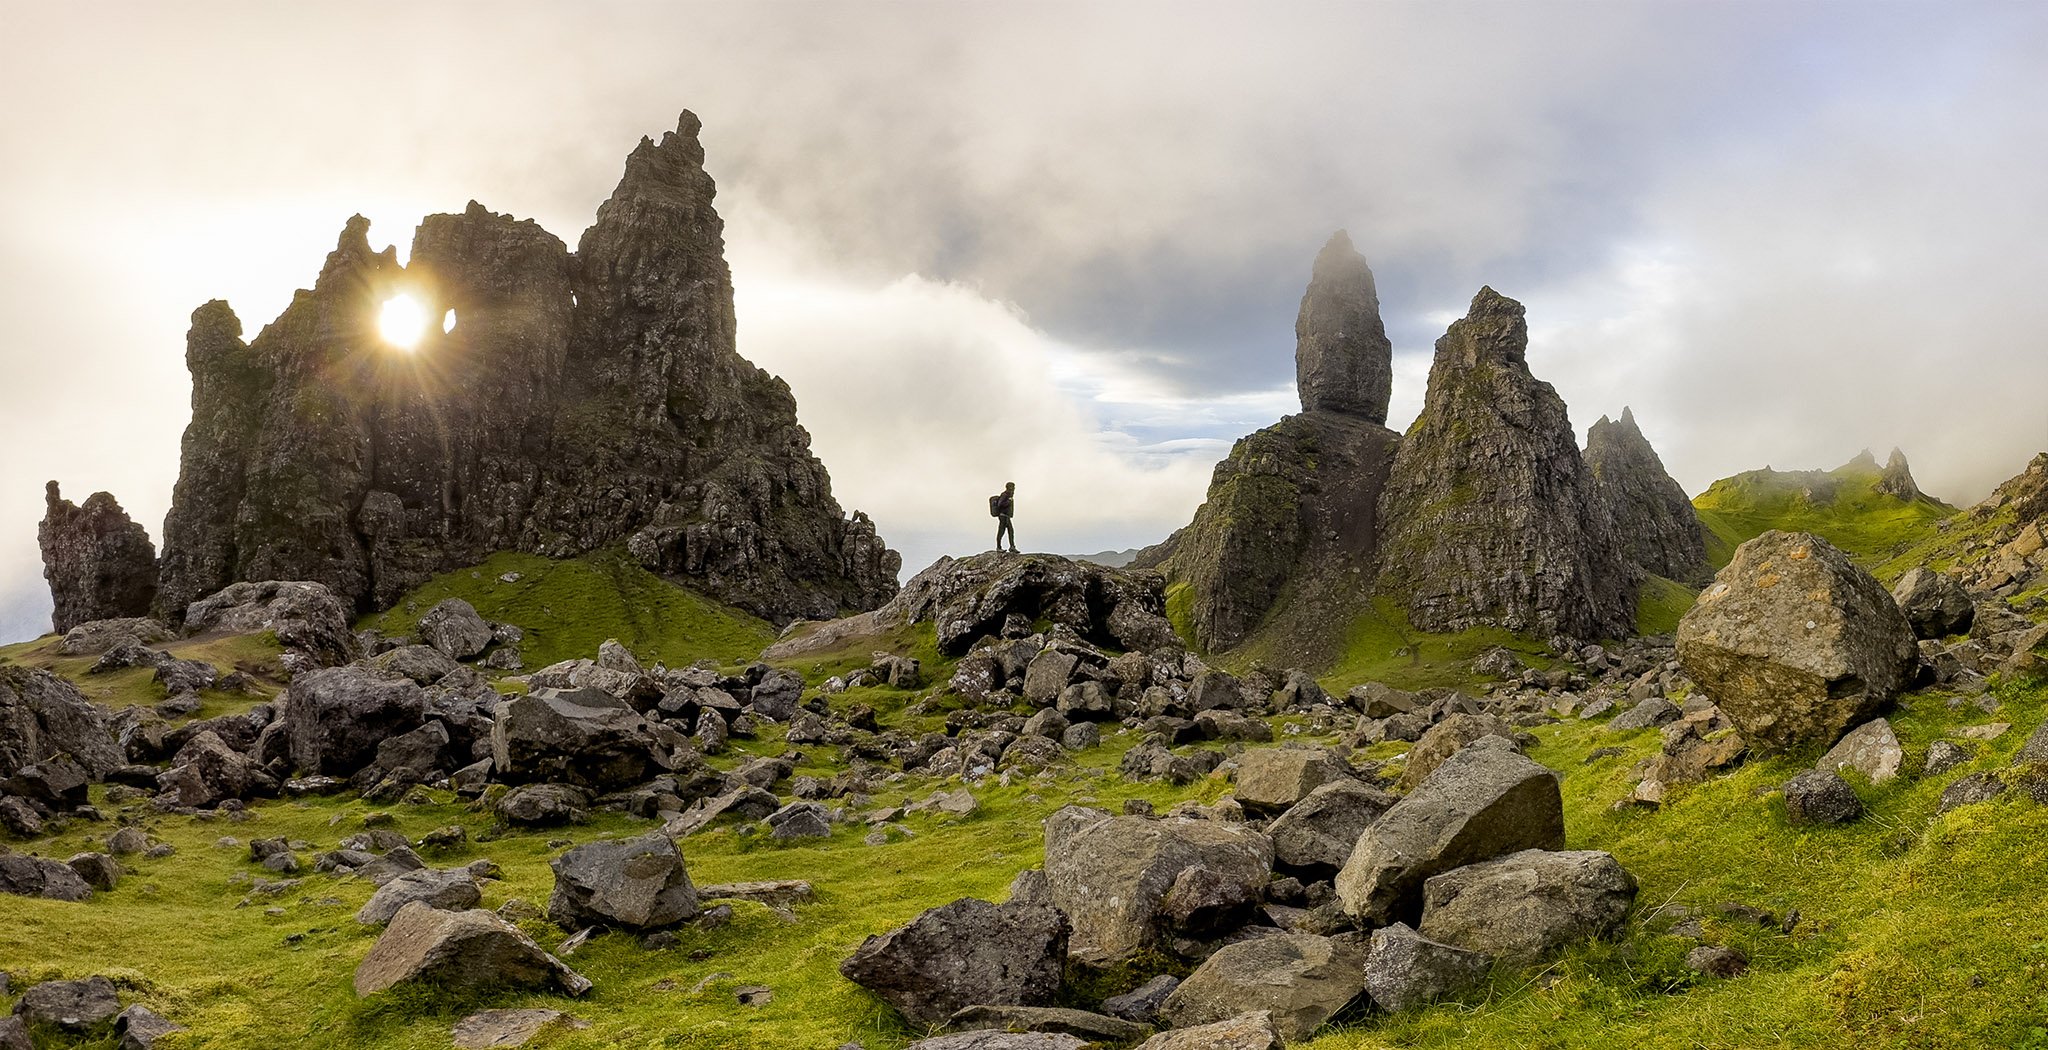 iPhone 14 ProScottish Highlands · 2022
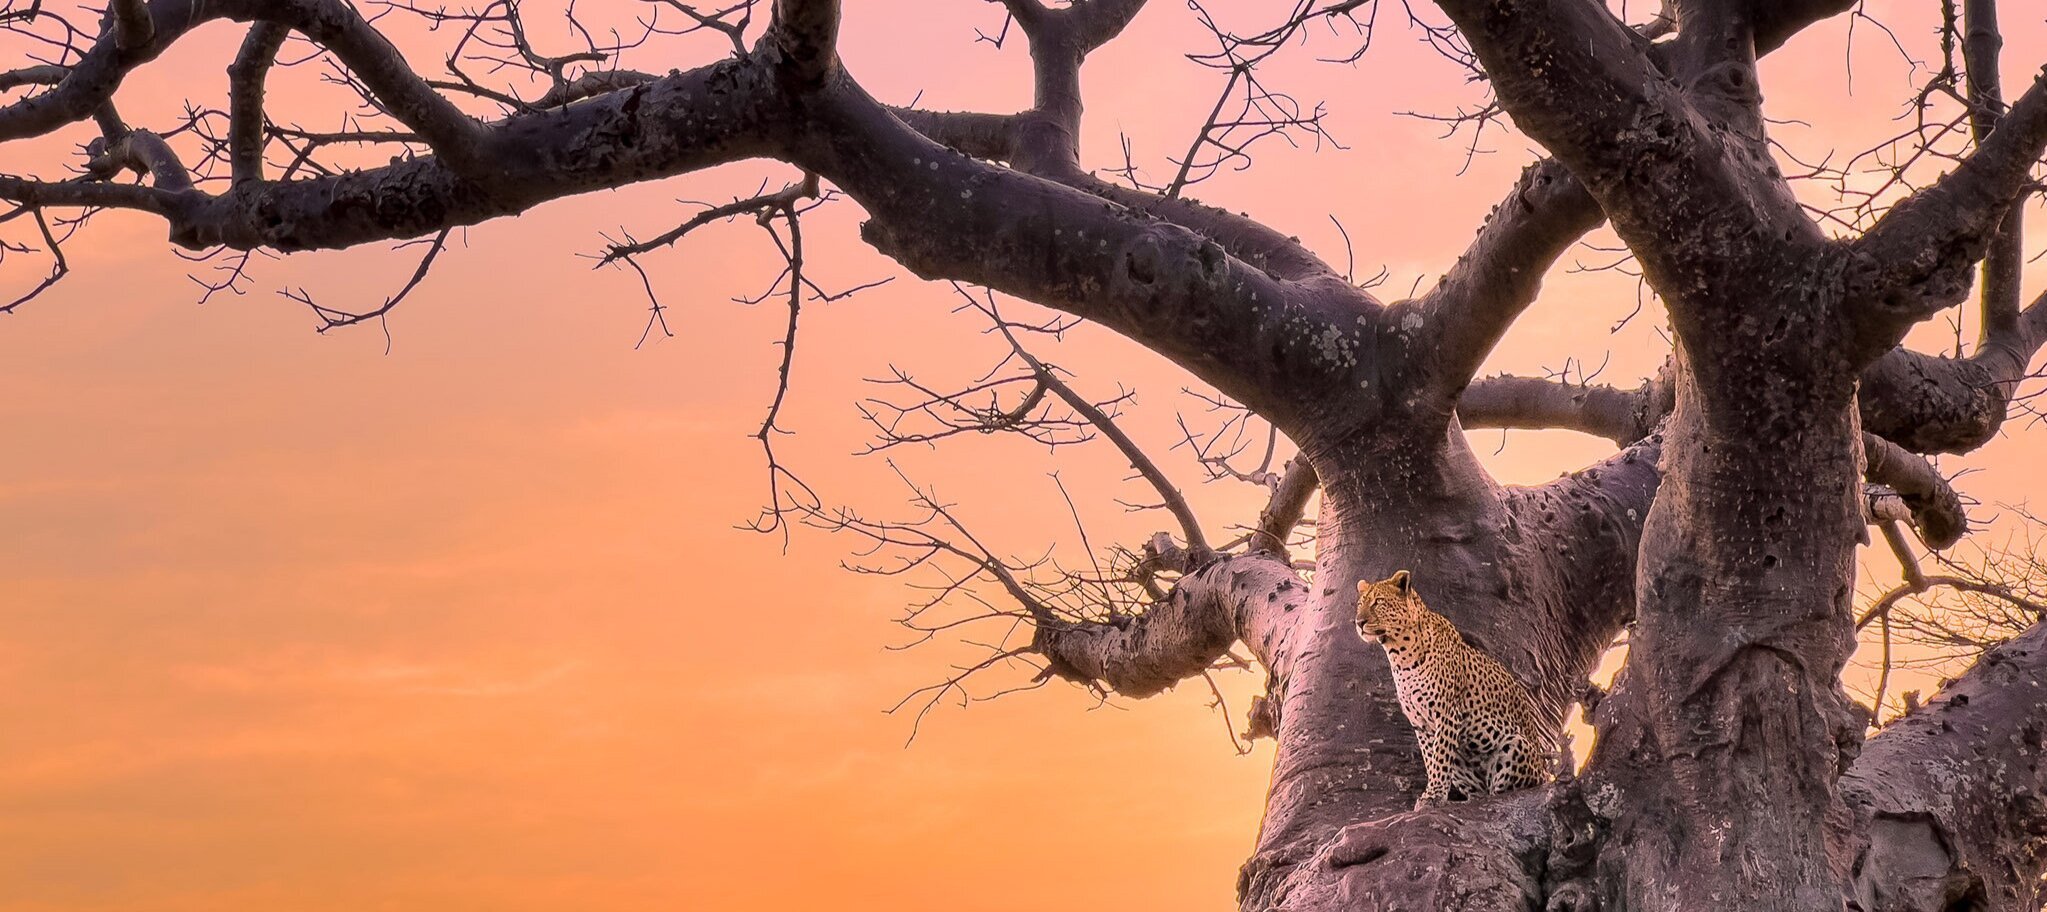 iPhone 13 ProRuaha NP, Tanzania · 2021
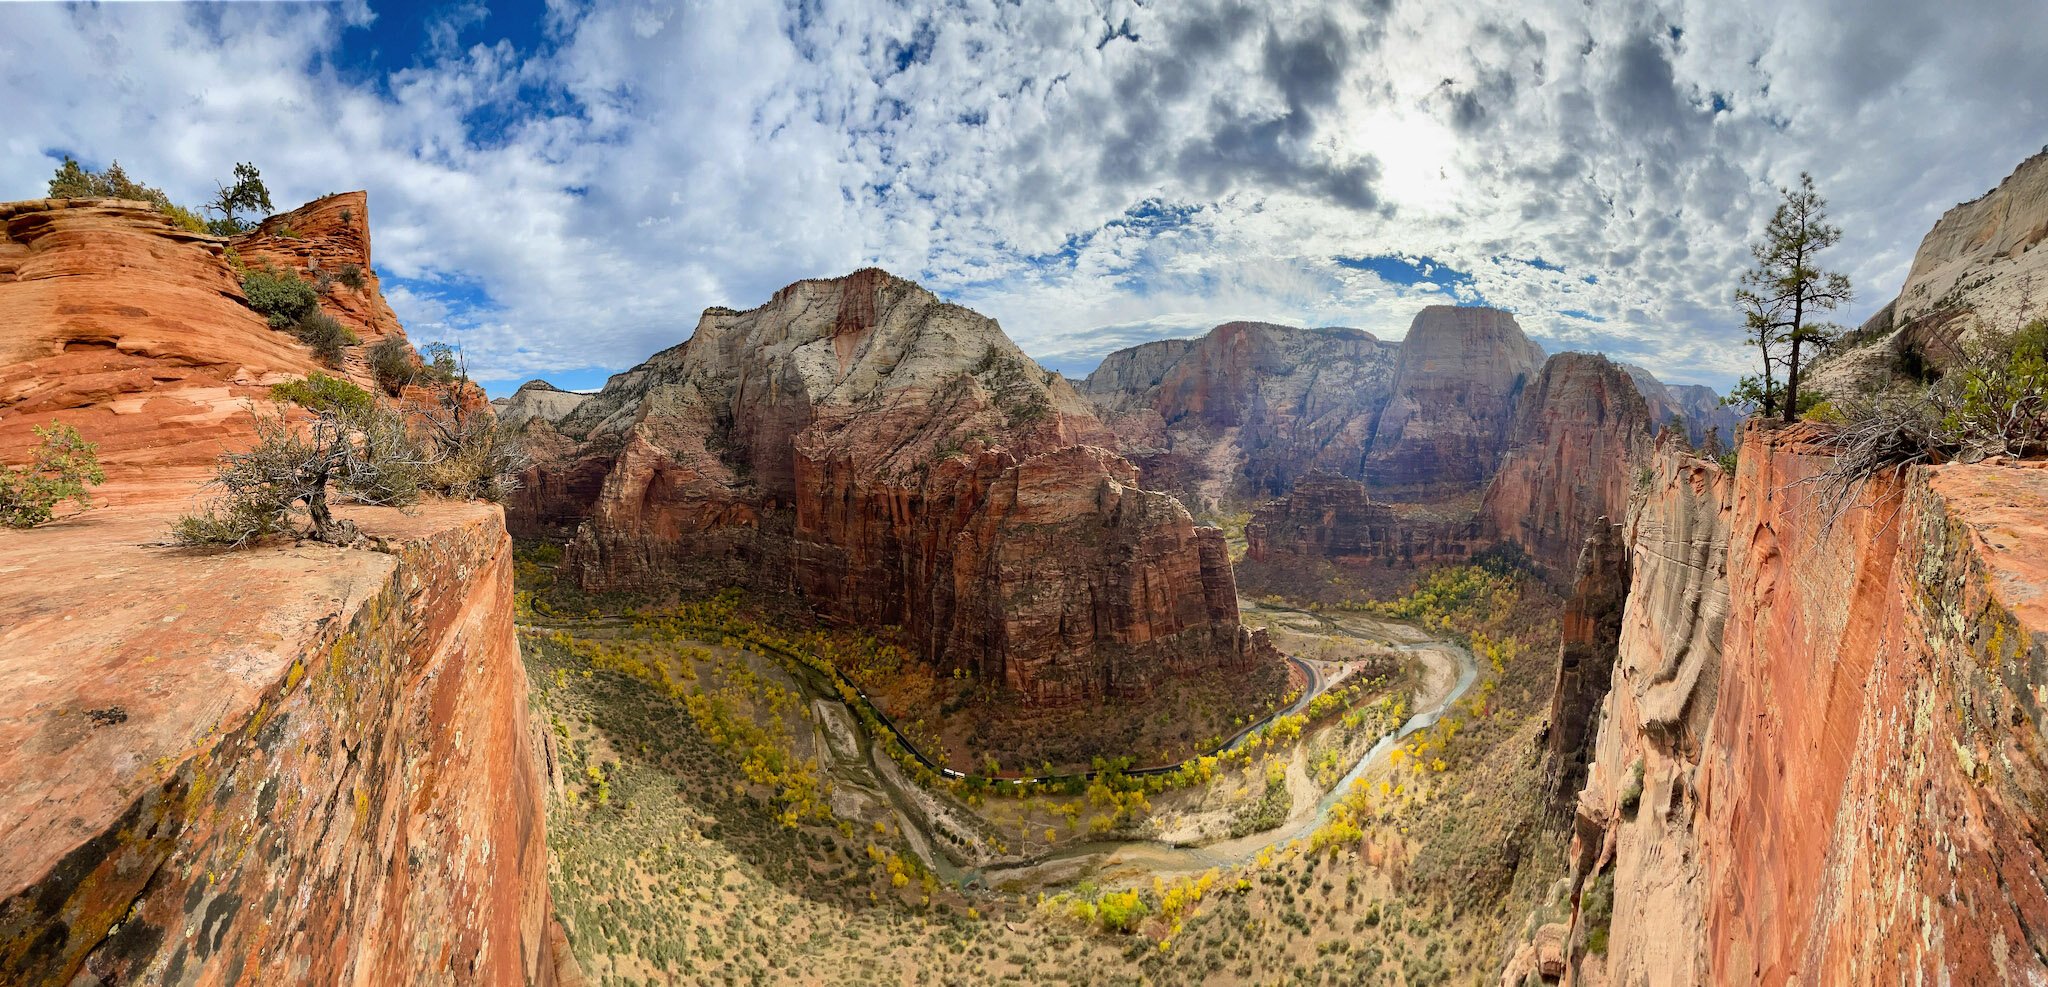 iPhone 12 Pro MaxZion NP, Utah · 2020
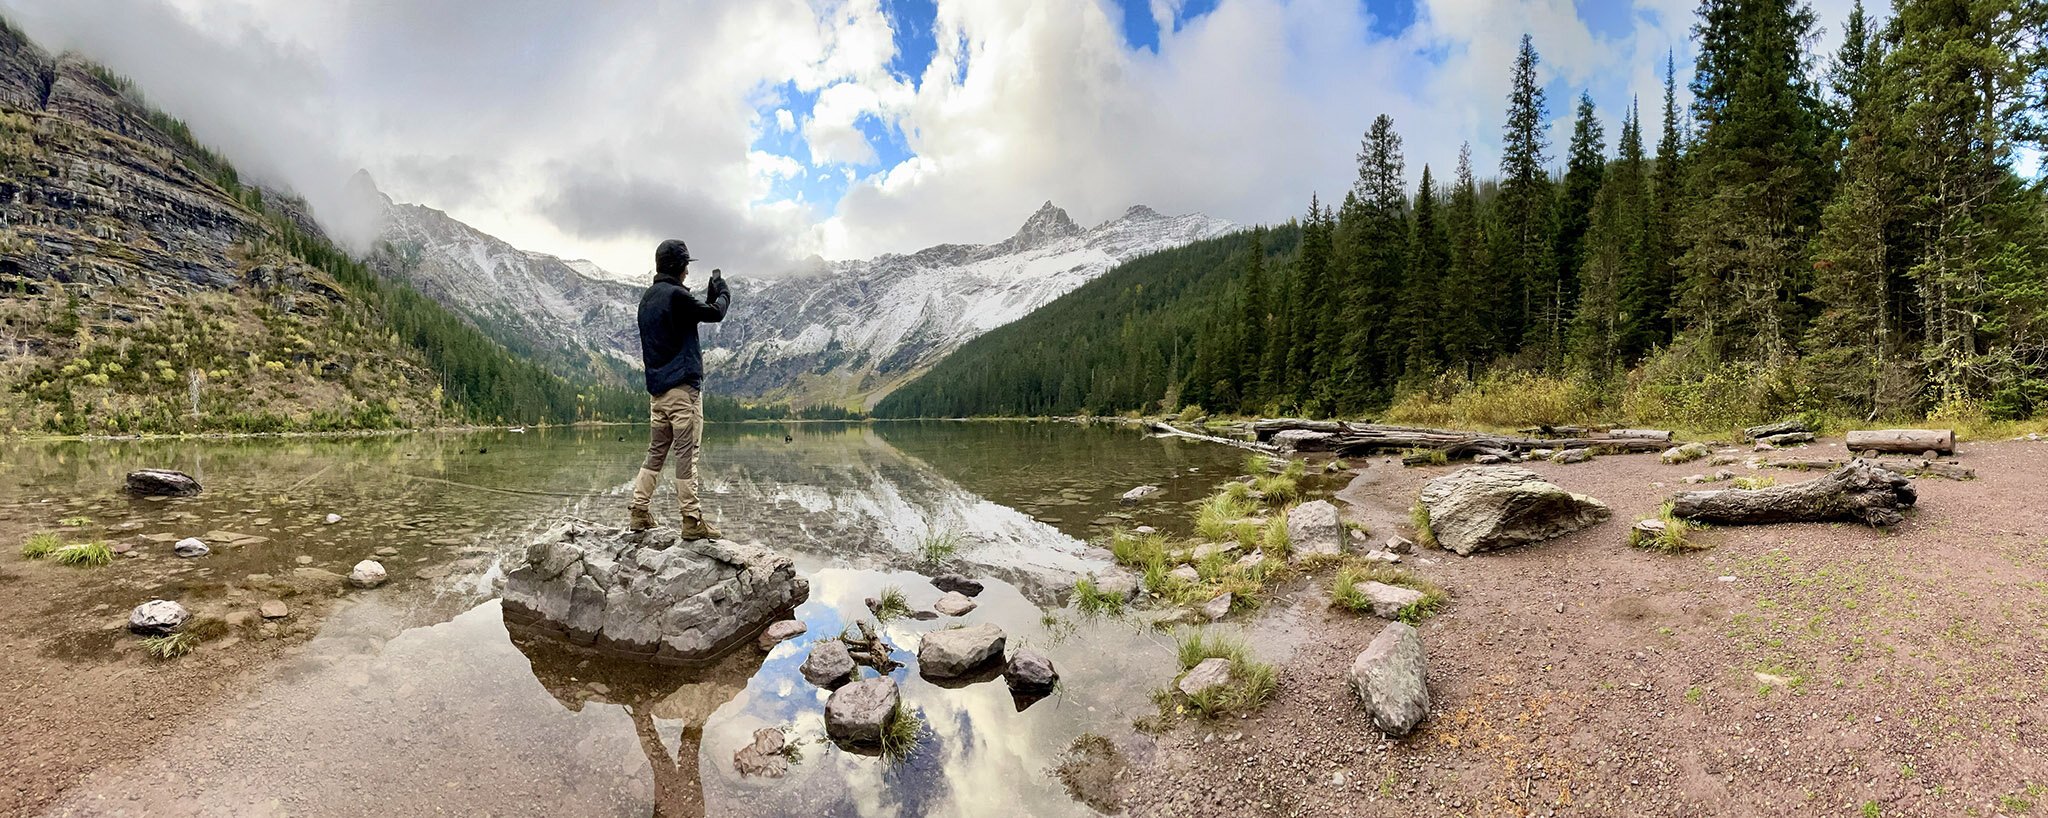 iPhone 12 ProGlacier NP, Montana · 2020
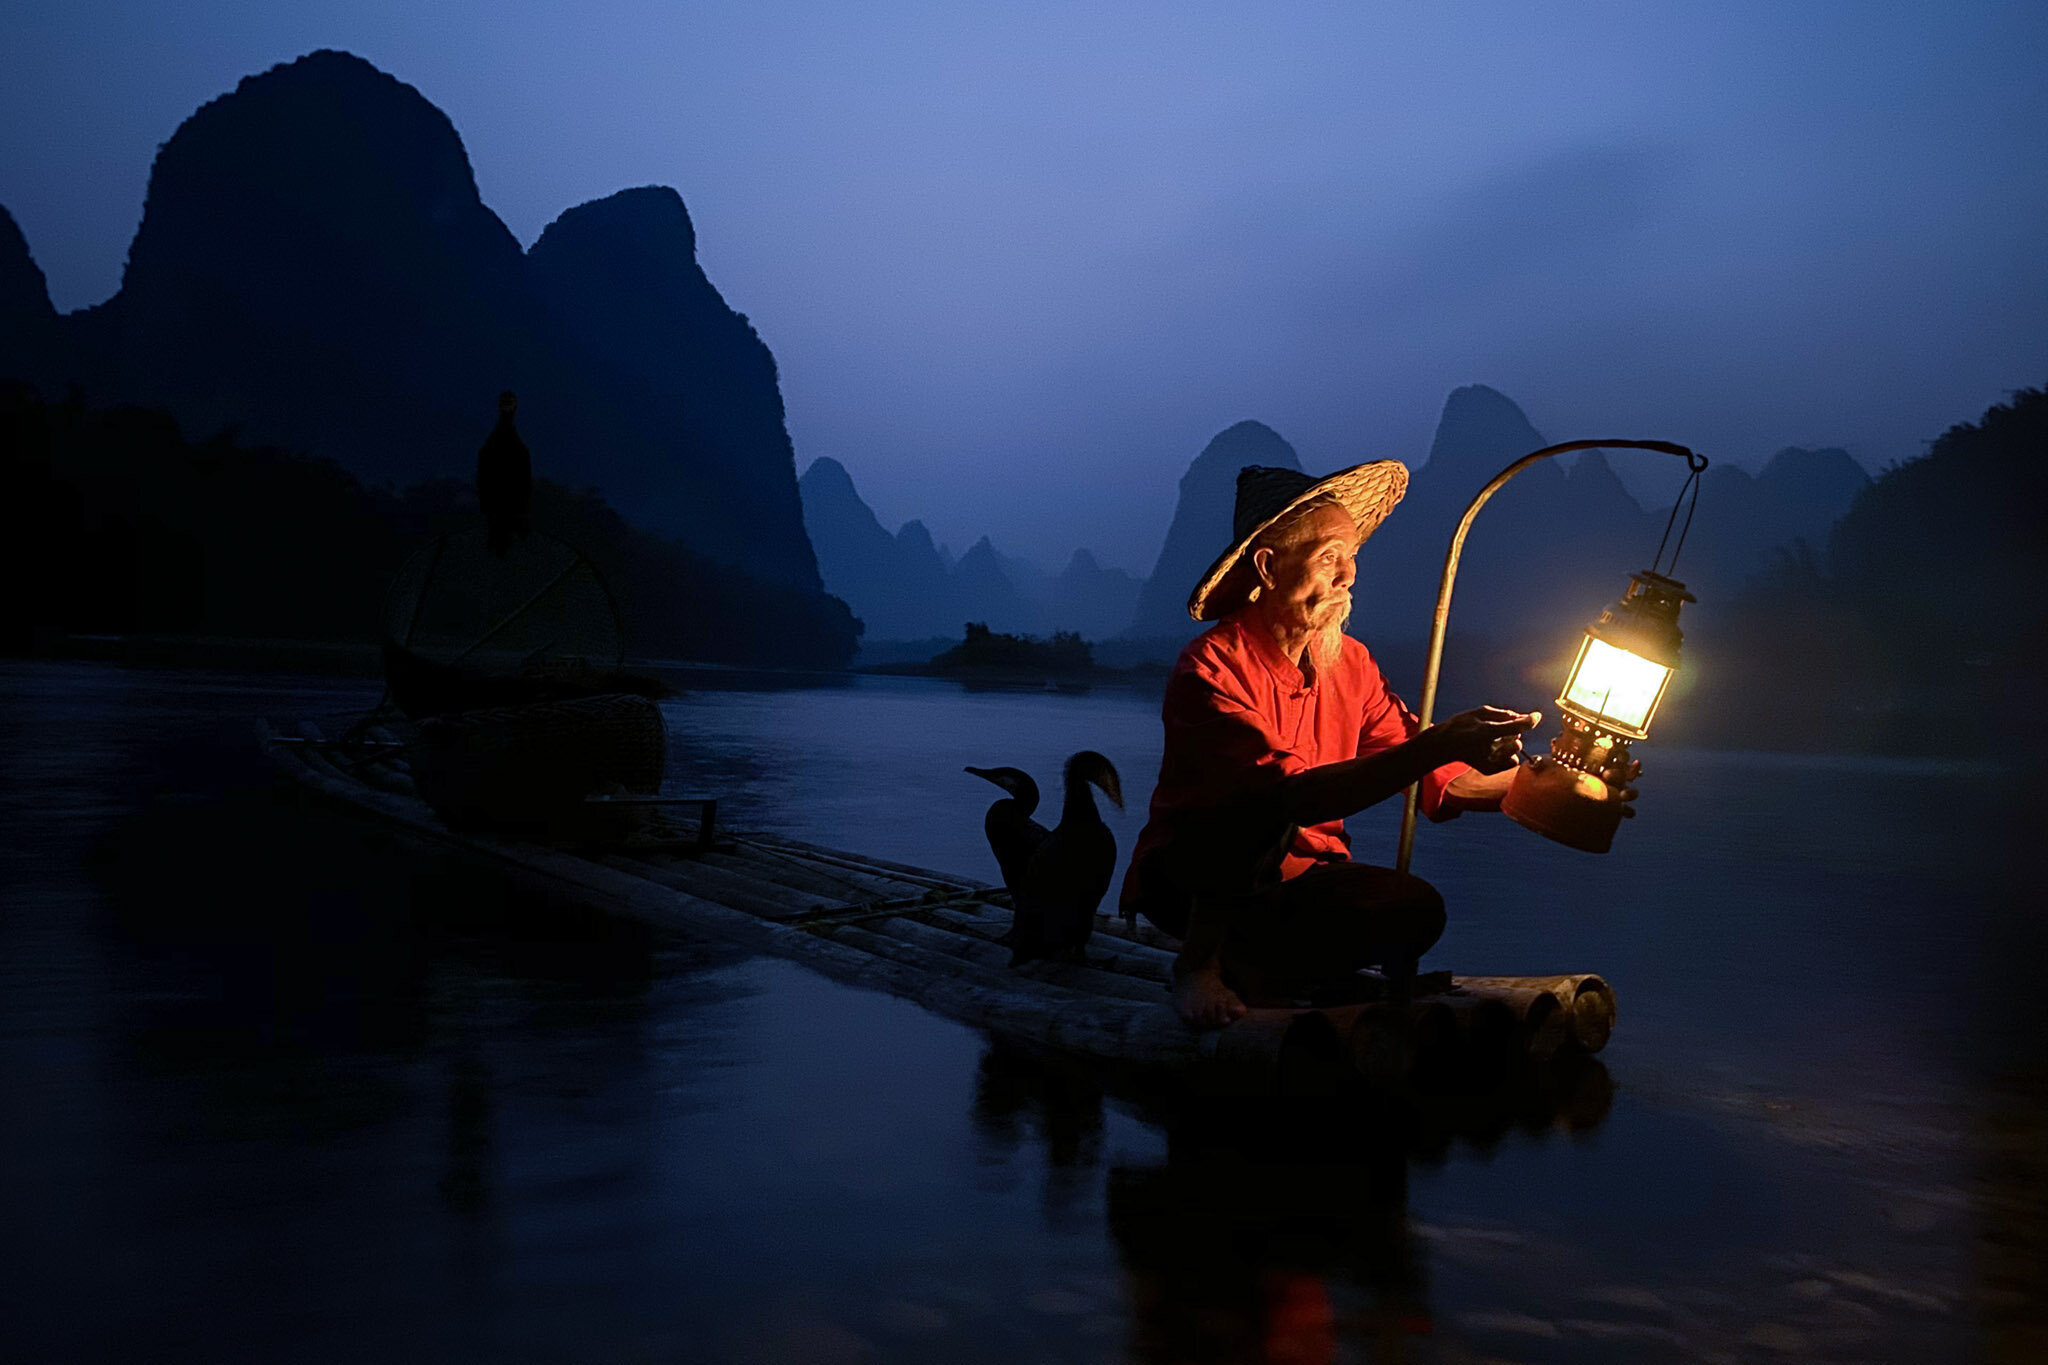 iPhone 11 ProGuilin, China · 2019
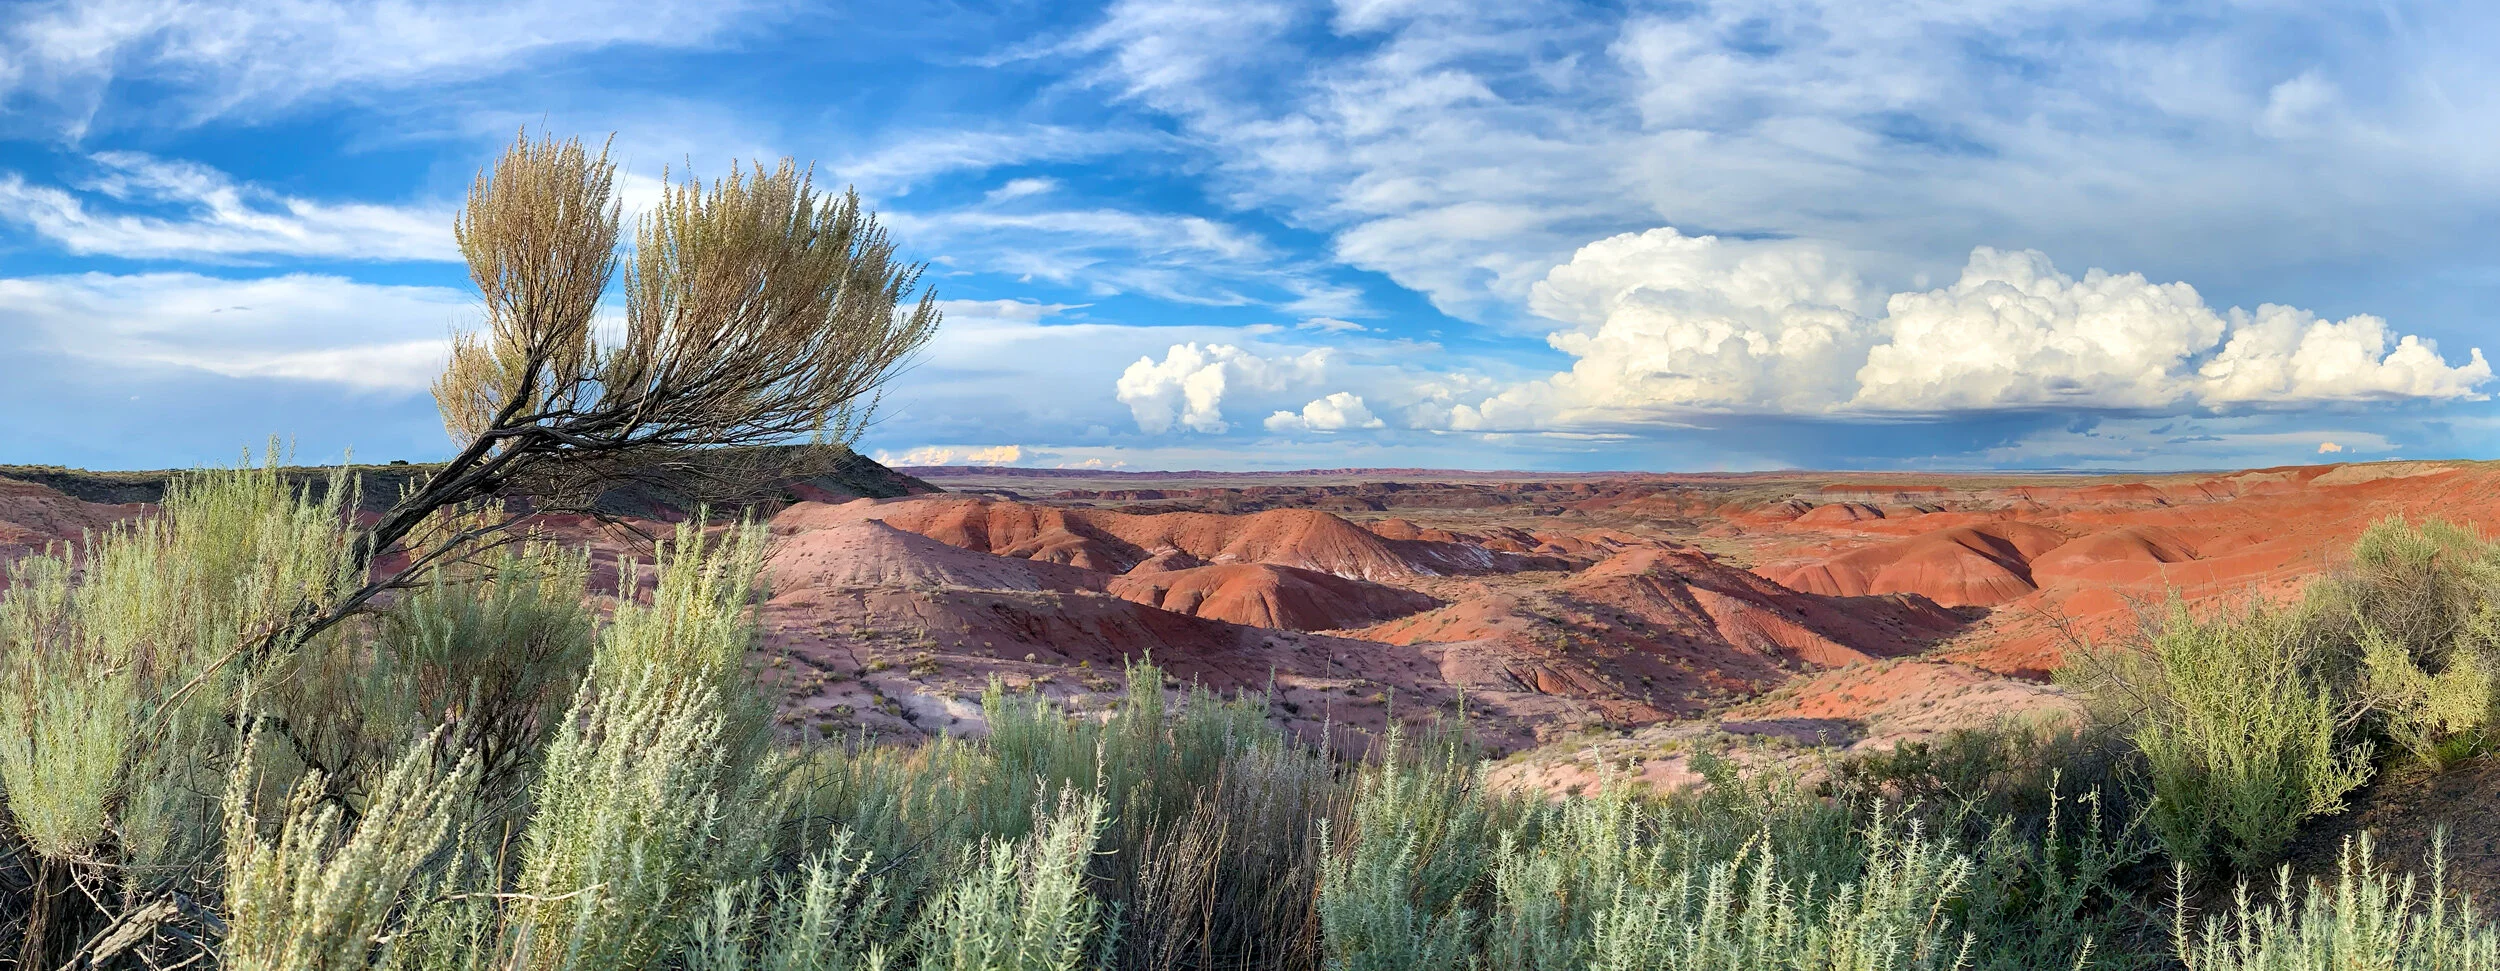 iPhone XRGrand Canyon, Arizona · 2018
 iPhone XSZanzibar, Tanzania · 2018
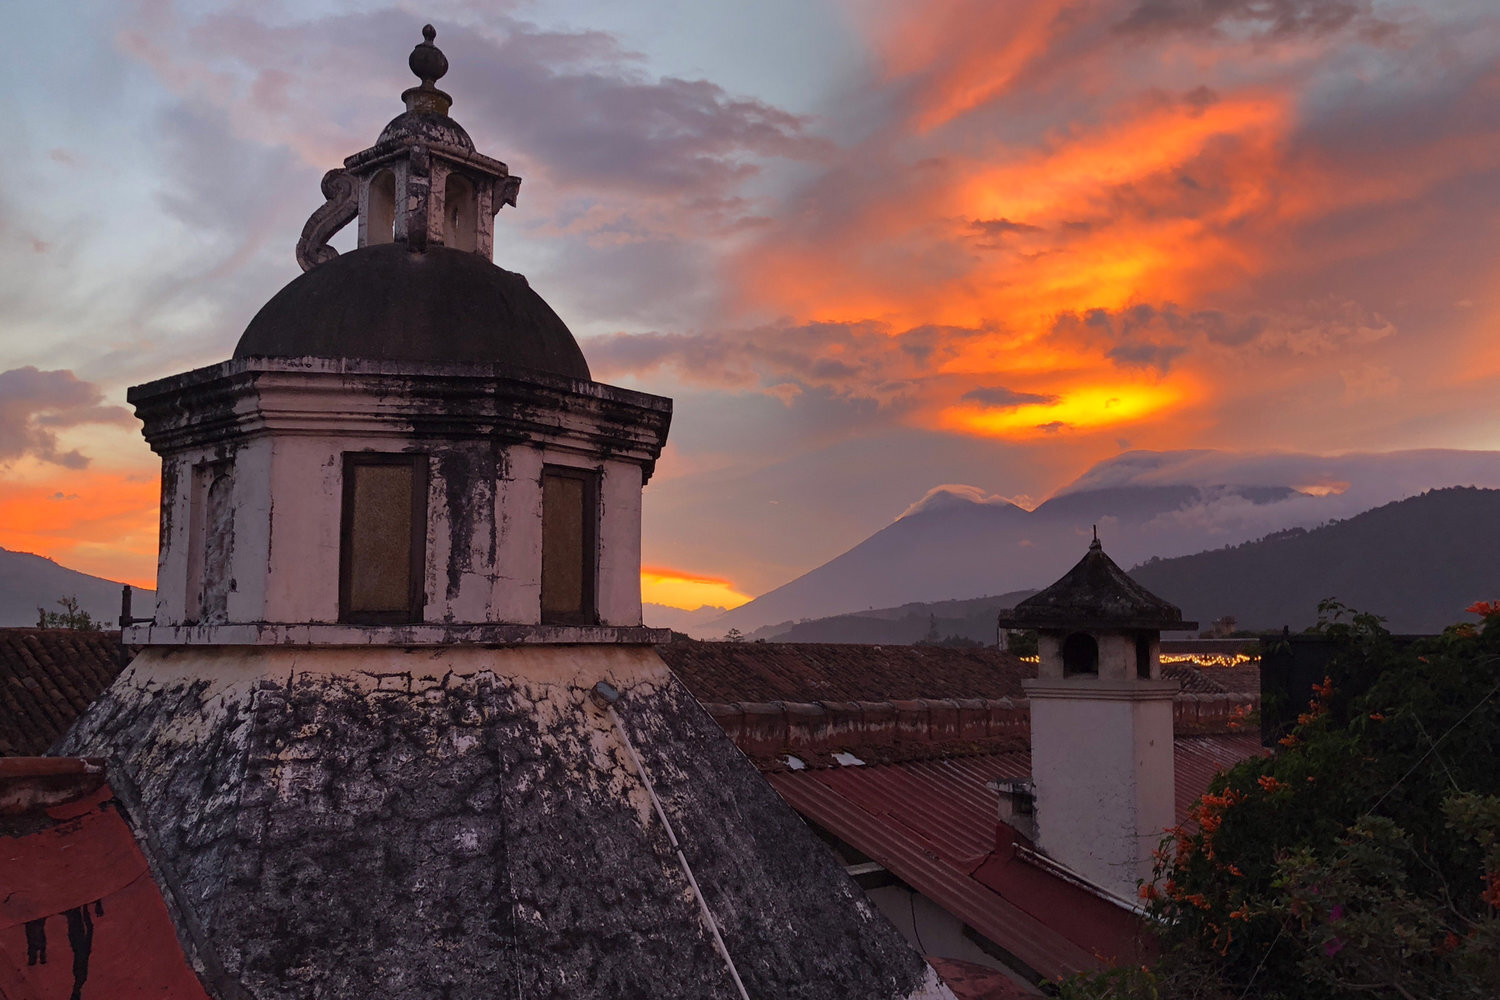 iPhone XGuatemala · 2017
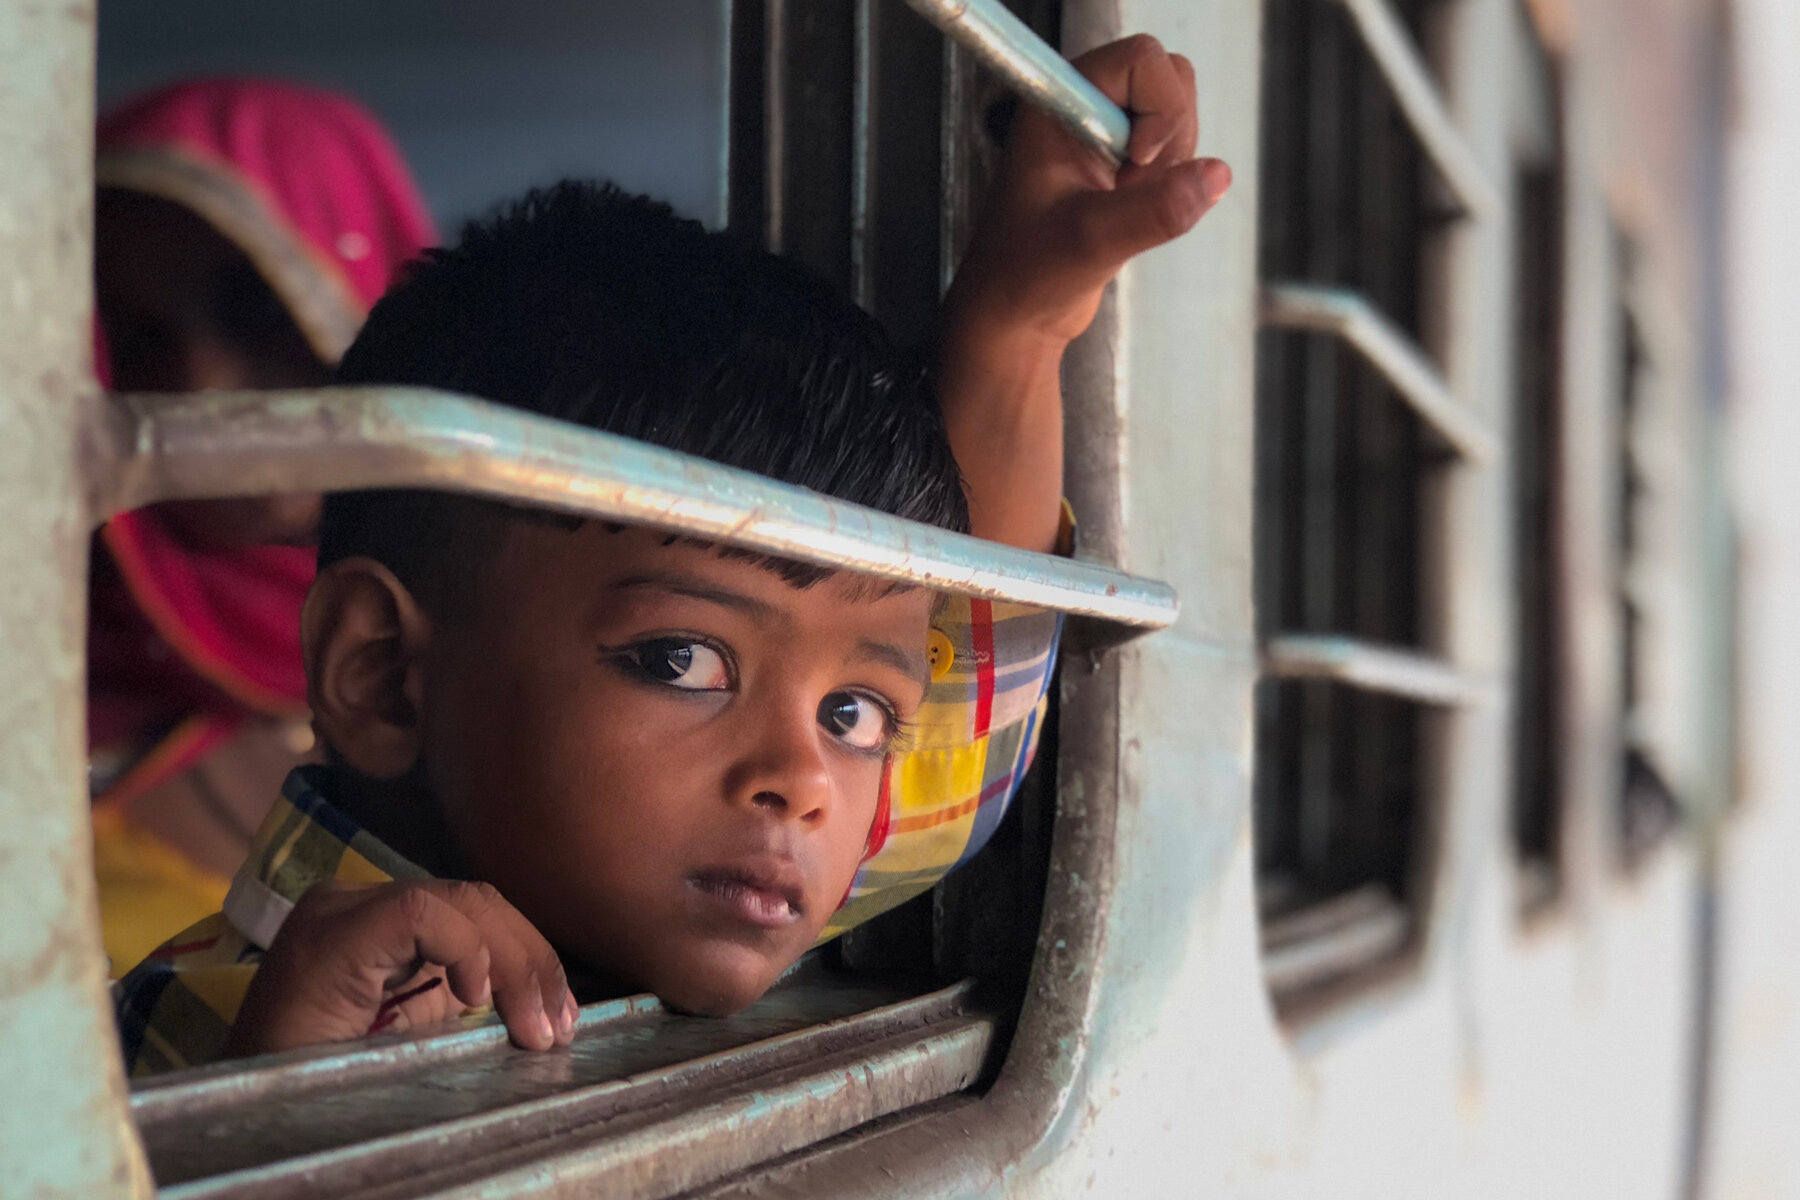 iPhone 8 PlusWestern India · 2017
 iPhone 7 PlusRwanda · 2016
 iPhone 6sSwitzerland · 2015
 iPhone 6sSwitzerland · 2015
 iPhone 6 PlusIceland · 2014
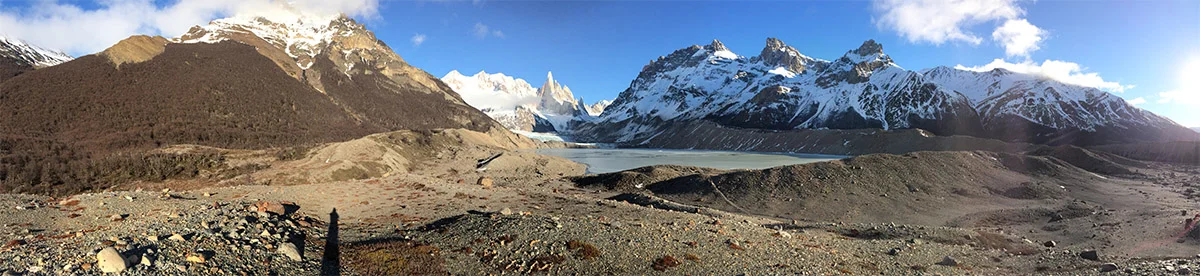 iPhone 5SPatagonia, Argentina · 2013
Comments